170
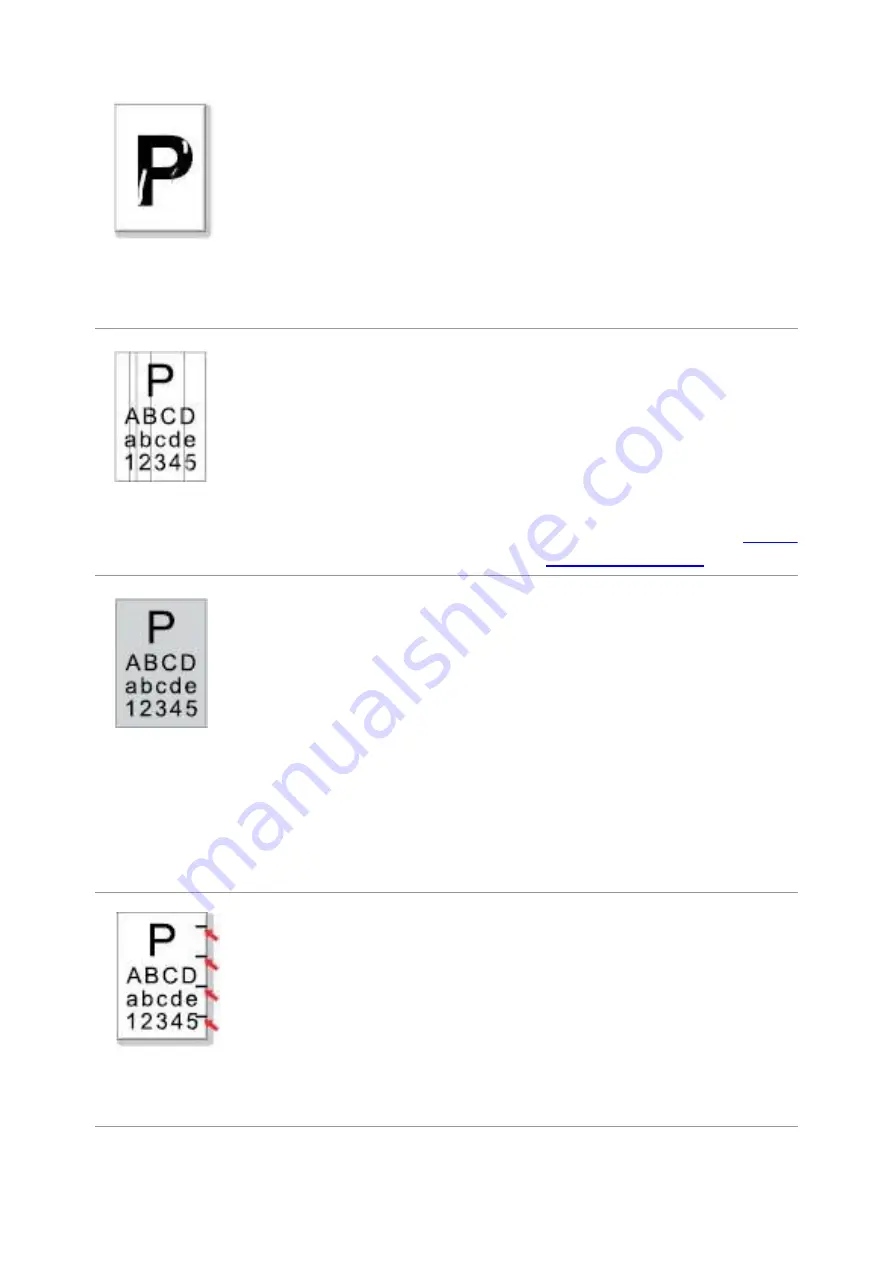
Toner comes off
• The print media that does not meet
usage specification is used. For
example, the media is damp or too
rough.
• The printing paper medium set and
paper medium placed are not consistent.
• The inside of the printer is dirty.
• Toner cartridge is damaged.
• The parts inside the printer are
damaged.
• Please use printing medium within
the specification scope, and use
manual feed tray for printing in case
of special medium.
• Please print with corresponding
paper medium.
• Clean the inside of the printer.
• It is suggested to replace the
original toner cartridge.
Black vertical
stripes
• Dirty toner cartridge.
• Damaged inner parts of toner cartridge.
• The reflective glass of the laser inside
the printer is dirty.
• The paper path is dirty.
• If black vertical stripes appear when
copying or scanning, the scanner or the
platen glass may be dirty.
• Scanner Light bulb has smudges.
• The scanner is damaged.
• Clean or replace toner cartridge
• Clean the mirror of the laser at the
back of the printer.
• Clean the feed path of printer.
• Clean the scanner or the platen
glass.
• Please use the “Clean & Fix”
function to clean the fuser unit of the
printer.For how to print, see
Black
background(gray
background)
• The print media that does not meet
usage specification is used. For
example, the media is damp or too
rough.
• Dirty toner cartridge
• Damaged inner parts of toner cartridge.
• The paper path is dirty.
• The transfer voltage inside the printer
is abnormal.
• Scanning exposure.
• If black background or gray
background appears when copying and
scanning, the platen glass may be dirty.
• Please use the print media within
the specification range.
• Clean or replace toner cartridge
• Clean the paper path inside the
printer.
• Please close the cover on the
manuscript, and then carry out
copying and scanning.
• Clean the platen glass.
Cyclical traces
appear
• Dirty toner cartridge.
• Damaged inner parts of toner cartridge.
• The fuser component is damaged.
• Clean or replace toner cartridge
• Please contact customer services
center to replace to a new fuser
assembly.
Содержание BM5100 Series
Страница 125: ...110 3 After the window pops up click on Scan 4 Click on Open Scanner and the scan window will pop up...
Страница 150: ...135 6 Open the auto feed tray and wipe the pickup roller gently with dry lint cloth...
Страница 163: ...148 2 Gently pull the jammed paper out 3 Install paper tray...
Страница 166: ...151 1 Open the front cover and then remove the laser toner cartridge along the guide rail 2 Open the rear cover...
Страница 167: ...152 3 Open the fuser door using the handles on both sides 4 Gently pull the jammed paper out...
Страница 173: ...158 13 1 5 Paper jam of auto feed tray 1 Pull out the automatic tray 2 Gently pull the jammed paper out...
Страница 192: ......


