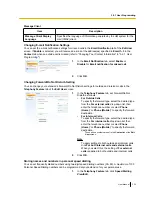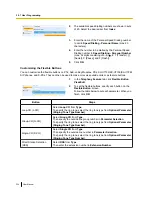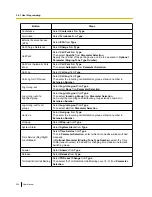
•
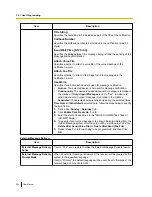
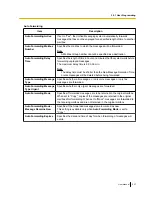
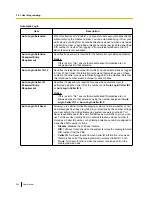
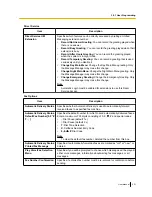
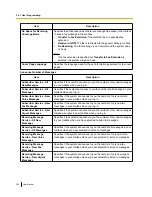
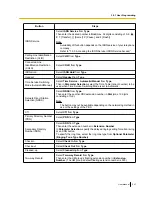
Status
: Specify the status for the recorded messages in the mailbox.
•
Internal/External
: Specify whether the recorded conversations were intercom calls or external calls,
or specify both.
•
Call Type
: Specify whether the recorded conversations were incoming calls or outgoing calls, or specify
both.
–
If
Internal/External
is set to "Internal" or "Both",
Call Type
will be set to "Both".
–
If
Internal/External
is set to "External",
Call Type
can be set to "Incoming", "Outgoing", or
"Both".
•
Phone Number
: Specify the phone number of the party calling the recorded extension.
•
Caller Name
: Specify the name of the party that called the recorded extension (may not be available
for all recorded messages).
•
Length
: Specify the length of the recorded conversations.
•
Period
: Specify a time period in which calls were recorded.
To play a message:
For playback on the PC:
1.
Select the check box of a message to play.
2.
At the bottom of the screen, select
PC
.
3.
Click the
(play)
button.
The message will be downloaded as an audio file for playback on the PC being used to connect to
Web Maintenance Console.
For playback using the supervisor’s designated extension:
1.
In the
Mailbox
filter, select the mailbox whose messages you want to display, and then click
Search
.
2.
Select the check boxes for one or more messages to play.
3.
At the bottom of the screen, select
Phone
.
4.
Click the
(play)
button.
Note
If
ALL
has been selected for the
Mailbox
filter, the
(play)
button will be disabled. Select a
specific mailbox to enable the
(play)
button.
5.
In the window that appears, enter the extension number in
Specify Extension
of the extension at which
to play back the messages, and then click
Connect
.
6.
Go off-hook when the extension rings to establish a call with the UM message playback system.
7.
During the call, click
Play
to listen to the currently selected message. If multiple messages were
selected in step
1
, you can click
Prev
and
Next
to cycle through and listen to the selected messages.
8.
When you are finished listening to messages, click
Disconnect
or go on-hook.
Logout
To logout of Web Maintenance Console, click the
(logout)
button to end the programming session and
return to the Login screen. When this option is chosen, system data is automatically backed up from the PBX
to the Storage Memory Card.
1.
Click the
(logout)
button.
A confirmation message will be displayed.
2.
Click
Yes
.
•
If the computer running the Web browser that is connected to Web Maintenance Console is
shut down, or the Web browser is closed, any changes that have not been saved will be lost.
Always end your programming session by clicking the
(logout)
button. For more
information, consult your System Administrator.
340
User Manual
3.2.1 User Programming
Содержание KX-NS1000
Страница 12: ...12 User Manual Table of Contents...
Страница 244: ...Table 1 Standard mode for RU model 244 User Manual 1 14 2 Using the Directories...
Страница 245: ...Table 2 Option mode User Manual 245 1 14 2 Using the Directories...
Страница 246: ...Table 2 Option mode for CE model 246 User Manual 1 14 2 Using the Directories...
Страница 247: ...Table 2 Option mode for GR model User Manual 247 1 14 2 Using the Directories...
Страница 248: ...Table 2 Option mode for RU model 248 User Manual 1 14 2 Using the Directories...
Страница 256: ...256 User Manual 1 15 1 Cellular Phone Features...
Страница 372: ...372 User Manual 5 5 1 PCMPR Software File Version 002 0xxxx...
Страница 373: ...Index User Manual 373...
Страница 381: ...User Manual 381 Notes...

