


7.5 Changing the Indicator Display
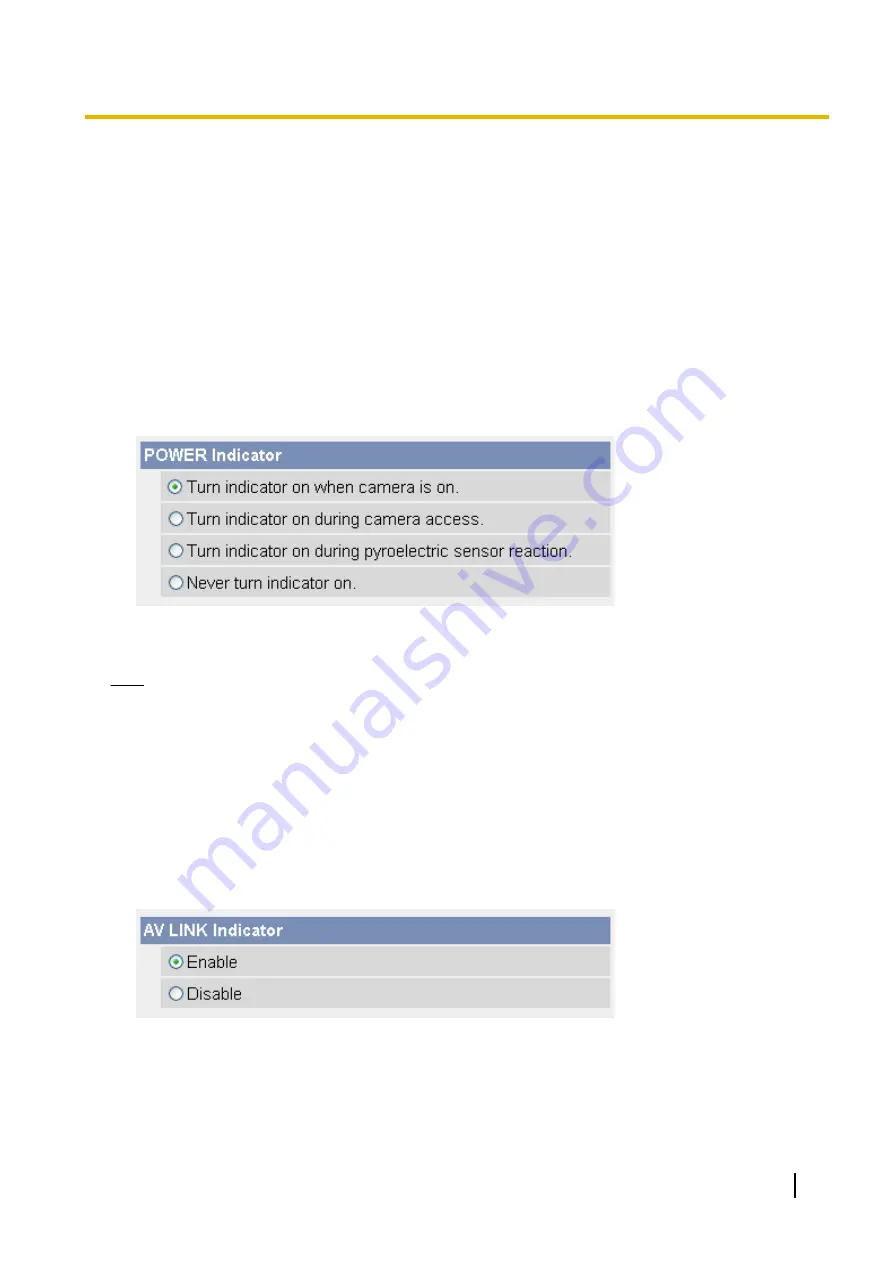
The POWER indicator
The POWER indicator can be used to indicate when the camera is being accessed, however you can set the
camera so that the indicator is:
–
Always on (green) during normal operation
–
On (green) only when the camera is being accessed
–
On (orange) only when the camera’s built-in sensor is being triggered
This setting is useful when deciding where to mount the camera, because the indicator will indicate when
the built-in sensor has been triggered, allowing you to change the location of the camera to a more
appropriate location if necessary.
–
Always off during normal operation
1.
Click the [Setup] tab.
2.
On the left side of the screen under [Advanced], click [Indicator Control].
3.
Select the desired setting.
4.
Click [Save].
Note
•
If the POWER indicator lights in any color other than green, refer to 1.2 POWER Indicator Issues in
the Troubleshooting Guide.
The AV LINK indicator (BL-C210A/BL-C230A only)
The AV LINK indicator can be used to indicate the status of the camera’s communication with a registered TV,
however you can set the camera so that the indicator is:
–
Enabled (see The AV LINK indicator (BL-C210A/BL-C230A only) in the Troubleshooting Guide for details)
–
Disabled; i.e., the AV LINK indicator lights only when the camera is in registration mode
1.
Click the [Setup] tab.
2.
On the left side of the screen under [Advanced], click [Indicator Control].
3.
Select the desired setting.
4.
Click [Save].
Operating Instructions
169
7.5 Changing the Indicator Display
Содержание BL-C210 Series
Страница 122: ...4 Click Certificate Error in the address bar then click View certificates 122 Operating Instructions 5 2 HTTPS Settings ...
Страница 124: ...6 After the wizard is displayed click Next 124 Operating Instructions 5 2 HTTPS Settings ...
Страница 126: ...9 Click Next 126 Operating Instructions 5 2 HTTPS Settings ...
Страница 127: ...10 Click Finish Operating Instructions 127 5 2 HTTPS Settings ...
Страница 131: ...6 Click Finish 7 Click Yes Operating Instructions 131 5 2 HTTPS Settings ...
Страница 196: ...3 Click the Connections tab then click LAN Settings 196 Operating Instructions 11 1 Proxy Server Settings ...


