Network Settings
1.
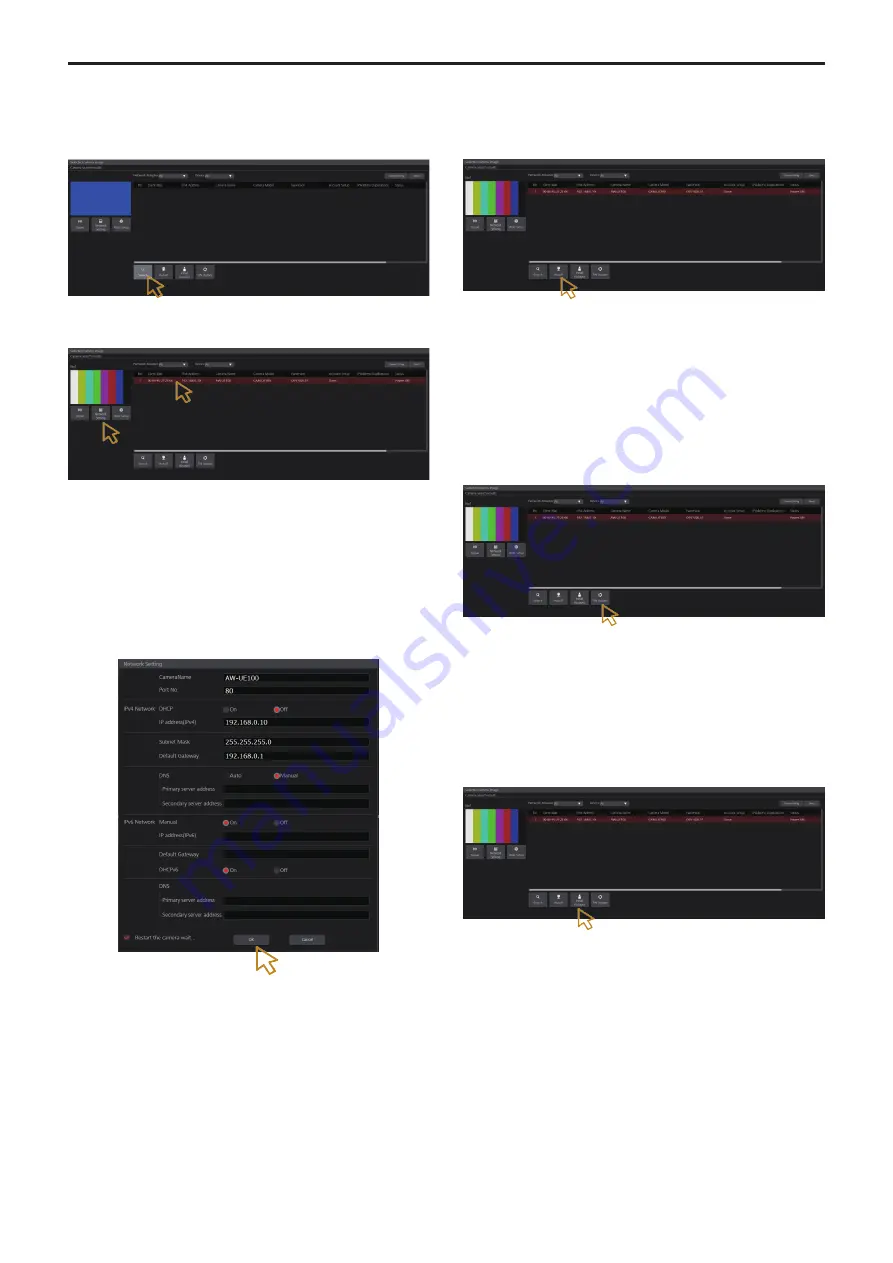
Start the Easy IP Setup Software Version.2.
2.
Click the [Search] button.
3.
Click the camera to be set, and click the [Network
Settings] button.
<NOTE>
• When a DHCP server is being used, the IP address allocated to the
unit can be checked by clicking the [Search] button of the Easy IP
Setup Software Version.2.
• If the same IP address is used for any additional cameras, the
numbers of the additional cameras will be displayed in the [IPv4
overlap] column of the cameras concerned.
• When the [Access Camera] button is clicked, the Live screen of the
selected camera is displayed.
• This unit supports an IPv4/IPv6 switching function.
4.
Input the network items, and click the [OK] button.
Automatically assigning IP addresses
1.
Start the Easy IP Setup Software Version.2.
2.
Click the [Auto IP] button.
<NOTE>
• Care must be taken when this function is used because network
settings made manually are overwritten as the IP addresses for the
remote cameras connected within the same network are automatically
assigned.
Updating the firmware
1.
Start the Easy IP Setup Software Version.2.
2.
Click the [FW Update] button.
3.
From the displayed list, select the terminal for which you
want to update the firmware, then press the [OK] button.
Registering user accounts
1.
Start the Easy IP Setup Software Version.2.
2.
Click the [Initial Account] button.
3.
Select the camera for which you want to register a user,
enter the account name and password, and then press
the [OK] button.
Selecting the network interface
1.
Start the Easy IP Setup Software Version.2.
2.
From the Network Adaptor pull‑down menu, select the
network adaptor that will detect the camera.
32
Network settings (continued)


