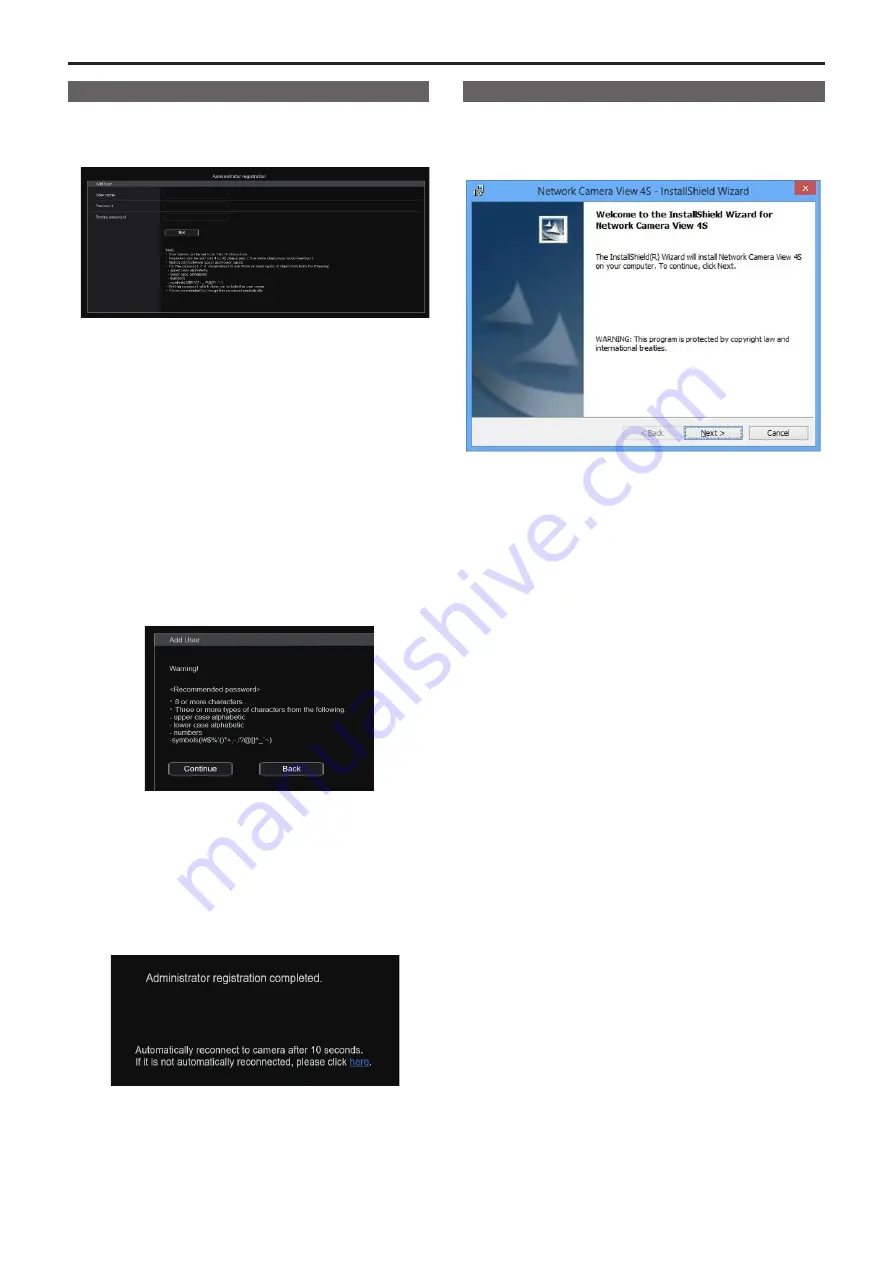
Setting the initial account
1.
Set the initial account.
In the initial state, the initial account setting screen is displayed when
the web screen is displayed.
Set a user name and password. (→ page 93)
<NOTE>
• Do not set character strings that can be easily guessed by third
parties.
• Change the password at regular intervals.
• The password must use at least 3 of the following 4 character types
and be 8 characters or longer.
Alphabet upper cases
Alphabet lower cases
Numerals
Symbols ( ! # $ % ’ ( )
*
+ , - . / ? @ [ ] ^ _ ` ~ )
• When a password is set that does not adhere to the above policy,
take responsibility for use of the device with due consideration for
the security risks in the installation environment, etc.
• A warning is displayed if the set password goes against the
recommended setting policy. When changing the password, click
the [Back] button and set the password again.
When continuing with the setting with full understanding of the
security risks, click [Continue] to complete the setting.
• If you forget the account information that was set, use the switches
for initialization of service switches to reset the user information
used for connecting to the network. (→ page 19)
2.
Completing registration of the initial account
After completing registration of the initial account, the following
registration completed screen is displayed.
The live screen [Live] is automatically displayed after about
10 seconds elapse after the completed screen is displayed.
If the live screen [Live] is not displayed after 10 seconds elapse,
manually move to the live screen [Live] by clicking the “please click
here” link.
This completes the process of registering the initial account.
<NOTE>
• Network connection with AW-RP150 or AW-RP60 requires setup of an
initial account.
When an initial account is not set up, AW-RP150 or AW-RP60 can
detect but cannot control this unit.
Installing the plug‑in viewer software
To view IP images from the unit on Windows Internet Explorer 11, the
"Network Camera View 4S" plug-in viewer software (ActiveX
®
) must be
installed.
The plug-in viewer software can be installed directly from the unit.
<NOTE>
• [Automatic installation of viewer software] is set to [On] at the time of
purchase, allowing you to install directly from the unit. If a message
appears in the web browser's information bar, see page 173.
• When you display the Live screen [Live] on the personal computer for
the first time, the installation screen for the plug-in viewer software
(ActiveX) appears. Follow the instructions on the screen to perform
installation. (only when using Windows Internet Explorer 11)
• If the plug-in viewer software (ActiveX) installation screen continues
to appear when switching screens, even after it is installed, restart the
personal computer.
• A license is required for the plug-in viewer software for each personal
computer on which it is installed. You can view the number of times
the plug-in viewer software was automatically installed in the [Product
info.] of the Maintenance screen [Maintenance] (→ page 155). For
details on licenses, consult your local dealer.
• To uninstall the plug-in viewer software, select [Control Panel] -
[Programs] - [Uninstall a program] in Windows, and remove "Network
Camera View 4S".
32
33
Network settings (continued)


