ELE-21
4. ADJUSTMRNTS FOR RF SECTION
Before starting each adjustment, click “1. Initial Set” of the VTR Adjustment software.
4-1. RF Envelope Level Adj.
BOARD
H BUFF Board
TP
TP5 (RFENV), TP2 (HID)
ADJ.
EVR
MODE
PLAY (ATF Servo)
TAPE
NTSC: VFM3380KM
PAL : VFM3480KM
M. EQ.
-
SPEC.
A = 500mVp-p
±
100mV
1. Playback a color bar portion of an alignment tape.
2. Connect a scope to
TP5
(RFENV)
and
TP2
(HID).
3. Click
the
“2. RF Envelope Level Adjustment”
of the
VTR Adjustment software.
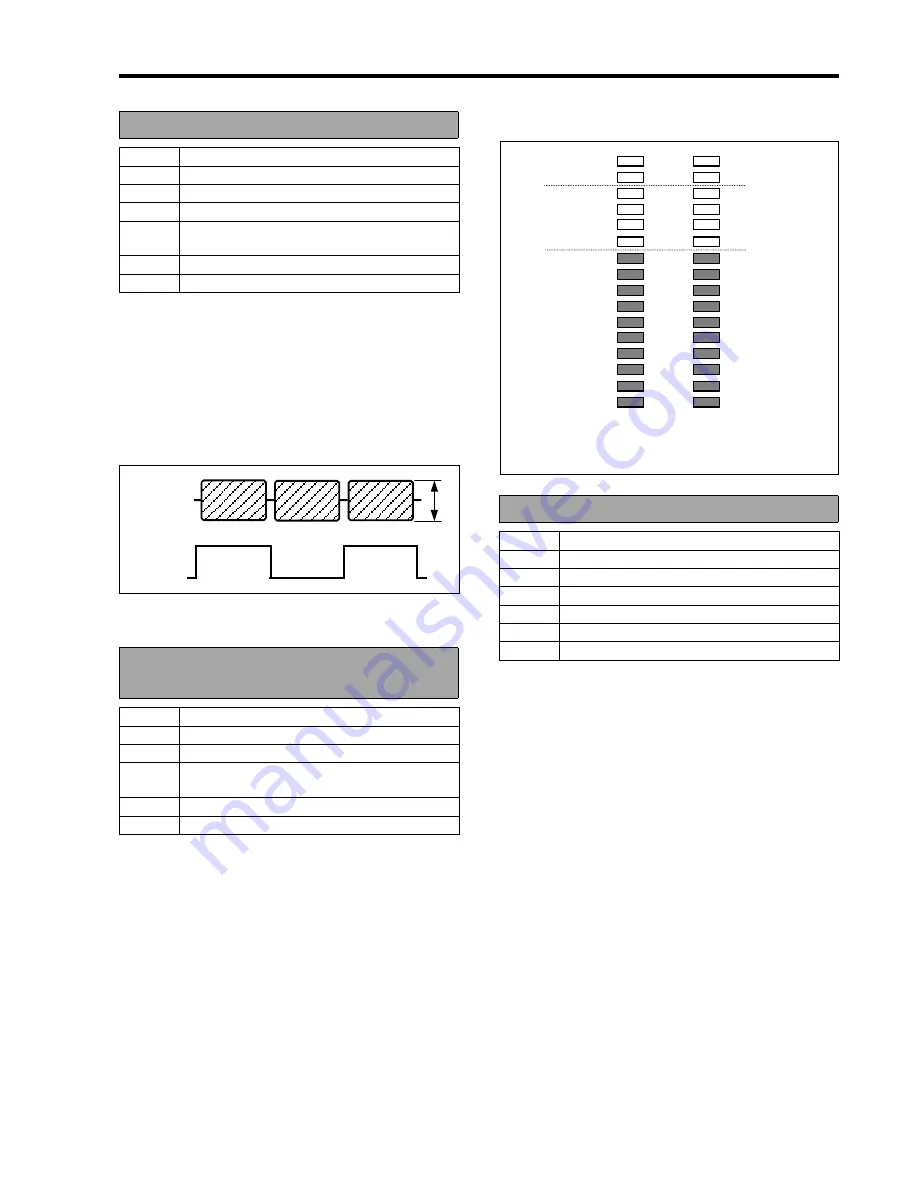
4. Adjust the slider on the PC so that the level of TP5
becomes
500mVp-p
±
100mV
as shown below.
5. Click
“>>”
.
6. Adjust the slider on the PC so that the level of TP5
becomes
500mVp-p
±
100mV
as shown below.
7. Click
“>>”
.
8. Confirm that the 25M R-ch envelope and Click
“OK”
.
9. Confirm that the 25M L-ch envelope and Click
“OK”
.
4-2. Playback Error Rate
Confirmation
BOARD
-
ADJ.
-
MODE
PLAY
TAPE
NTSC: VFM3380KM
PAL : VFM3480KM
M. EQ.
-
SPEC.
See Figure
1. Click
the
“3. Playback Error Rate Confirmation”
of
the VTR adjustment software.
2. Playback
an
alignment tape
.
3. Confirm that the 50M L-ch error rate is in the
specification as shown figure.
4. Click
“OK”
.
5. Confirm that the 50M R-ch error rate is in the
specification as shown figure.
6. Click
“OK”
.
7. Confirm that the 25M R-ch error rate is in the
specification as shown figure.
8. Click
“OK”
.
9. Confirm that the 25M L-ch error rate is in the
specification as shown figure.
10. Click
“OK”
.
4-3. Flying Erase Confirmation
BOARD
HBUFF Board
TP
TP4 (FE35), TP2 (HID)
ADJ.
-
MODE
REC, REC-PAUSE
TAPE
DVCPRO BLANK
M. EQ.
Oscilloscope
SPEC.
500mVp-p
±
200mV
1. Set
the
“OUTPUT”
switch to
“BARS”
.
2. Click
the
“4. Flying Erase Confirmation”
of the VTR
adjustment software
3. Confirm that the 50M L-ch level of erase current is in
the specification.
4. Click
“OK”
.
5. Confirm that the 50M R-ch level of erase current is in
the specification.
6. Click
“OK”
.
7. Confirm that the 50M C-ch level of erase current is in
the specification.
8. Click
“OK”
.
9. Confirm that the 50M D-ch level of erase current is in
the specification.
10. Click
“OK”
.
11.
Set the mode of the AJ-SDX900/ D908 to
“REC-PAUSE”
.
12. Confirm that the 50M C-ch level of erase current is in
the specification.
13. Click
“OK”
.
14. Confirm that the 50M R-ch level of erase current is in
the specification.
15. Click
“OK”
.
16. Confirm that the 50M L-ch level of erase current is in
the specification.
17. Click
“OK”
.
dB
-
∞
CONCEAL
SPEC.
AUDIO = CH1
CH2
Error = L1ch/R1ch L2ch/R2ch
0
-10
-20
-30
-40
TP5
(RFENV)
TP2
(HID)
A
Содержание AJSDX900P - 24P DVCPRO 50
Страница 3: ... 3 ...
Страница 4: ... 4 AJ SDX900E ...
Страница 5: ... 5 ...
Страница 7: ... 7 AJ SDX900P ...
Страница 8: ... 8 AJ SDX900E ...
Страница 9: ...FCD0307NTNK96E440E441 ...
Страница 32: ...INF 22 8 Open a target folder and select mem jcf file And click OK 9 Click OK 10 Click Program ...
Страница 156: ...SCHEMATIC DIAGRAMS NOTE BE SURE TO MAKE YOUR ORDERS OF REPLACEMENT PARTS ACCORDING TO PARTS LIST SECTION 7 ...
Страница 279: ...CBA 1 MOTHER P C BOARD VEP89140A FOIL SIDE FOIL SIDE REF LOC P6 C6 P11 A6 P13 A6 ...
Страница 308: ...CBA 30 FRONT SW P C BOARD VEP80C57A FOIL SIDE COMPONENT SIDE REAR JACK P C BOARD VEP80C52A COMPONENT SIDE FOIL SIDE ...
Страница 310: ...CBA 32 MENU SW P C BOARD VEP80C58A FOIL SIDE COMPONENT SIDE ...
Страница 312: ...PRE REC P C BOARD VEP83608A AJ YA903G FOIL SIDE COMPONENT SIDE CBA 34 ...


