Copying All Clips on a P2
Card
1
Turn the unit ON and select the storage
device to copy the clips to.
For details, refer to “Selecting Storage
Device” (page 25).
2
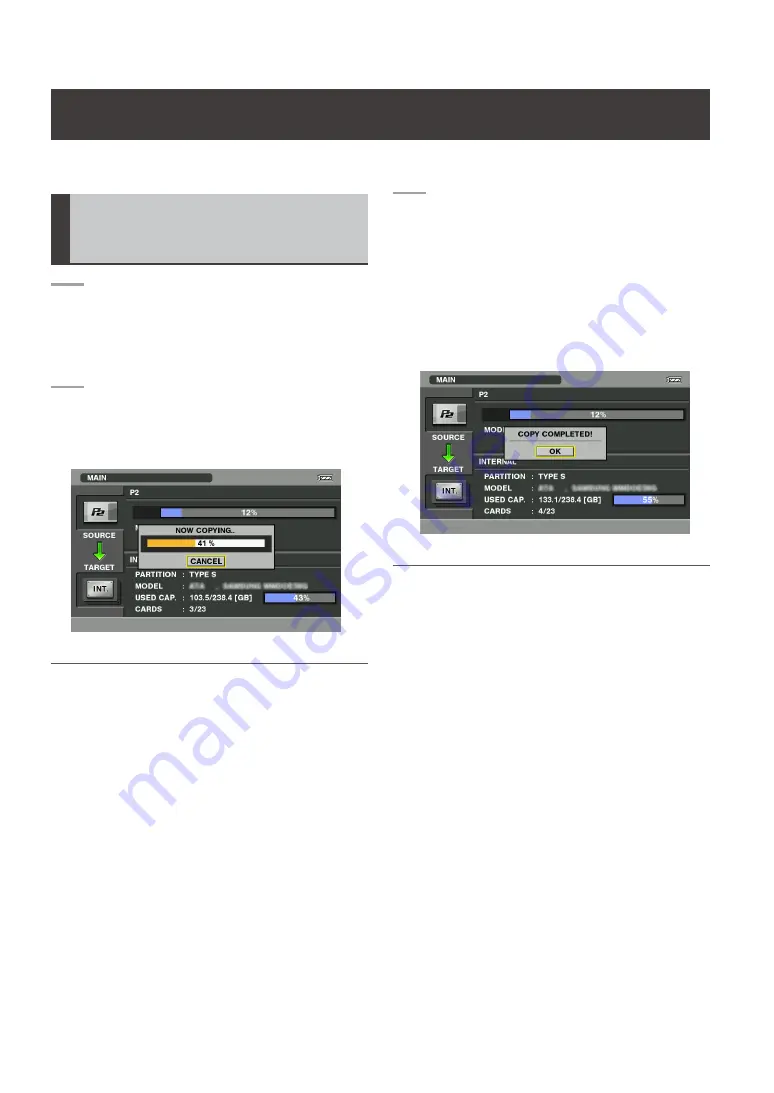
Press the START button.
• Copying of clips on the card starts and a
progress bar appears.
NOTE:
• Copy results and the maximum number of P2 cards that
can be copied depends on the partition type of the stor-
age device.
For details, refer to “Partition type and copy results”
(page 27).
• To interrupt copying, press the SET button. Use the
cursor (Up/Down) buttons to select “YES” and press the
SET button in the CANCEL dialog box that appears. If
you change your mind and want to continue copying,
select “NO” and press the SET button.
• For a TYPE S storage device, the unit checks whether
the card has already been copied before starting to copy.
If the card has already been copied, the message “AL-
READY COPIED. CONTINUE?” appears. To copy again,
select “YES.”
3
When copying ends, a message indicat-
ing that copying has ended appears.
Press the SET button.
•
The message clears.
•
Open the thumbnail to check the result as
required.
For details, refer to “Displaying Storage
Device Thumbnails” (page 28).
NOTE:
• If the unit was turned off automatically or because bat-
tery power was not sufficient when the end message is
displayed, it will appear again the next time the unit is
started up.
Copying All Clips on a P2 Card
Pressing the START button during the main screen displayed allows you to copy all files on a card to a stor-
age device.


