User’s Manual
58
Highlight the box beside
Channels
and press the button. You can select the cameras that you
would like to include in your video clip.
Highlight the box beside
Password
and press the button. A virtual keyboard appears
allowing you to enter the password for reviewing the video clips.
Highlight the box beside
Dest.
and press the button. You can select the storage device on which
you would like to record the video clip.
CAUTION: The USB device for clip copy must be FAT 16 or FAT32 format.
The DVR automatically assigns a file name to the video clip. However, you can give the video
clip file a different name. Highlight the box beside
File Name
and press the button. A virtual
keyboard appears. Enter a file name for the video you are backing up and select
Close
. The DVR
will automatically add the camera number (for example “01”) and “.exe” to the file name.
NOTE: When naming a file, you cannot use the following characters: \, /, :, *, ?, “, <, >, |.
Once you have given the video clip a file name, highlight the
Start
button and press the
button.
The confirmation screen displaying data size will appear. When the storage device does not have
enough space, the DVR will ask if you want to copy as much of the video clip as possible in the
available space.
Highlight the
Continue
button and press the button to continue clip copy.
Once the clip copy starts, you can cancel it by selecting
Cancel
or hide the screen by selecting
Close
. When selecting
Close
, Clip Copy continues and a confirmation screen will display when
complete.
NOTE: The file size for clip copy is limited to 30GB. When copying video clips larger than
2GB, the video clips will be save in units of 2GB. For example, 3 individual 2GB files will
be created when saving a 6GB video clip. However, the file size for the One-Touch Clip Copy
is limited to 2GB.
You can use other functions on the DVR while video is being backed up. To do this, highlight
the
Close
button and press the
button. You can return to the
Clip-Copy
screen at any time to
check the progress.
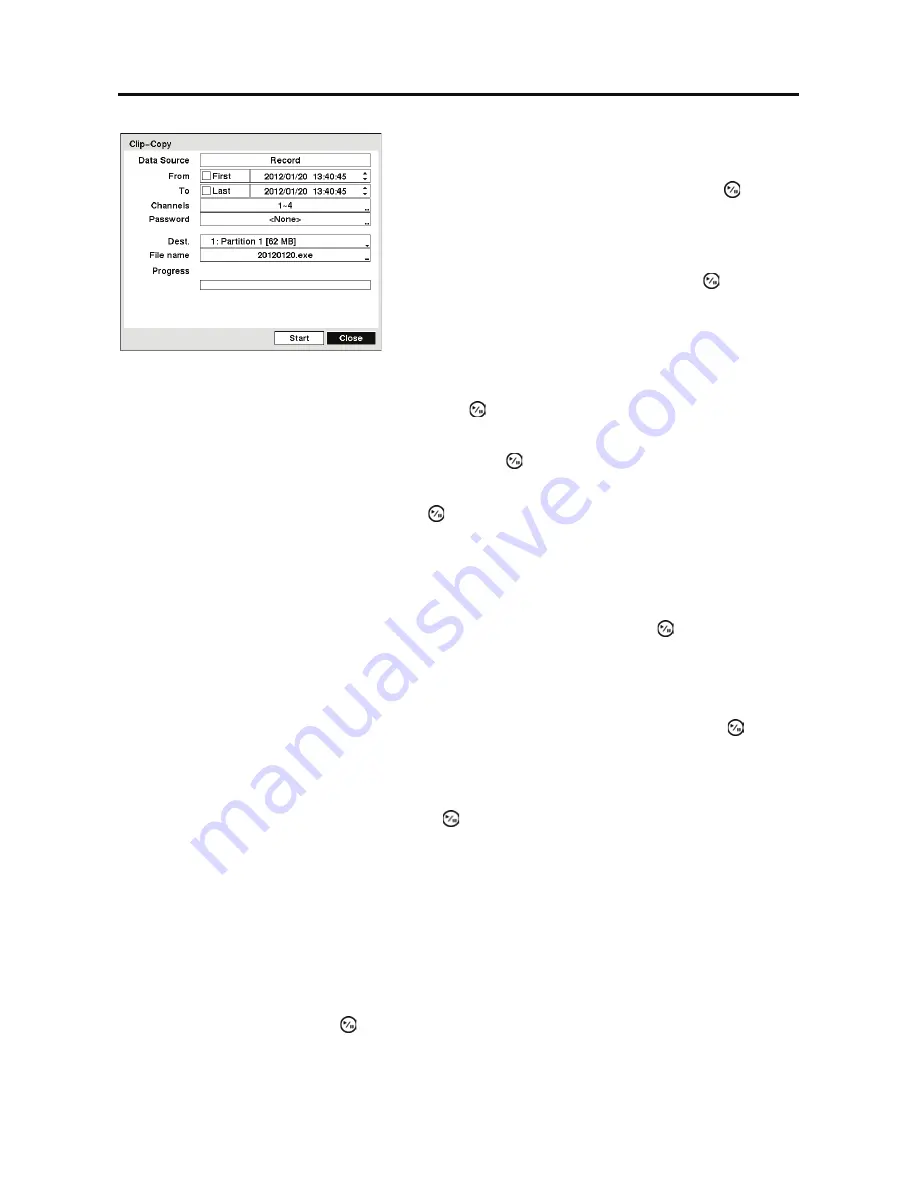
Figure 58 Clip-Copy screen.
You can search video from the first to last recorded
images, or you can set the start and stop times and dates.
Highlight the box beside
From
and press the (Play/
Pause) button to toggle between On and Off. When set
to Off, you can enter a specific Date and Time. When
set to On, the search will be from the first recorded image.
Highlight the box beside
To
and press the button to
toggle between On and Off. When set to Off, you can
enter a specific Date and Time. When set to On, the
search will be from the last recorded image.
Содержание RDRH-EL104
Страница 1: ......
Страница 2: ......
Страница 68: ...User s Manual 60 ...
Страница 77: ...4 Channel Digital Video Recorder 69 Map of Screens ...
Страница 80: ......


