24
Part I: Fast Track to Super Snaps
battery begins the run low, the icon appears half-full; if the battery is nearly
depleted, the icon blinks red.
One other key item, the shots remaining value, appears in the lower-right
corner of the display. This number tells you how many pictures will fit in the
space remaining on your memory card. If the number is low, grab another
card, visit Chapter 4 to find out how to erase some pictures, or pay a trip to
Chapter 5 for details on how to download photos to your computer. Chapter 2
explains how your Image Quality settings affect the number of shots you can
fit on a card. Chapter 3 explains how Movie Quality settings affect how many
minutes of recordings will fit.
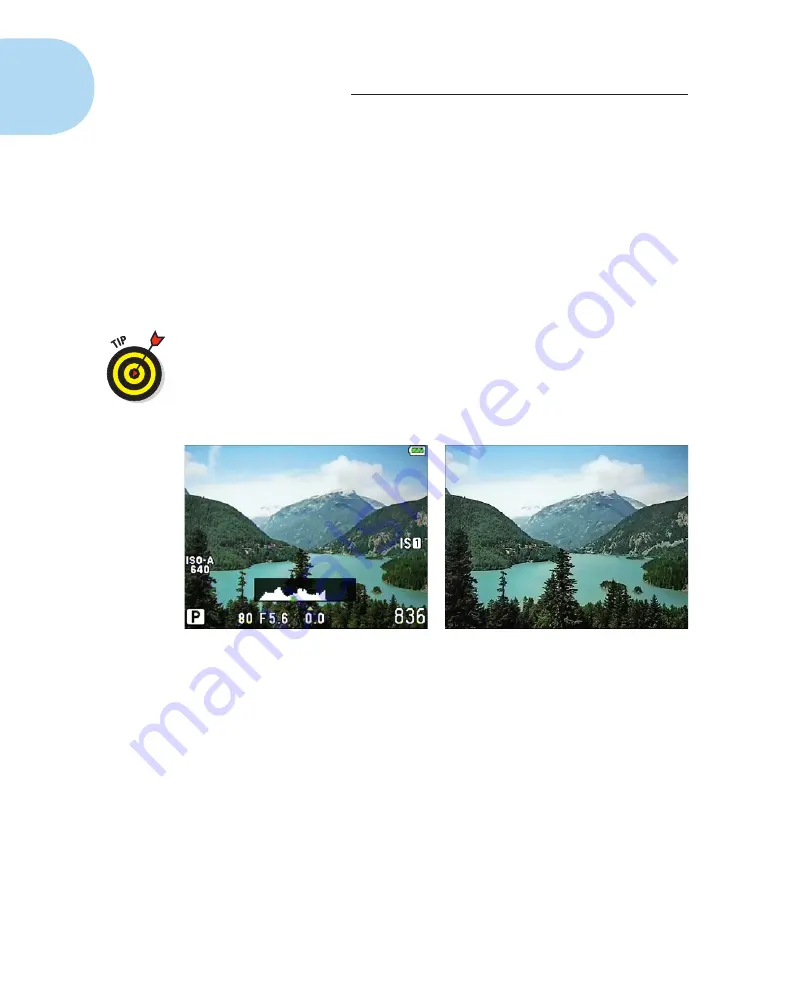
You’re not limited to the display style shown in Figure 1-17, however. By
pressing the Info button, you can add a histogram to the mix, as shown
on the left in Figure 1-18. (If you’re unfamiliar with histograms, Chapter 4
explains them.) Another press of the Info button clears all the data from the
screen so that you see your subject only, as shown on the right in the figure.
Figure 1-18:
Press the Info button to switch between the initial data display and additional
display modes.
If you don’t care to see the two display modes shown in the figure, you can
disable them. You can also access a couple other display modes that are
turned off by default. The following section explains your options. Following
that, you can discover some another neat trick for customizing the display —
a feature that lets you magnify your view of the scene.
Enabling and disabling display styles
To control which display styles appear when you press the Info button, take
these steps:
1. Select Custom Menu D, as shown on the left in Figure 1-19, and
press OK.
05_879504-ch01.indd 24
05_879504-ch01.indd 24
6/28/10 1:31 PM
6/28/10 1:31 PM
Содержание PEN E-PL1
Страница 36: ...42 Part I Fast Track to Super Snaps ...


