19
Chapter 1: Getting the Lay of the Land
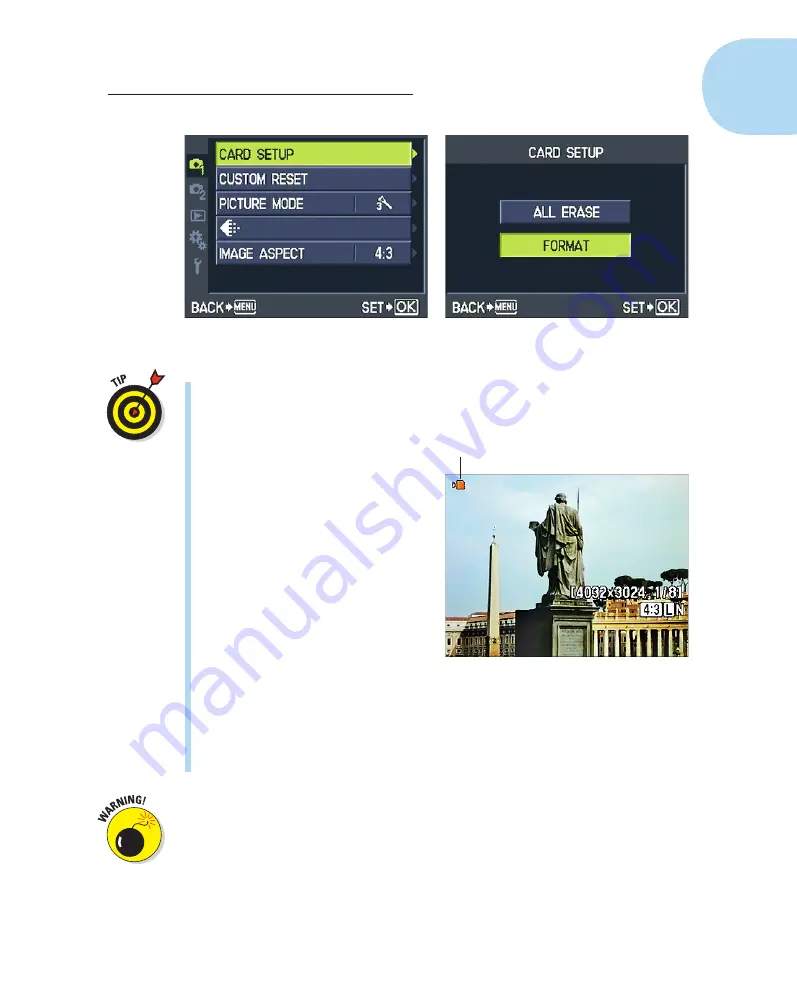
Figure 1-12:
Format a memory card through the Card Setup option on Shooting Menu 1.
Some computer programs enable you to format cards as well, but it’s
not a good idea to go that route. Your camera is better equipped to opti-
mally format cards.
✓
Removing a card:
If you just took
a picture, look for the memory
card access icon, labeled in
Figure 1-13, and wait until it
disappears, indicating that the
camera has finished recording
the file to the card. Then turn
off the camera, open the battery
cover, depress the memory card
slightly, and then let go. The
card pops halfway out of the slot,
enabling you to grab it by the tail
and remove it.
If you turn on the camera when
no card is installed, a message
appears on the monitor to
remind you. If you have a card
in the camera and you get these
messages, try taking the card out and reinserting it. Also be sure that
you haven’t locked the card (using the card’s lock switch).
One side note on the issue of memory cards and file storage: Given that
memory cards are getting cheaper and larger in capacity, you may be tempted
to pick up an 8GB (gigabyte) or 16GB card thinking you can store a gazillion
images on one card and not worry about running out of room. But memory
cards are mechanical devices that are subject to failure, and if a large card
fails, you lose lots of images. And putting aside the potential for card failure,
it’s darned easy to misplace those little guys. So I carry several 4GB SD cards
in my camera bag instead of relying on one ginormous card. Although I hate
to lose any images, I’d rather lose 4GB worth of pictures than 8 or 16GB.
Memory card access symbol
Figure 1-13:
Don’t turn off the camera or
remove the memory card until the card
access icon disappears.
05_879504-ch01.indd 19
05_879504-ch01.indd 19
6/28/10 1:31 PM
6/28/10 1:31 PM
Содержание PEN E-PL1
Страница 36: ...42 Part I Fast Track to Super Snaps ...


