Outdoor Living Today www.outdoorlivingtoday.com [email protected]
Page 19
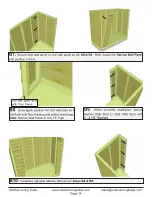
Pilot Hole
first.
B21.
Align
Horizontal Wall Cleats
(1 @ 3/4”
x 3 1/2” x 70”, 1 @ 3/4” x 3 1/2” x 21”) flush with
top of Rear Wall framing. To help strengthen the
Rear Walls, there is a short and a long wall cleat
which meet off-center from the seam between
walls. Attach Cleats with
8 - 1 1/4” Screws
.
B20.
Position and secure 2nd Wall Extender Panel as per
Steps B18 & B19
. Additionally, attach to
first Extender with
2 - 2 1/2” Screws
.
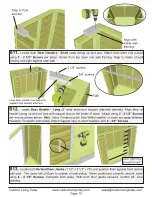
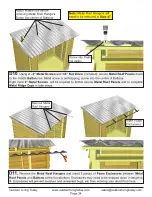
B21 .
Attach
Horizontal Wall Cleats
(1 @
3/4” x 3 1/2” x 70”, 1 @ 3/4” x 3 1/2” x 21”) to
Wall Extender bottom framing and Rear Wall top
framing, so that cleat is flush with extender
framing. There is a short and a long wall cleat.
Alternate alignment of screws, so half screw into
Wall Extender Framing and half into Rear Wall
Top Framing. Use
8 - 1 1/4” Screws
.
GARDENSAVER
SPACESAVER
Pilot Hole
first.


