233
Troubleshooting
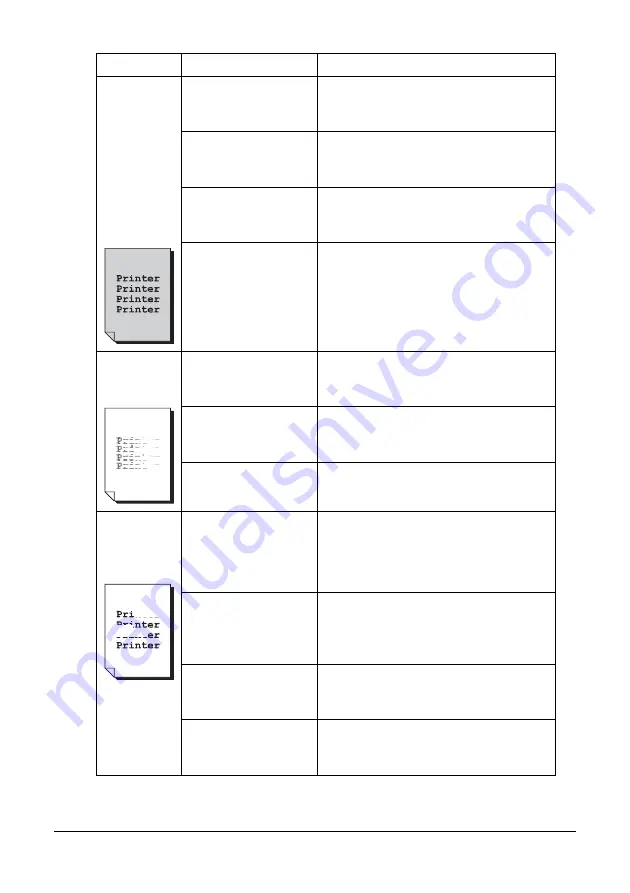
Image is
blurred;
background
is lightly
stained;
there is
insufficient
gloss of the
printed
image.
One or more of the
toner cartridges may
be defective.
Remove the toner cartridges and
check for damage. If it is damaged,
replace it.
The imaging cartridge
may be defective.
Remove the imaging cartridge and
check for damage. If it is damaged,
replace it.
The original glass is
dirty.
Clean the original glass. For details,
refer to “Cleaning the Machine” on
page 178.
The original cover
pad is dirty.
Clean the original cover pad. For
details, refer to “Cleaning the Machine”
on page 178.
The print or
color density
is uneven.
One or more of the
toner cartridges may
be defective or low.
Remove the toner cartridges and
check for damage. If it is damaged,
replace it.
The imaging cartridge
may be defective.
Remove the imaging cartridge and
check for damage. If it is damaged,
replace it.
The machine is not
level.
Place the machine on a flat, hard, level
surface.
Irregular
print or mot-
tled image
appears.
The media is moist
from humidity.
Adjust the humidity in the media stor-
age area.
Remove the moist media and replace it
with new, dry media.
Unsupported media
(wrong size, thick-
ness, type, etc.) is
being used.
Use Oki approved media.
One or more of the
toner cartridges may
be defective.
Remove the toner cartridges and
check for damage. If it is damaged,
replace it.
The imaging cartridge
may be defective.
Remove the imaging cartridge and
check for damage. If it is damaged,
replace it.
Symptom
Cause
Solution
Содержание MC160N
Страница 1: ...User Guide Print Copy Scan Modes 59320401 my okidata com MC160n MFP...
Страница 9: ...1Introduction...
Страница 17: ...17 Introduction when the attachment and duplex option are installed 1 Duplex option 2 Attachment 1 2...
Страница 21: ...1Control Panel and Configuration Menu...
Страница 40: ...40 Control Panel and Configuration Menu FAX RX OPERATION REPORTING SCAN SETTING...
Страница 76: ...2Media Handling...
Страница 91: ...91 Media Handling 6 Reattach the lid to Tray 2 7 Reinsert Tray 2 into the machine...
Страница 101: ...2Using the Printer Driver...
Страница 108: ...3Using the Copier...
Страница 121: ...4Using the Scanner...
Страница 150: ...150 Using the Scanner...
Страница 151: ...5Replacing Consumables...
Страница 155: ...155 Replacing Consumables 6 Open the front cover Before opening the front cover open Tray 1 if it is not already open...
Страница 174: ...174 Replacing Consumables...
Страница 175: ...6Maintenance...
Страница 199: ...7Troubleshooting...
Страница 213: ...213 Troubleshooting Note Do not touch the wires and flat cable shown in the illustration...
Страница 217: ...217 Troubleshooting 7 Load the media in Tray 2 and attach the lid 8 Reinsert Tray 2...
Страница 218: ...218 Troubleshooting 9 Open and close the scanner unit to clear the missfeed message...
Страница 222: ...222 Troubleshooting 3 Close the duplex cover...
Страница 247: ...3Installing Accessories...
Страница 260: ...Appendix...


