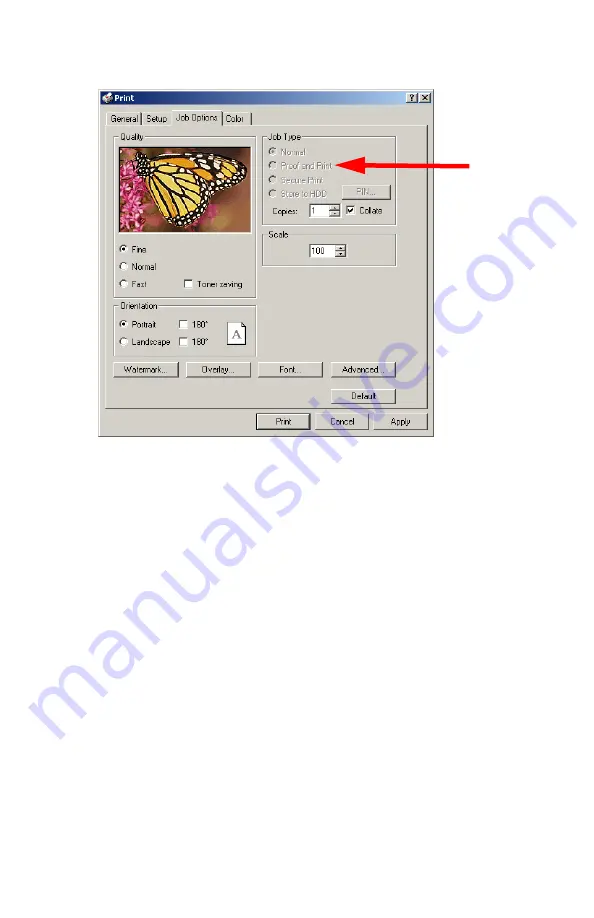
Windows: PCL Emulation Driver
•
207
3.
On the
Job Options
tab, under
Job Type
, select
Proof and Print
.
4.
In the dialog box which appears, enter a
Job Name
and
password (PIN) of your choice, then click
OK
. (If no dialog box
appears, click
PIN
.)
5.
On the
General
tab, enter the number of copies and select
Collate
, if applicable, then click
OK
.
6.
Click
.
The document is processed to a print file and stored on the hard disk
drive. One copy is printed for checking.
7.
After checking the proof, print or delete (if incorrect) the
remaining copies of the document using the procedures given
below.
Содержание ES 1624n MFP
Страница 1: ......
Страница 76: ...Replacing Consumables 76 6 Remove the adhesive tape from the underside of the cartridge...
Страница 86: ...Replacing Consumables 86 11 If present remove the silica gel pack 12 Place the image drum in the printer...
Страница 87: ...Replacing Consumables 87 13 Remove the orange drum seal 14 Install the toner cartridge in the image drum...
Страница 89: ...Replacing Consumables 89 17 Close and latch the top cover...
Страница 99: ...Replacing Consumables 99 8 Close and latch the top cover...
Страница 103: ...Clearing Paper Jams 103 5 Close the rear exit 6 Close the top cover...
Страница 111: ...Clearing Paper Jams 111 3 Close the front cover...
Страница 113: ...Clearing Paper Jams 113 2 Remove any jammed sheets...
Страница 115: ...Clearing Paper Jams 115 3 Pull the duplexer lid to unlock it 4 Open the lid and remove the jammed sheet...
Страница 118: ...Clearing Paper Jams 118 2 Open the front cover 3 Remove any jammed sheets 4 Close the front cover...
Страница 120: ...Clearing Paper Jams 120 2 Remove any jammed sheets 3 Close the front cover...
Страница 201: ...Windows PCL Emulation Driver 201 3 On the Setup tab under 2 Sided Printing select Long Edge or Short Edge 4 Click Print...


