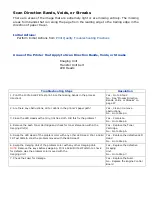
Scan Direction Bands, Voids, or Streaks
There are areas of the image that are extremely light or are missing entirely. The missing
areas form bands that run along the page from the leading edge to the trailing edge in the
direction of paper travel.
Initial Actions:
Perform Initial Actions from
Print Quality Troubleshooting Practices
Areas of the Printer that Apply to Scan Direction Bands, Voids, or Streaks
Imaging Unit
Transfer Unit belt
LED Heads
Troubleshooting Steps
Resolution
1. Print the 100% Solid Fill test print. Are the missing bands in the process
direction?
Yes – Go to Step 2.
No - See "Process Direction
Bands, Voids, or Streaks" on
page 27.
2. Are there any obstructions, dirt or debris in the printer’s paper path?
Yes – Clean or remove
obstructions.
No - Go to Step 3.
3. Clean the LED Heads with at dry, lint free cloth. Did this fix the problem?
Yes – Complete.
No - Go to Step 4.
4. Remove the each Toner Cartridge and check for toner starvation within the
Imaging Unit(s).
Yes – Replace the Toner
Cartridge.
No - Go to Step 5.
5. Swap the LED Head of the problem color with any other LED Head. Print a Solid
Fill Test Pattern. Has the problem moved with the LED Head?
Yes – Replace the defective LED
Head
No - Go to Step 6.
6. Swap the Imaging Unit of the problem color with any other Imaging Unit.
NOTE:
Remove the keys before swapping. Print a Solid Fill Test Pattern to check
for defects. Has the problem color moved with the
Imaging Unit?
Yes – Replace the defective
Imaging
Unit.
No - Go to Step 7.
7. Check the Fuser for damage.
Yes – Replace the Fuser.
No - Replace the Engine Control
Board
Содержание C9800 Series
Страница 30: ...Step 3 Setting up the ES 1000 Spectrophotometer...
Страница 31: ...Once installation is complete re launch Command Workstation...
Страница 32: ......
Страница 33: ......
Страница 34: ......
Страница 35: ......
Страница 36: ......
Страница 37: ......
Страница 38: ......
Страница 39: ......
Страница 40: ......
Страница 41: ......
Страница 42: ......
Страница 43: ......
Страница 44: ......
Страница 45: ......
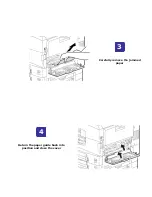
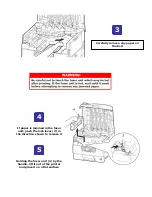
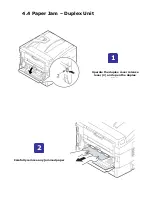
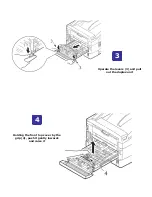
Страница 75: ...Return the paper guide back into position and close the cover Carefully remove the jammed paper 4 3...
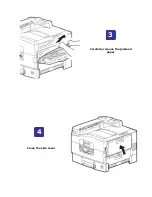
Страница 77: ...Close the side cover Carefully remove the jammed paper 4 3...
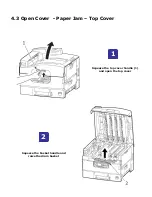
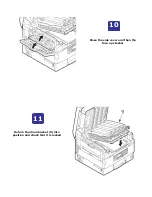
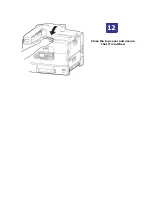
Страница 83: ...Close the top cover and ensure that it is latched 12...
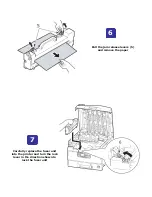
Страница 86: ...In a similar manner check for and clear any jammed paper in the rear cover Remove any jammed paper 6 5...
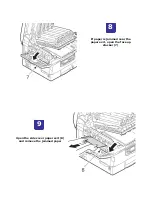
Страница 87: ...Raise the front cover of the duplex unit Replace the two top covers 8 7...
Страница 88: ...Push the duplex unit back into position 9...

