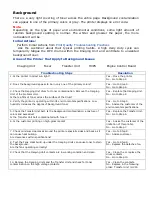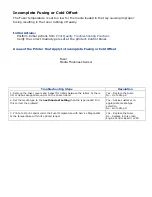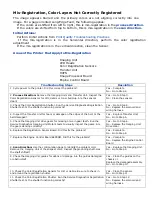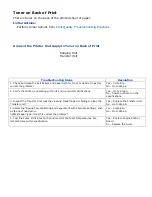
Unexpected Colors
The colors produced by the printer are dramatically different from the color expected.
Initial Actions
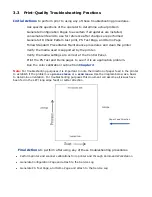
Perform Initial Actions from
Print Quality Troubleshooting Practices
Areas of the Printer that Apply to Unexpected Colors
Imaging Unit
HVPS
Engine Control Board
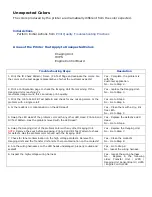
Troubleshooting Steps
Resolution
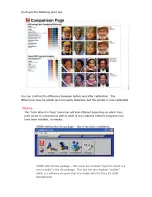
1. Print the ID Check Pattern / Demo / PS Test Page and evaluate the colors. Are
the colors on the test pages representative of what the customer expects?
Yes – Complete, the problem is
with the
Customer application.
No - Go to Step 2.
2. Print a configuration page to check the Imaging Unit life remaining. If the
Imaging Unit is reaching it’s
maximum image count, this can reduce print-quality.
Yes – replace the Imaging Unit.
No - Go to Step 3.
3. Print the 100% Solid Fill Test pattern and check for any missing colors. Is the
problem with a single color?
Yes –Go to Step 4.
No - Go to Step 6
4. Is there debris or contamination on the LED Head?
Yes – Clean them with a dry, lint
free cloth.
No - Go to Step 5
5. Swap the LED Head of the problem color with any other LED Head. Print a Solid
Fill Test Pattern. Has the problem moved with the LED Head?
Yes – Replace the defective LED
Head
No – Go to Step 6
6. Swap the Imaging Unit of the problem color with any other Imaging Unit.
NOTE:
Remove the keys before swapping. Print a Solid Fill Test Pattern to check
for defects. Has the problem color moved with the Imaging Unit?
Yes – Replace the Imaging Unit
No - Go to Step 7.
7. Check for toner contamination on the high voltage contacts. Remove the
Imaging Units and the Transfer Unit and Is there contamination on the contacts?
Yes – Clean the contacts.
No - Go to Step 8.
8. Are the wiring harnesses on the LED heads undamaged, properly routed and
seated?
Yes – Go to Step 9.
No - reseat the wiring harness.
9. Inspect the high-voltage wiring harness.
Yes – reseat the wiring harness.
No - Replace in the following
order: Transfer Unit / LVPS /
Imaging Unit Sensor Board / HVPS
/ Engine Control PCB
Содержание C9800 Series
Страница 30: ...Step 3 Setting up the ES 1000 Spectrophotometer...
Страница 31: ...Once installation is complete re launch Command Workstation...
Страница 32: ......
Страница 33: ......
Страница 34: ......
Страница 35: ......
Страница 36: ......
Страница 37: ......
Страница 38: ......
Страница 39: ......
Страница 40: ......
Страница 41: ......
Страница 42: ......
Страница 43: ......
Страница 44: ......
Страница 45: ......
Страница 75: ...Return the paper guide back into position and close the cover Carefully remove the jammed paper 4 3...
Страница 77: ...Close the side cover Carefully remove the jammed paper 4 3...
Страница 83: ...Close the top cover and ensure that it is latched 12...
Страница 86: ...In a similar manner check for and clear any jammed paper in the rear cover Remove any jammed paper 6 5...
Страница 87: ...Raise the front cover of the duplex unit Replace the two top covers 8 7...
Страница 88: ...Push the duplex unit back into position 9...

