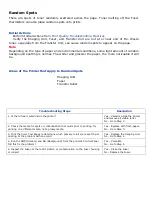
Random Spots
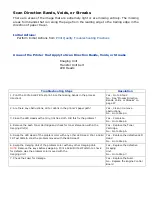
There are spots of toner randomly scattered across the page. Toner melting off the Fuser
thermistors can also place random spots onto prints.
Initial Actions
Perform Initial Actions from
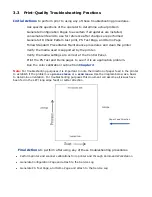
Print Quality Troubleshooting Practices
Verify the Imaging Unit, Fuser, and Transfer Unit are not at or near end of life. Waste
toner, especially from the Transfer Unit, can cause random spots to appear on the page.
Note
Depending on the type of paper and environmental conditions, some light amount of random
background spotting is normal. The whiter and glossier the paper, the more noticeable it will
be.
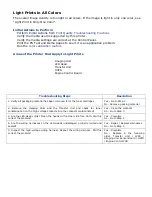
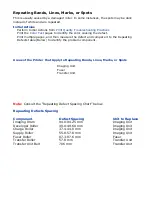
Areas of the Printer that Apply to Random Spots
Imaging Unit
Fuser
Transfer Roller
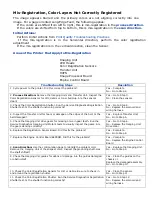
Troubleshooting Steps
Resolution
1. Is there toner spilled inside the printer?
Yes – Vacuum inside the printer
and remove all visible toner.
No - Go to Step 2.
2. Check the media for spots or contamination that exists prior to printing. Try
printing on a different media, not a glossy media.
Yes – Replace with fresh paper.
No - Go to Step 3.
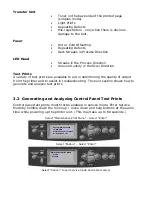
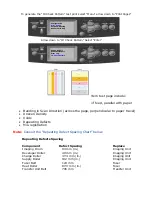
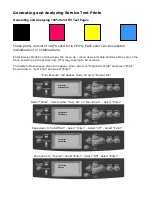
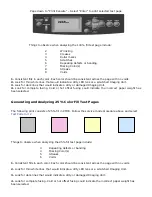
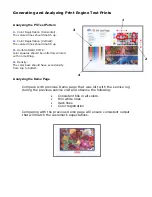
3. Print the Color Test Pages to determine which primary color(s) are spotting or
missing. Is the problem with one color?
Yes – Replace the Imaging Unit
No - Go to Step 4.
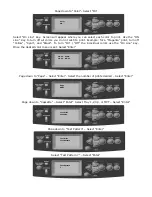
4. Run the SMR (Smears) and BG (Background) from the printer’s Control Panel.
Did this fix the problem?
Yes – Complete.
No - Go to Step 5.
5. Inspect the Fuser. Is there dirt, debris, or contamination on the Fuser housing
or rollers?
Yes – Clean the Fuser
No – Replace the Fuser.
Содержание C9800 Series
Страница 30: ...Step 3 Setting up the ES 1000 Spectrophotometer...
Страница 31: ...Once installation is complete re launch Command Workstation...
Страница 32: ......
Страница 33: ......
Страница 34: ......
Страница 35: ......
Страница 36: ......
Страница 37: ......
Страница 38: ......
Страница 39: ......
Страница 40: ......
Страница 41: ......
Страница 42: ......
Страница 43: ......
Страница 44: ......
Страница 45: ......
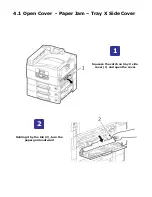
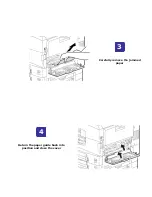
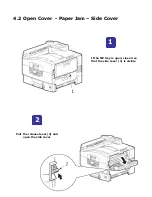
Страница 75: ...Return the paper guide back into position and close the cover Carefully remove the jammed paper 4 3...
Страница 77: ...Close the side cover Carefully remove the jammed paper 4 3...
Страница 83: ...Close the top cover and ensure that it is latched 12...
Страница 86: ...In a similar manner check for and clear any jammed paper in the rear cover Remove any jammed paper 6 5...
Страница 87: ...Raise the front cover of the duplex unit Replace the two top covers 8 7...
Страница 88: ...Push the duplex unit back into position 9...

