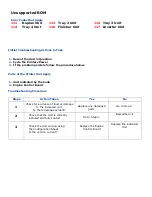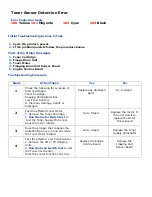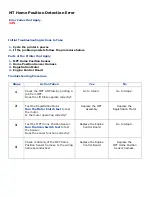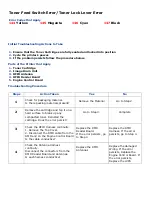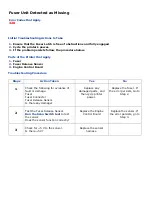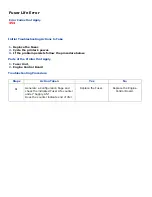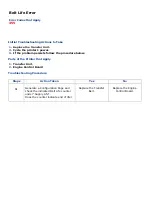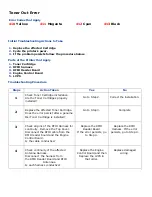
Fuser Unit Detected as Missing
Error Codes that Apply
320
1.
Ensure that the Fuser Latch is free of obstructions and fully engaged
.
2.
Cycle the printer's power.
3.
If the problem persists follow the procedure below.
1.
Fuser
2.
Fuser Release Sensor
3.
Engine Control Board
Steps
Action Taken
Yes
No
1
Check the following for evidence of
fault or damage:
Fuser
Fuser Connector
Fuser Release Sensor
Is there any damage?
Replace any
damaged parts, and
then cycle printer
power.
Replace the Fuser. If
the error persists, Go to
Step 2.
2
Test the Fuser Release Sensor.
Run the Scan Switch test
to test
the sensor.
Does the sensor function correctly?
Replace the Engine
Control Board
Replace the sensor. If
the error persists, go to
Step 3.
3
Check for +5 V to the sensor.
Is there +5 V?
Replace the sensor
harness.
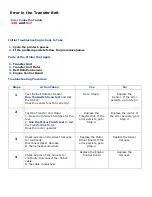
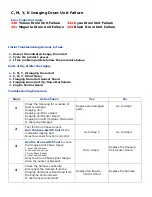
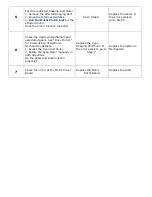
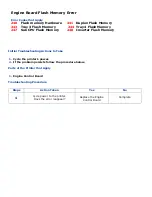
Initial Troubleshooting Actions to Take
Parts of the Printer that Apply
Troubleshooting Procedure
Содержание C9800 Series
Страница 30: ...Step 3 Setting up the ES 1000 Spectrophotometer...
Страница 31: ...Once installation is complete re launch Command Workstation...
Страница 32: ......
Страница 33: ......
Страница 34: ......
Страница 35: ......
Страница 36: ......
Страница 37: ......
Страница 38: ......
Страница 39: ......
Страница 40: ......
Страница 41: ......
Страница 42: ......
Страница 43: ......
Страница 44: ......
Страница 45: ......
Страница 75: ...Return the paper guide back into position and close the cover Carefully remove the jammed paper 4 3...
Страница 77: ...Close the side cover Carefully remove the jammed paper 4 3...
Страница 83: ...Close the top cover and ensure that it is latched 12...
Страница 86: ...In a similar manner check for and clear any jammed paper in the rear cover Remove any jammed paper 6 5...
Страница 87: ...Raise the front cover of the duplex unit Replace the two top covers 8 7...
Страница 88: ...Push the duplex unit back into position 9...

