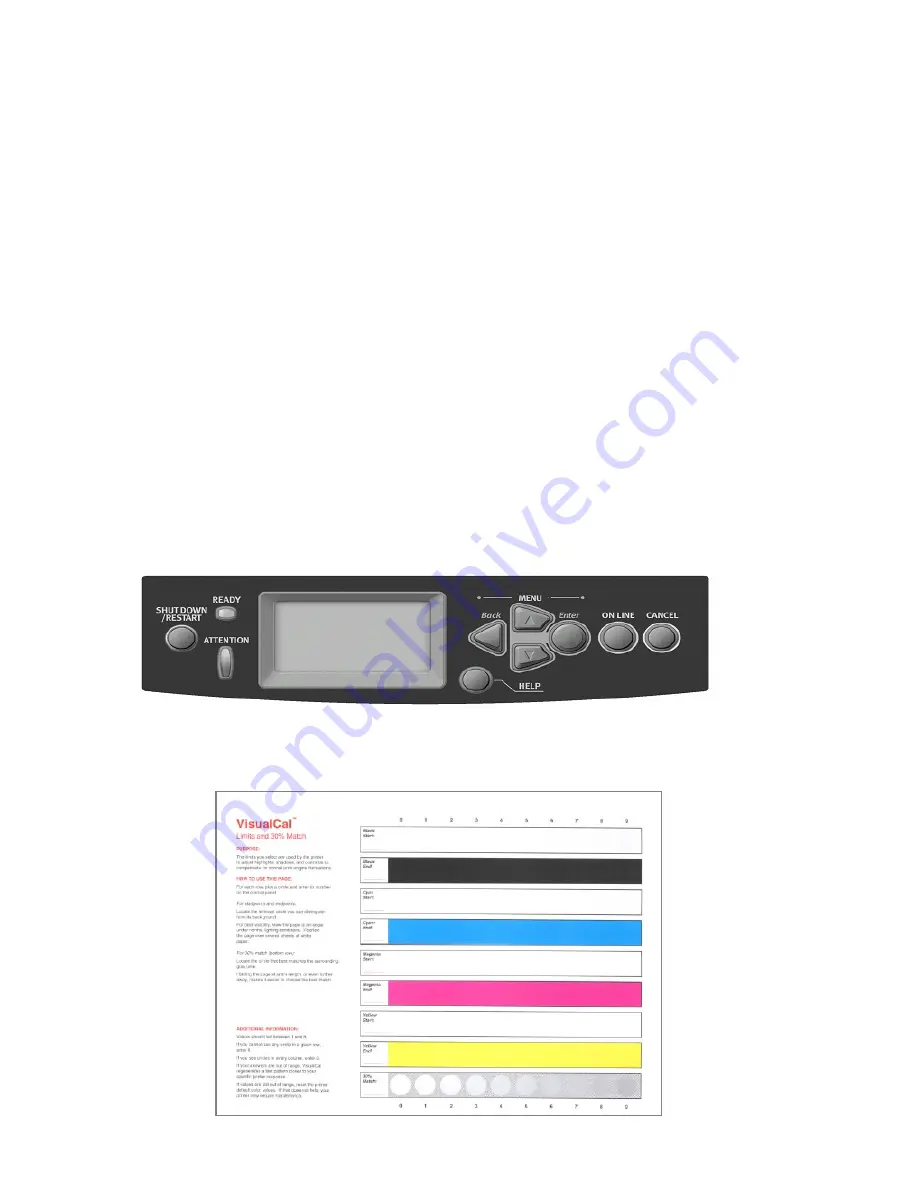
2.6 Service Adjustments
Calibrating the Printer
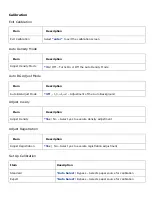
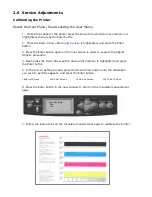
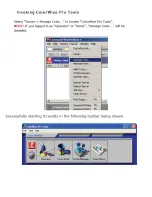
Select the User Menu (See Accessing the User Menu)
1. On the front panel of the printer press the Down Arrow button until
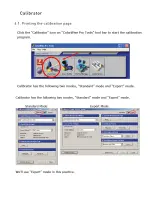
Calibration
is
highlighted, then press the Enter button
2. Press the Down Arrow until
Adjust Density
is highlighted, and press the Enter
button
3. Press the Enter button again on the next screen in order to execute the Adjust
Density procedure
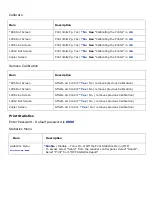
4. Next, press the Down Arrow button down until
Calibrate
is highlighted and press
the Enter button
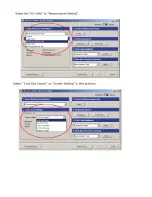
5. In the Screen Setting window press the Down Arrow button until the calibration
you wish to perform appears, and press the Enter button
*6X6 Dot Screen
12X6 Dot Screen
12X6 Line Screen
12X12 Dot Screen
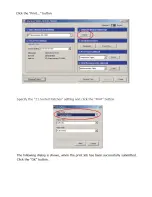
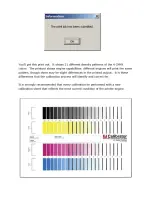
6. Press the Enter button in the next window to print out the VisualCal measurement
page
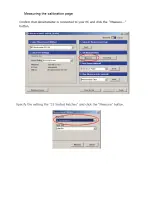
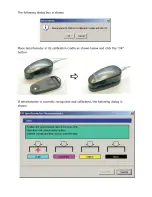
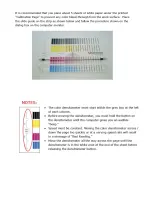
7. Follow the instructions on the VisualCal measurement page to calibrate the printer.
Print limits Pg.
*Yes
No
Содержание C9800 Series
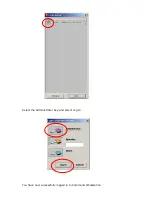
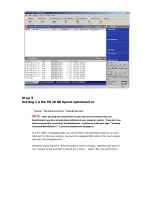
Страница 30: ...Step 3 Setting up the ES 1000 Spectrophotometer...
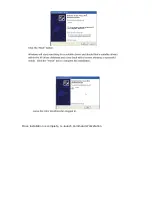
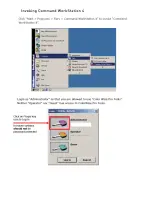
Страница 31: ...Once installation is complete re launch Command Workstation...
Страница 32: ......
Страница 33: ......
Страница 34: ......
Страница 35: ......
Страница 36: ......
Страница 37: ......
Страница 38: ......
Страница 39: ......
Страница 40: ......
Страница 41: ......
Страница 42: ......
Страница 43: ......
Страница 44: ......
Страница 45: ......
Страница 75: ...Return the paper guide back into position and close the cover Carefully remove the jammed paper 4 3...
Страница 77: ...Close the side cover Carefully remove the jammed paper 4 3...
Страница 83: ...Close the top cover and ensure that it is latched 12...
Страница 86: ...In a similar manner check for and clear any jammed paper in the rear cover Remove any jammed paper 6 5...
Страница 87: ...Raise the front cover of the duplex unit Replace the two top covers 8 7...
Страница 88: ...Push the duplex unit back into position 9...

