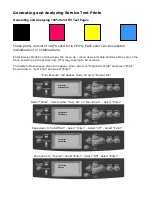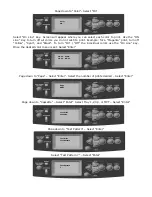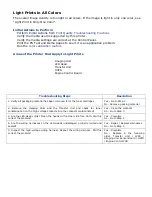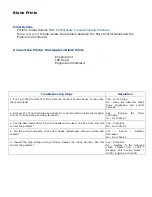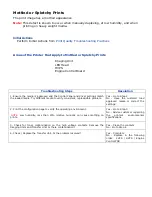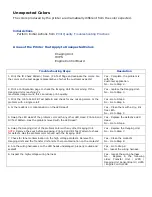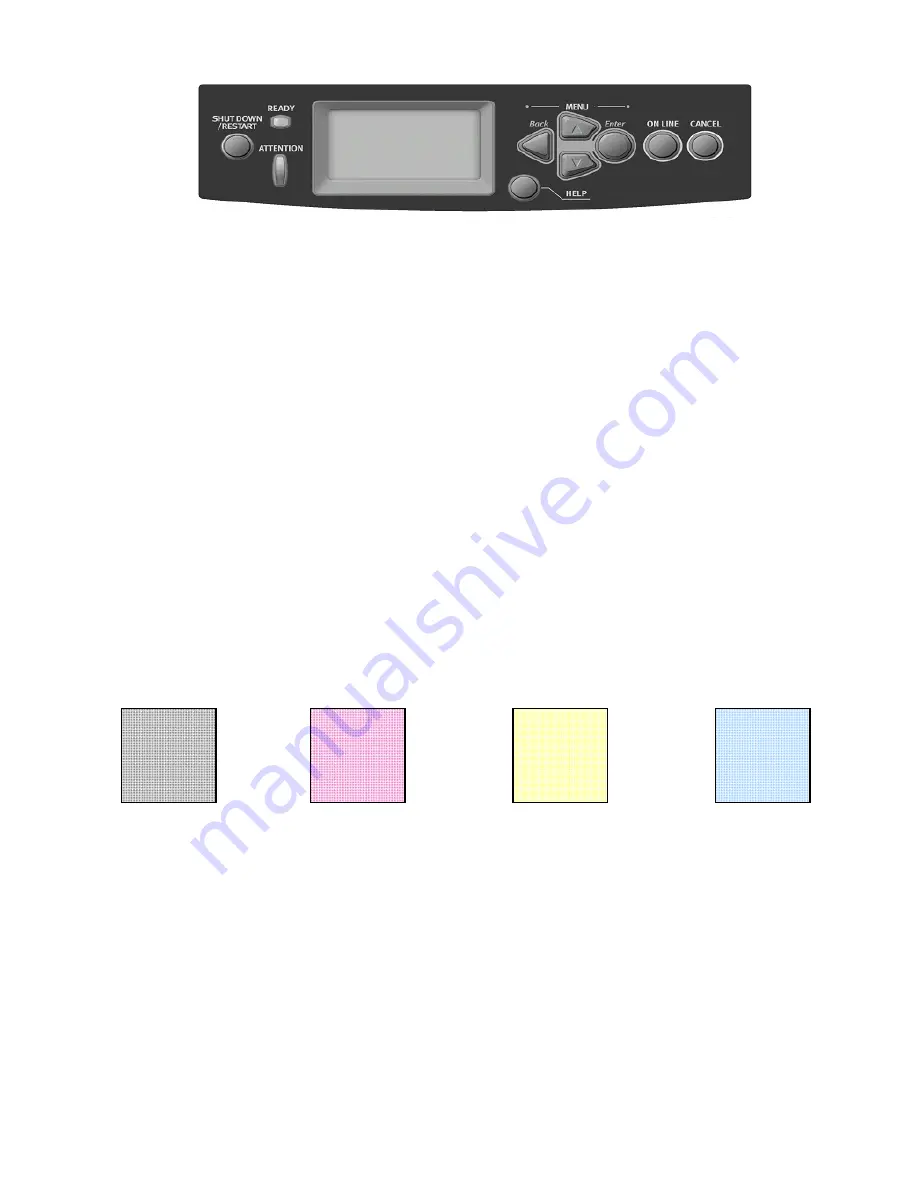
Page down to “Print Execute” – Select “Enter” to print selected test page
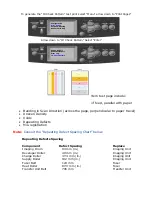
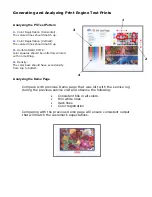
Things to observe when analyzing the 100% fill test page include:
2
Wrinkling
3
Creases
4
Roller marks
5
Scratches
6
Repeating defects or banding
7
Missing Color(s)
8
Streaks
9
Voids
1.
Consistent fills in each color. Each color should be consistent across the page with no voids.
2.
Look for thin white lines that would indicate a dirty LED lens or a scratched Imaging
Unit.
3.
Look for dark lines that would indicate a dirty or damaged Imaging Unit.
4.
Look for complete fusing. Cold or hot offset fusing could indicate the incorrect paper weight has
been selected
.
Generating and Analyzing 25% Color Fill Test Pages
The following print consists of 25% fill in CMYK. Follow the service mode procedure above and select
Test Pattern # 2.
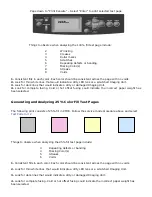
Things to observe when analyzing the 25% fill test page include:
3
Repeating defects or banding
4
Missing Color(s)
5
Streaks
6
Voids
1.
Consistent fills in each color. Each color should be consistent across the page with no voids.
2.
Look for thin white lines that would indicate a dirty LED lens or a scratched Imaging Unit.
3.
Look for dark lines that would indicate a dirty or damaged Imaging Unit.
4.
Look for complete fusing. Cold or hot offset fusing could indicate the incorrect paper weight has
been selected.
Test Print
Print Execute
Содержание C9800 Series
Страница 30: ...Step 3 Setting up the ES 1000 Spectrophotometer...
Страница 31: ...Once installation is complete re launch Command Workstation...
Страница 32: ......
Страница 33: ......
Страница 34: ......
Страница 35: ......
Страница 36: ......
Страница 37: ......
Страница 38: ......
Страница 39: ......
Страница 40: ......
Страница 41: ......
Страница 42: ......
Страница 43: ......
Страница 44: ......
Страница 45: ......
Страница 75: ...Return the paper guide back into position and close the cover Carefully remove the jammed paper 4 3...
Страница 77: ...Close the side cover Carefully remove the jammed paper 4 3...
Страница 83: ...Close the top cover and ensure that it is latched 12...
Страница 86: ...In a similar manner check for and clear any jammed paper in the rear cover Remove any jammed paper 6 5...
Страница 87: ...Raise the front cover of the duplex unit Replace the two top covers 8 7...
Страница 88: ...Push the duplex unit back into position 9...

