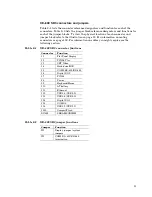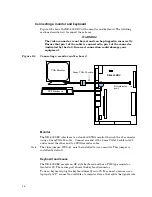
keyboard and mouse connectors.
Note
With some “Y” cables you may have to plug the mouse into the keyboard
icon, and the keyboard into the mouse icon; if the mouse and keyboard do
not function at power up, try switching them.
Installing an operating system
The XE–800 SBC does not come with an installed operating system. You can install
an operating system onto a hard drive or CompactFlash. Octagon Systems has OS
Embedder™ kits available for several operating systems. These kits directly
support the unique features of Octagon products, such as digital I/O, watchdog
timer, etc., eliminating the need to write special drivers. Other software kits may
also be available. Contact Octagon Systems for information concerning the
software development kits.
To install an operating system you will need:
2 mm VGA-12 video cable, #6392
PS/2 style keyboard
VGA monitor
CD-ROM drive
Operating system media
Hard drive or CompactFlash to install the operating system onto.
If installing onto a hard drive, an IDE cable with master and slave connectors.
OS on CD-ROM onto a hard drive or CompactFlash
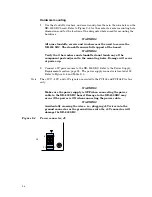
Refer to Figure 2–6 on page 29 for the following:
1. Attach the 2 mm VGA-12 video cable to J3.
2. Connect the PS/2 keyboard to J9, a VGA monitor to the VGA-12 video cable,
and a CD-ROM drive to J4. Configure the CD-ROM drive as a master.
3. If using a hard drive, configure it as a slave device and install it on the IDE
cable connected to J4.
Note
IDE devices have a jumper or a switch that designates whether the device is a
master or a slave device. If only one device is connected to a port, it must be
configured as a master. If two devices are connected, one must be configured as a
master and one as a slave. The XE–800 does not use the CS signal (Cable Select) to
designate master or slave on a multi-connector cable. You can use BIOS Setup to
designate either the master or the slave as a boot device.
4. If using a CompactFlash, install it into the CompactFlash socket.
27
Содержание XE-800
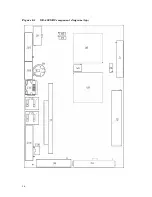
Страница 18: ...Figure 2 1 XE 800 SBC component diagram top 18 ...
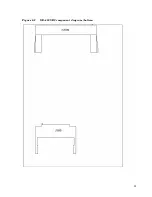
Страница 19: ...Figure 2 2 XE 800 SBC component diagram bottom 19 ...
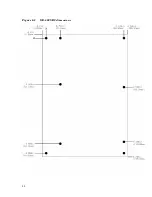
Страница 20: ...Figure 2 3 XE 800 SBC dimensions 20 ...
Страница 89: ...MOV AX 0fb0bh MOV DX 0ffffh INT 17h MOV aData AL if aData 1 printf U1 jumper is ON n 89 ...


