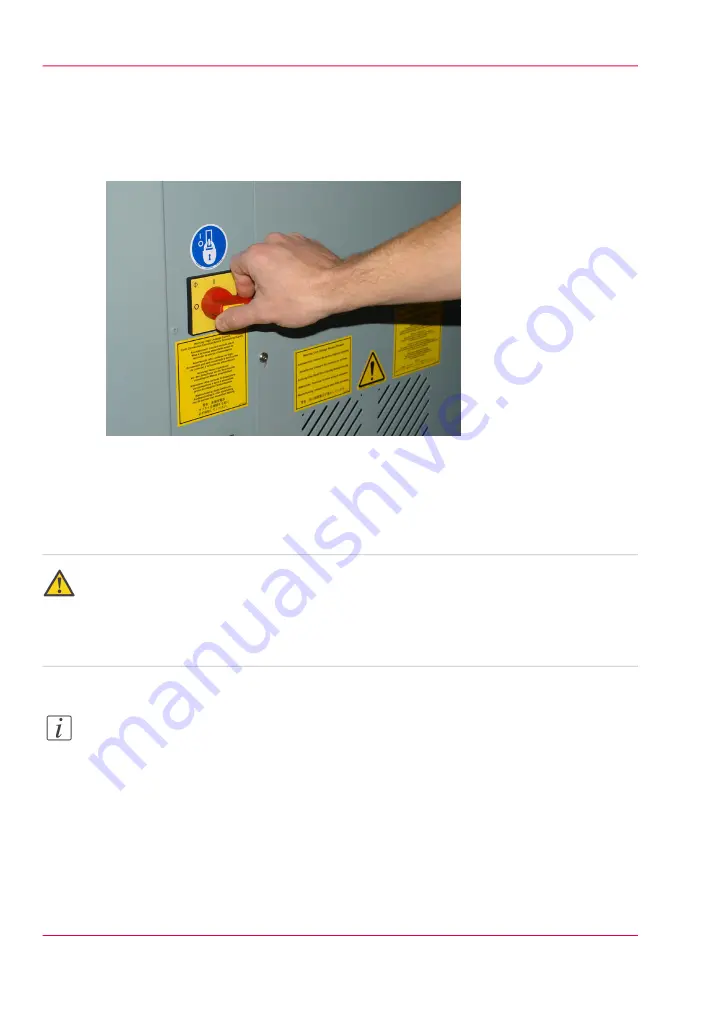
4.
During the boot-up procedure, the printer software is automatically started. The software
displays a splash screen followed by a screen that requests you to raise and then lower the
carriage guard.
5.
Lift the carriage guard slightly and then replace it. At the control station click on Continue
to finish the startup procedure.
[59] AC Power Switch
6.
The splash screen will show initialization messages and then the Print Job Control module
screen appears. The initialization is complete when the top left panel of the display shows
"Ready". Your printer is now ready for use.
Attention:
After powering the printer On, leave it running continuously, even when at idle. Failure
to leave the printer powered on may result in ink draining out of the ink reservoirs. It
may also result in damage to the printheads. Leave the printer powered On at all times,
unless service to electrical components is required.
Note:
The printer is designed to be left powered ON at all times as only minimal power is
consumed when the printer is idle.
Chapter 5 - How to Operate Your Océ Arizona Printer
74
How to Power the Printer On and Off
Содержание Arizona 400 Series GT
Страница 1: ...Oc Arizona 400 Series GT Oc Arizona 440 460 480 GT XT Revision A Oc User Manual...
Страница 6: ...6 Contents...
Страница 7: ...Chapter 1 Introduction...
Страница 14: ...Chapter 1 Introduction 14 Product Compliance...
Страница 15: ...Chapter 2 Product Overview...
Страница 18: ...Chapter 2 Product Overview 18 Printer Specifications...
Страница 19: ...Chapter 3 Safety Information...
Страница 41: ...Chapter 4 How to Navigate the User Interface...
Страница 44: ...44 Vacuum Zone Control Handles Chapter 4 How to Navigate the User Interface 44 Operator Interface Hardware...
Страница 71: ...Chapter 5 How to Operate Your Oc Arizona Printer...
Страница 97: ...Chapter 6 How to Operate the Oc Arizona 400 Series XT...
Страница 104: ...Chapter 6 How to Operate the Oc Arizona 400 Series XT 104 How to Print With Dual Origins...
Страница 105: ...Chapter 7 How to Operate the Roll Media Option...
Страница 136: ...Chapter 7 How to Operate the Roll Media Option 136 How to Use Media Edge Protectors...
Страница 137: ...Chapter 8 How to Use the Static Suppression Upgrade Kit...
Страница 141: ...Chapter 9 How to Work With White Ink and Varnish...
Страница 159: ...3 Send the job to the printer Chapter 9 How to Work With White Ink and Varnish 159 How to Select a Printer Flood Fill...
Страница 198: ...Chapter 9 How to Work With White Ink and Varnish 198 How to Create and Use Quick Sets...
Страница 199: ...Chapter 10 Ink System Management...
Страница 206: ...Chapter 10 Ink System Management 206 How to Change Ink Bags...
Страница 207: ...Chapter 11 Error Handling and Trou bleshooting...
Страница 211: ...Chapter 12 Printer Maintenance...
Страница 265: ...Appendix A Application Information...


