Customizing Zones
Customizing Your Web Page
69
4
Hold down the mouse button and drag the handle in the
direction that you want to enlarge or reduce the zone.
5
Release the mouse button when you are done.
The zone border changes to display the modified zone area.
Deleting Zones
You can delete the current zones if you want to create new zones. You
can also delete individual zones that you do not want to process during
OCR. Any part of a page image not enclosed by a zone is ignored during
OCR.
To delete and replace the current zones automatically, click the Zone
button in the AutoOCR toolbar. You will be prompted to replace the
current zones.
To delete zones:
1
Select the zone you want to delete by clicking inside the zone.
• Shift-click to select additional zones.
• Choose
Select All
in the Edit menu to select all zones on the
current page.
Selected zones are shaded.
2
Press the Delete key or choose
Clear
in the Edit menu.
The selected zones disappear.
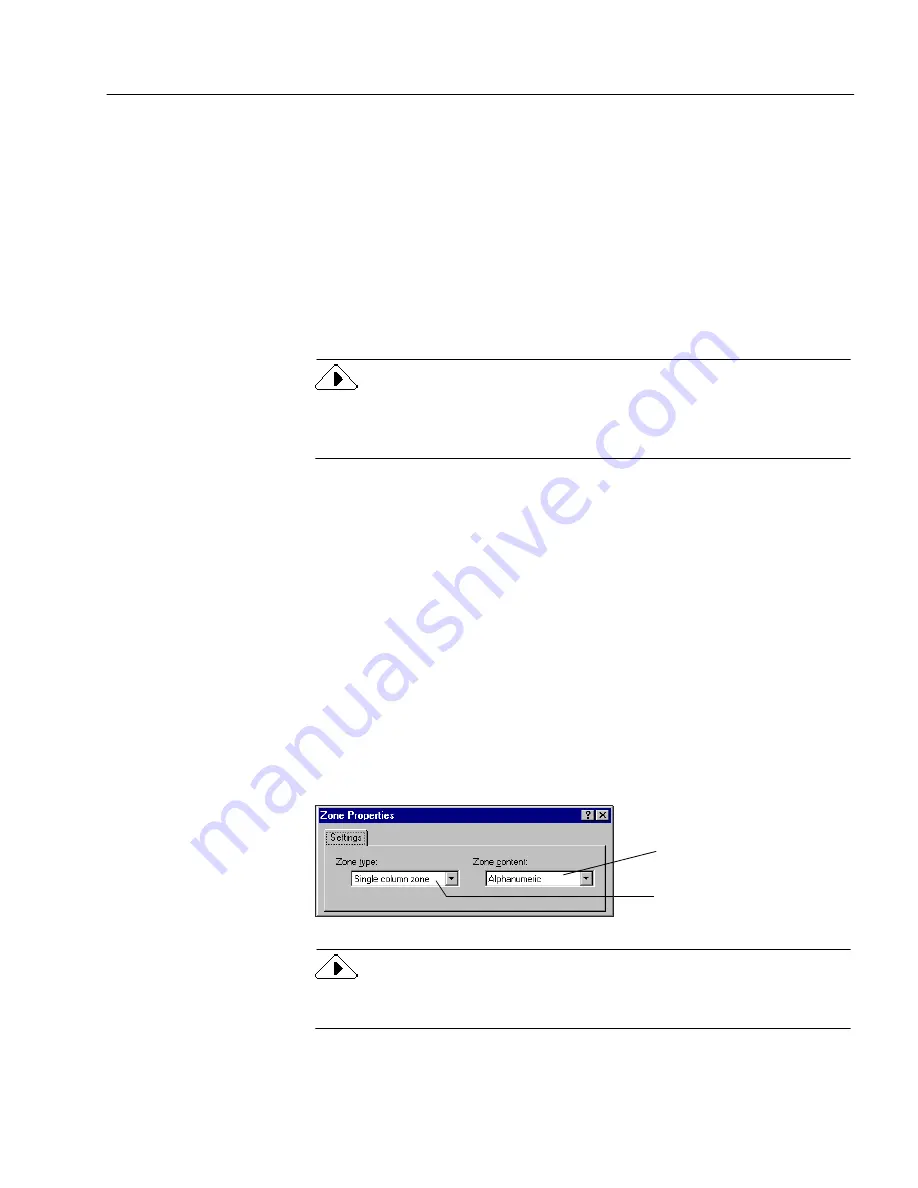
Changing Zone Properties
You can set certain properties for zones to customize how each zone will
be treated during OCR. The Zone Properties dialog box contains settings
for
zone type
and
zone content
.
When you change a zone type using the Zone Properties button, newly
drawn zones
and
any previously selected zones will change zone type.
Zone type drop-down list
Zone content drop-down list
Содержание OMNIPAGE WEB
Страница 1: ...OmniPage Web User s Manual...
Страница 6: ...vi...
Страница 16: ...10 Chapter 1...
Страница 26: ...20 Chapter 2...
Страница 48: ...Testing Your HTML Document 42 Chapter 3...


