Basic Configuration and Setup
Hardware Installation and Connection
Centillion 1200N ATM Switch User Manual
8-3
NTP 297-8103-903
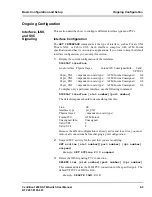
5.
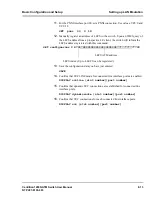
Enter a new enable password and press
[RETURN]
. Enter the password again
to verify.
6.
Enter Telnet password and press
[RETURN]
. Enter the password again to
verify.
Do not lose these passwords.
Once in privileged mode, the prompt changes from
>
to
#
. All commands are
available in privileged mode. The next steps set the basic configuration parameters
for the switch.
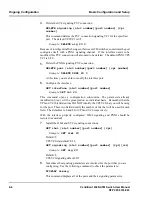
7.
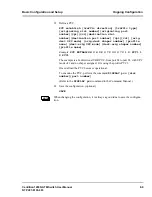
Set the clock source.
SET clock master
8.
Set the time and date of the switch.
SET time [yy-mm-dd][hh:mm:ss]
9.
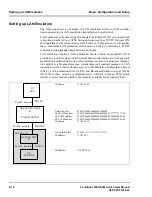
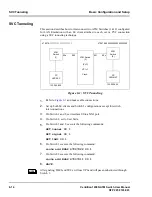
Set the local switch host name, ATM IP network address and netmask, and
ATM network address.
SET local [host name] [ATM IP network address]
[ATM IP network netmask] [ATM address]
The ATM network IP address must be on a different IP network from the Ethernet
port. Please take caution in configuring both IP addresses to ensure that they are
on different networks.
If an Ethernet PCMCIA card is installed, continue with step 10 to configure the
Ethernet interface to allow Telnet sessions to the MAT interface. Otherwise,
continue with step 11.
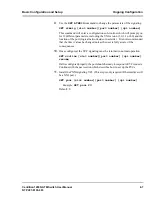
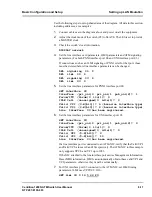
10.
Set the Ethernet interface configuration.
SET ether [Ethernet IP address[x.x.x.x]] [Ethernet
IP mask [x.x.x.x]]
11.
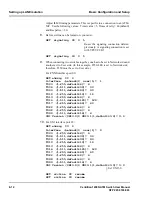
Save the configuration.
SAVE
12.
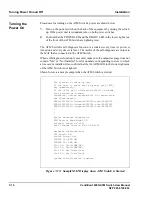
Reboot the switch by turning the power supply(s) off and then on.
After modifying items such as clock source and switch addressing information
and saving the configuration, reboot the switch to ensure that the new
information is updated properly. (Refer to the
RESET ?
command in the
Command Manual.)
This completes the basic configuration and setup of the ATM Switch.
NOTE
NOTE

