Installing Hardware
27
3.4. Hard Disk Drives
Do not operate the system without all hard drive trays inserted into the chassis. All
hard drive bays must be occupied by either a hard drive or an empty hard drive tray.
Hard drives may be removed while the system is operational but should be immediate-
ly replaced by another hard drive or an empty hard drive tray.
3.4.1. 3.5” SATA / SAS HDDs
The server can support up to 12 x 3.5” hot-pluggable SATA / SAS HDDs. You don’t need to pow-
er-off the system when removing or installing a HDD.
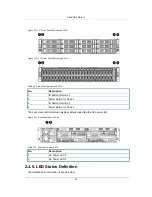
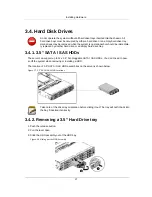
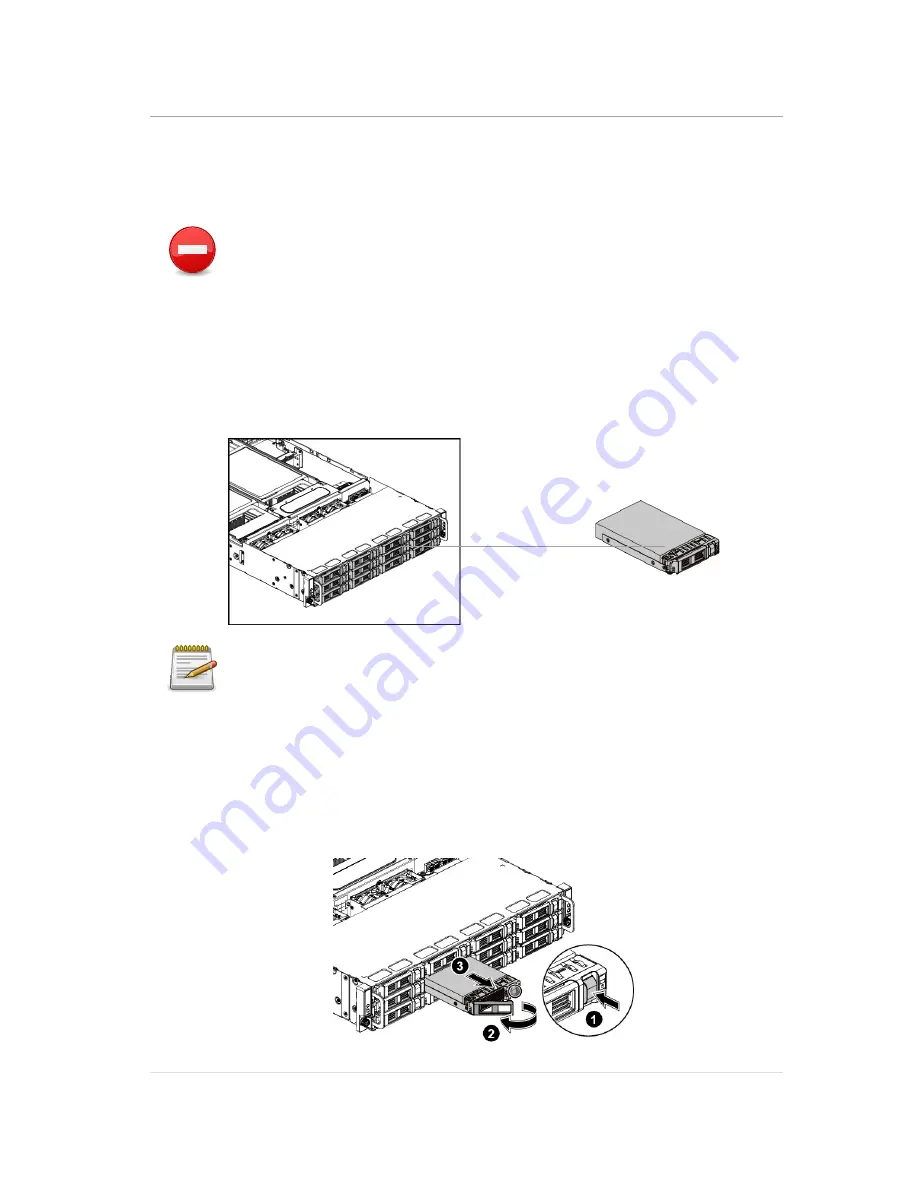
The location of 3.5” SATA / SAS HDD assemblies on the server is shown below:
Figure 3.7. 3.5” SATA / SAS HDD Locations
Take note of the drive tray orientation before sliding it out. The tray will not fit back into
the bay if inserted incorrectly.
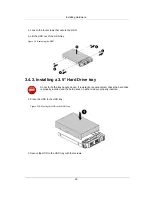
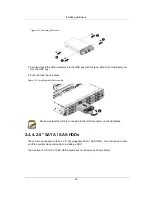
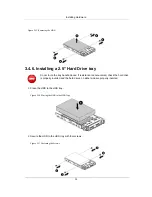
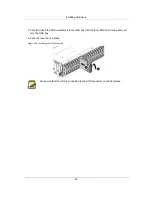
3.4.2. Removing a 3.5” Hard Drive tray
1. Push the release button.
2. Pull the lever open.
3. Slide the HDD assembly out of the HDD bay.
Figure 3.8. Sliding out the HDD Assembly
Содержание Demos R420 M2
Страница 1: ...Netberg Demos R420 M2 server User manual...
Страница 2: ...Netberg Demos R420 M2 server User manual...
Страница 12: ...1 Chapter 1 Safety Information...
Страница 19: ...8 Chapter 2 About the Server...
Страница 32: ...21 Chapter 3 Installing Hardware...
Страница 68: ...Installing Hardware 57 3 16 2 To install the strong plate Reverse the steps above to install the strong plate...
Страница 93: ...82 Chapter 4 Connectors...
Страница 95: ...Connectors 84 Figure 4 1 Mainboard Overview...
Страница 108: ...Connectors 97 4 9 Sensor Board Connectors Figure 4 13 Sensor Board 1 I2C Connector...
Страница 109: ...98 Chapter 5 Cable Routing...
Страница 110: ...Cable Routing 99 5 1 Cable Routing for 12 x 3 5 Hard Drives Configuration...
Страница 111: ...Cable Routing 100 5 2 Cable Routing for 24 x 2 5 Hard Drives Configuration...
Страница 112: ...101 Chapter 6 BIOS...
Страница 125: ...BIOS 114 6 3 1 5 CPU Advanced PM Tuning...
Страница 172: ...BIOS 161 6 4 2 View FRU Information...
Страница 176: ...BIOS 165 Menu Fields Settings Comments Network Device BBS Priorities 1...
Страница 182: ...171 Chapter 7 Rail Kit Assembly...
Страница 186: ...Rail Kit Assembly 175 Figure 7 3 Tightening the Thumbscrews...
Страница 187: ...176 Chapter 8 Troubleshooting...

