2-18 Installation and Upgrade
Replace the screw.
Turn the system over.
Hard Disk Upgrade Procedure
The notebook provides a built-in hard disk for the primary IDE controller. The
HDD is an industry standard 2.5” IDE disk drive and can be upgraded with
another standard 2.5” HDD.
To remove the built-in hard disk, follow these steps.
1.
Remove the two screws securing the palm-rest cover underneath the system
base unit.
2.
Remove the palm-rest cover by slowly unsnapping each section of the palm-
rest cover from the base unit.
3.
When you remove the entire palm-rest cover, remove the cable attaching the
glidepad to the daughterboard inside the unit.
4.
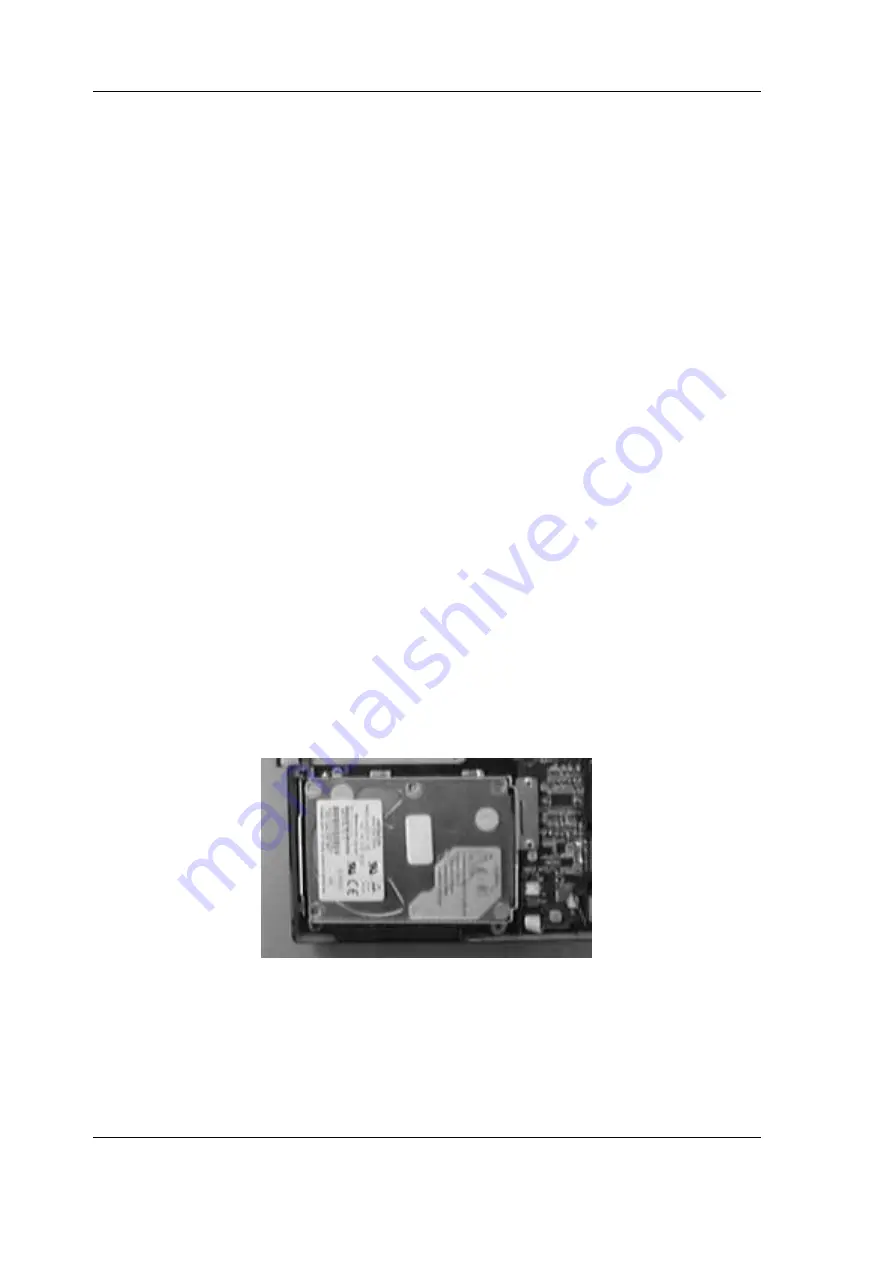
Once the cover is removed, you see the built-in hard disk secured with one
screw at the upper left corner of the hard disk. Remove the screw and
carefully pull the hard disk module from the connector on the
daughterboard.
5.
Remove the four screws securing the hard disk to the bracket connector and
replace with another one.
6.
Plug in the hard disk module to the connector on the daughterboard and
secure the screw on the upper left corner of the hard disk.
Hard Disk Drive Location


