Advanced fax
Printing a stored polling document
To print a document you’ve stored for regular polling without erasing it,
press
MENU
,
D
, [Enter], [PrintDoc].
Erasing a stored polling document
To erase a document you’ve stored for regular polling from your machine’s memory,
press
MENU
,
D
, [Enter], [EraseDoc], [EraseDoc].
Limiting polling access to your fax machine
Your machine’s closed network setting (see page 3.65) works for polling, also. If a
calling fax doesn’t “present” the proper passcode, it cannot poll from your fax.
Note: If you’re using the Block Junk Fax feature (see pages 3.65), even incoming
calls which meet the passcode test must come from phone
numbers you’ve approved.
Transferring documents (Fax forwarding)
This feature tells your fax machine to receive documents and then transfer them
automatically to another fax machine. You can set the time period for which the fax
machine will continue this process.
Note: Fax forwarding will not transfer F-Code reception documents.
Note: Fax forwarding is not available with the Tel Ready mode.
Turning the Fax forwarding on or off
1
Press
MENU
,
O
[the letter O, not a zero],
[Setting].
2
Select ON or OFF using the cursor key.
3
Press [Enter].
Note: If you assign Fax Forward into a Soft Key,
you can toggle ON and OFF easily. (See page 4.1)
Create the transfer pattern
You can create up to five transfer patterns.
To set up transfer pattern:
1
Press
MENU
,
O
[the letter O, not a zero],
[Enter].
2
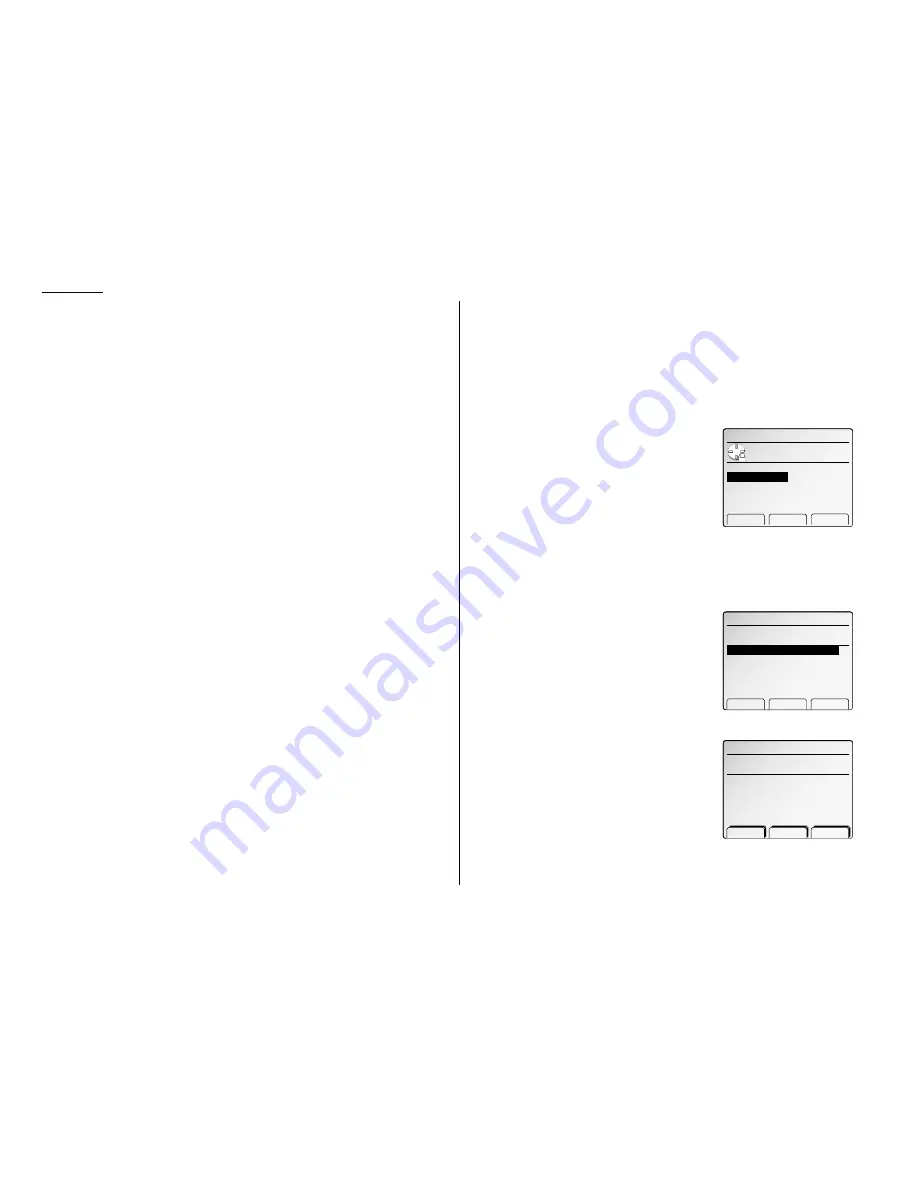
If you set up a transfer pattern at your first
time, skip to step 4.
If you have already set up any transfer pattern,
proceed to step 3.
3
Select the number you want to set up or
change.
4
Press [Enter]. The
LCD
shows (see right):
5
Enter the fax number for the remote fax to
which you want documents to be transferred.
Use either a one-touch number, a speed-dial
number, a call group or regular number dialed
from the numeric keypad.
If you are entering only one number for transferring, skip to step 7.
To add any additional fax numbers for this operation, proceed to step 6.
01:
‑ Clear Enter
Enter remote fax number.
̲
O.Fax Forwarding
Detail Erase Enter
Enter forward num. (1‑1)
01:
O.Fax Forward
Use cursor to set fax
forwarding ON or OFF.
OFF
ON
▲ ▼ Enter
3.36
Содержание FAX SCANNER
Страница 2: ......
Страница 15: ......
Страница 16: ...D84 90510 60...
Страница 51: ...Copy settings This page intentionally blank 2 31 Copy Features...
Страница 52: ...Some guidelines 3 1 Sending a fax 3 3 Receiving faxes 3 8 Using as a Phone 3 10 Basic fax features...
Страница 119: ...Fax Features Getting Started Advanced fax This page intentionally blank 3 67...
Страница 129: ...Fax settings This page intentionally blank 3 77 Fax Features Getting Started...
Страница 130: ...Soft Keys 4 1 Macros 4 3 Machine settings 4 6 Common settings...
Страница 147: ...Common settings This page intentionally blank 4 17 Common Settings Getting Started...
Страница 170: ...Appendix and index Specifications AI 1 Combination chart for copy functions AI 4 Glossary AI 6 Index AI 11...
Страница 184: ...This page intentionally blank Appendix index AI 14...
Страница 185: ...This page intentionally blank Appendix and index AI 15 Getting Started Appendix Index...
Страница 186: ...This page intentionally blank Appendix index AI 16...


