F
ax F
eatures
Getting Started
Scan settings
Default setting: Primary resolution: Normal, Primary contrast: Normal
Four different settings tell your machine how to scan documents. The initial factory
settings are probably right for most applications, so try using them before changing
any of these settings:
• Primary resolution mode — Sets the resolution for your documents. Choose
either normal, fine, superfine (“S-Fine” on the
LCD
) or grayscale mode (“Gray”).
• Primary contrast mode — Sets how light or dark you want faxed documents
to be when they arrive at their destination.
Note: The primary settings you choose effect your fax activity only.
To set these modes:
1
Press
MENU
,
J
, 0, 1, [Enter].
2
To set the primary resolution mode, select
“Resol.” then press [Enter].
3
Select desired resolution mode, then press
[Enter].
4
To set the primary contrast mode, select
“Contrast” then press [Enter].
5
Select desired contrast mode using a cursor key, then press [Enter].
6
Press [Exit] to exit this setting mode.
7
Press
RESET
to return to the standby mode.
By following the steps above, you’ve set your defaults for scanning. Before sending
documents, you can “override” these default scan settings for that transmission.
To override the default resolution and contrast settings before sending a document:
• Press
RESOLUTION
to change the resolution.
• Press
CONTRAST
to change the contrast.
Once your document is transmitted, your machine returns to its default settings.
Setting
ECM
Default setting: ON.
“Line noise,” or static on the line during a call, can easily disrupt the flow of data
from one fax machine to another.
That’s why your fax machine gives you the option of using the Error Correction
Mode (
ECM
). When two fax machines communicate while running in
ECM
, the send-
ing machine automatically checks the data as it sends. If the receiving fax machine
can’t verify the transmission, the first machine will re-send it as necessary.
Note:
ECM
gives you a better chance of transmitting a fax document over a bad
phone line, but it could also slow down the transmission time. And the worse
the line is, the slower the transmission. That’s why the machine lets you
turn
ECM
on or off as needed.
Note: Not all fax machines have
ECM
. If you’ve activated
ECM
and then transmit to
a fax machine not currently using
ECM
, there will be no change in the fax
transmission from a usual, non-
ECM
transmission.
1
Press
MENU
,
J
, 0, 7, [Enter].
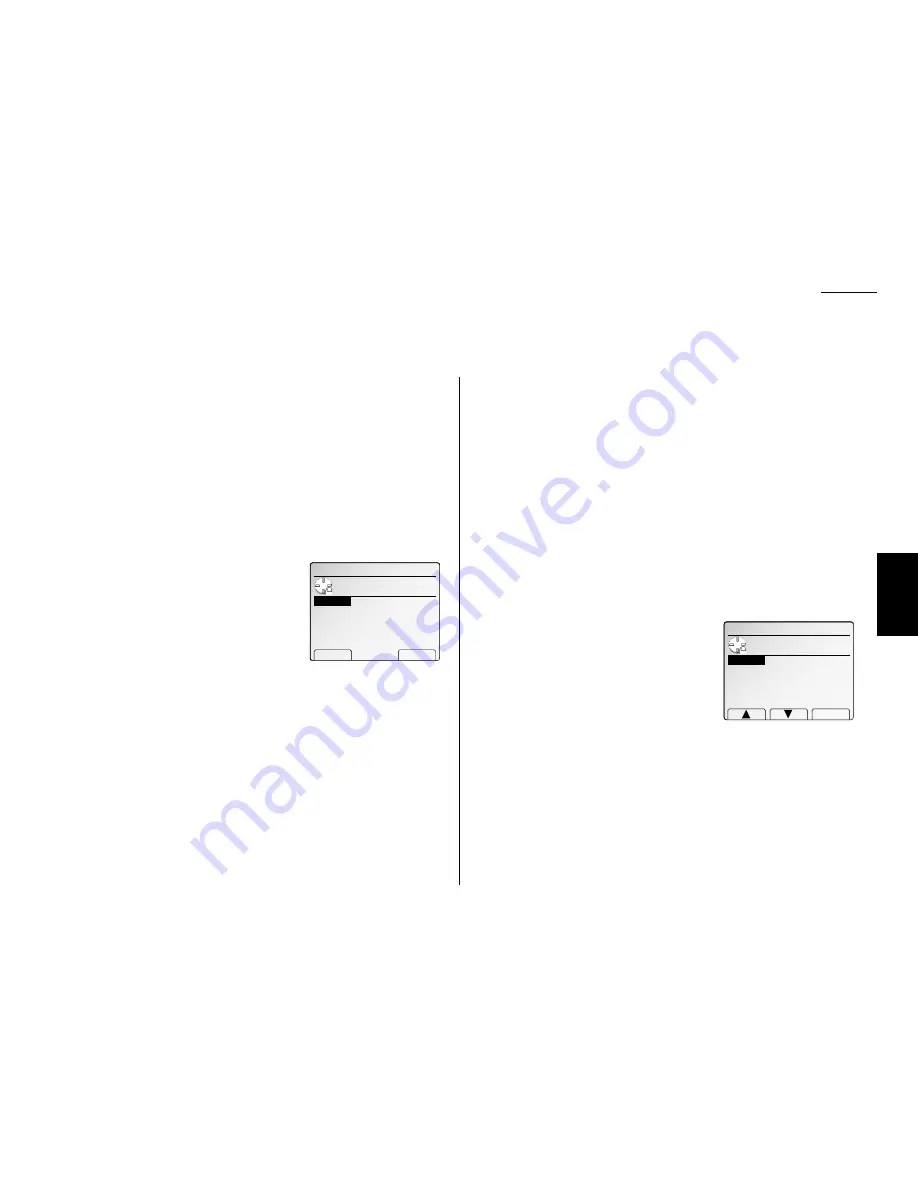
The
LCD
shows the current
ECM
setting:
2
Select “On” or “Off” using the cursor key.
3
Press [Enter] to save the setting.
4
Press
RESET
to return to the standby mode.
07.ECM Mode
Use cursor to select
ON or OFF.
OFF
Enter
ON
01.Scan Settings
Use cursor to select
item.
Contrast:Normal
Exit Enter
Resol.
:Normal
Fax settings
3.69
Settings for transmission
Содержание FAX SCANNER
Страница 2: ......
Страница 15: ......
Страница 16: ...D84 90510 60...
Страница 51: ...Copy settings This page intentionally blank 2 31 Copy Features...
Страница 52: ...Some guidelines 3 1 Sending a fax 3 3 Receiving faxes 3 8 Using as a Phone 3 10 Basic fax features...
Страница 119: ...Fax Features Getting Started Advanced fax This page intentionally blank 3 67...
Страница 129: ...Fax settings This page intentionally blank 3 77 Fax Features Getting Started...
Страница 130: ...Soft Keys 4 1 Macros 4 3 Machine settings 4 6 Common settings...
Страница 147: ...Common settings This page intentionally blank 4 17 Common Settings Getting Started...
Страница 170: ...Appendix and index Specifications AI 1 Combination chart for copy functions AI 4 Glossary AI 6 Index AI 11...
Страница 184: ...This page intentionally blank Appendix index AI 14...
Страница 185: ...This page intentionally blank Appendix and index AI 15 Getting Started Appendix Index...
Страница 186: ...This page intentionally blank Appendix index AI 16...


