Chapter 3 – RouteFinder Software Operation
Multi-Tech RouteFinder RF650VPN User Guide
64
Networks
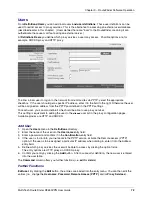
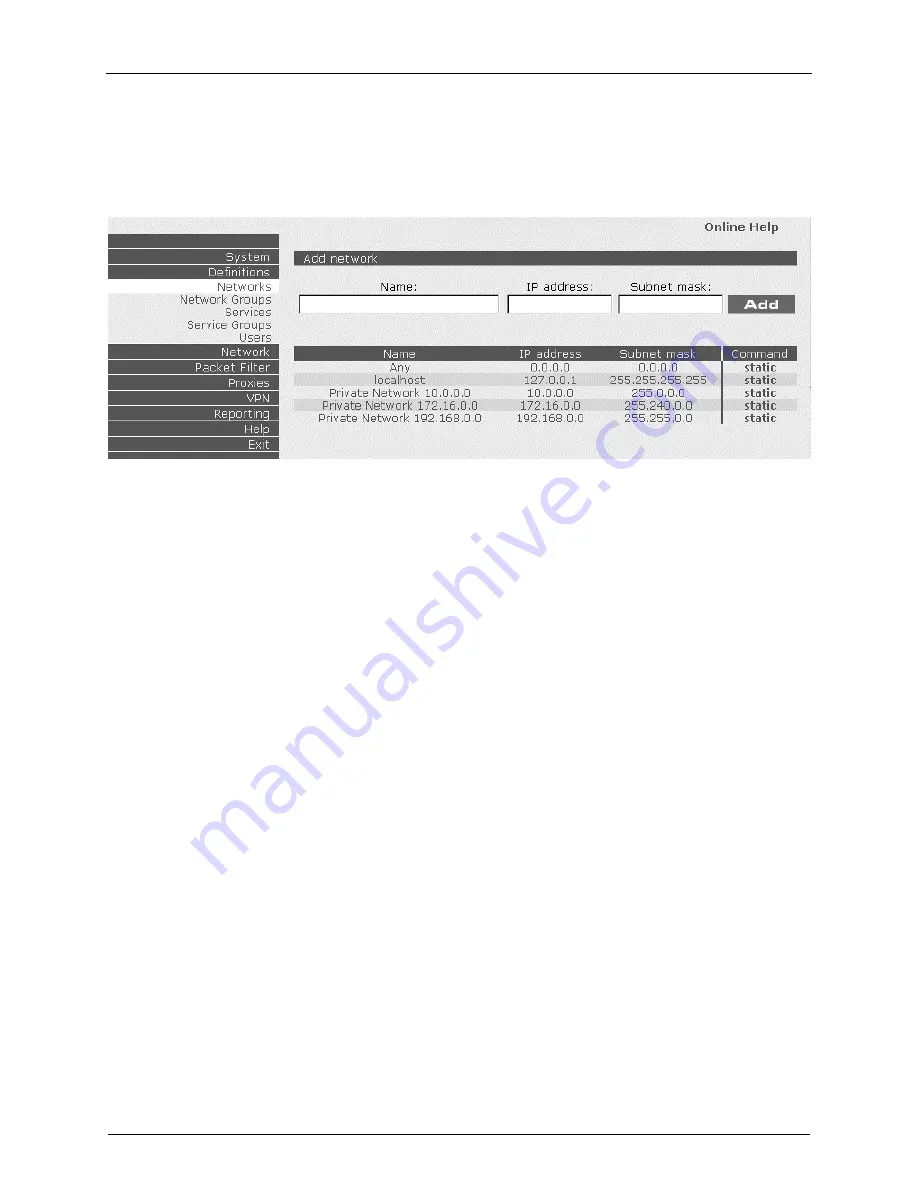
From Definitions|Networks you can Add, Edit, or Delete a network.
In the Add Network menu, you can add a new network. A network always consists of a Name,
an IP address and a Network Mask.
To define a single host, enter its IP address and use a netmask of 255.255.255.255.
Technically, single hosts are treated in the same way as networks.
Example 1: The IP address 192.168.2.1 and the subnet mask 255.255.255.0 define a private Class-C
net.
Example 2: The IP address 216.200.241.66 and the subnet mask 255.255.255.255 define a host in the
internet.
You can also use the bit "spelling" for the subnet mask (e.g., write 30 instead of 255.255.255.252).
The network table already contains some generic networks. These networks cannot be deleted or edited.
Add
Network
1.
Open the Network menu in the Definitions directory.
2.
Enter a straightforward name into the Name entry field. This name is later used to set packet filter
rules, etc.
Accepted characters are: the alphabet, the numbers 0 to 9, the minus sign and underscore.
A maximum of 39 characters are allowed.
3.
Enter the IP address of the network.
4.
Enter the Net Mask into the Subnet Mask entry field. Example: Entries can be made in the dot
notation style (e.g. 255.255.255.0 for a class C network), as well as the bitmask style (‘24’ for a class
C network).
5.
Confirm your entries by clicking the Add button. WebAdmin will now check your entries for validity.
After a successful definition, the new network is entered into the network table. You will also find this
network in other menus under the appropriate name. You can now, for example, enable WebAdmin
access for this network in System|Settings. You are then offered further functions in the Command
column (i.e., edit network or delete network).


