- 14 -
•
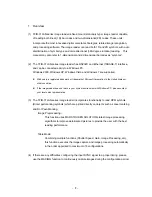
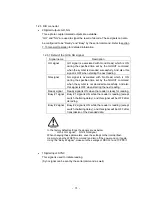
DIO cable assembly
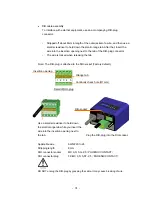
To interface with external equipment, use an accompanying DIO-plug
connector.
-
Stripped off about 8mm in length of the outer jacket of a wire, and then use a
small screwdriver to hold down the small orange tab. After that, insert the
wire into the insertion opening next to the tab of the DIO-plug connector.
- The wire is locked when releasing the tab.
Note: The DIO-plug is attached to the DIO-socket (Factory default).
Applicable wire
: AWG#20 to 26
Stripping length
: 8mm
DIO connector socket
: MC 0,5/ 5-G-2,5
(
PHOENIX CONTACT
)
DIO connector plug
: FK-MC 0,5/ 5-ST-2,5
(
PHOENIX CONTACT
)
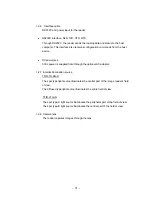
DO NOT unplug the DIO-plug by grasping the cable. It may cause breaking of wire.
1 2 3 4 5
Orange tab
Continuity check hole (
Φ
1mm)
Insertion opening
Detail of DIO-plug
Use a small screwdriver to hold down
the small orange tab while you insert the
wire into the insertion opening next to
the tab.
Plug the DIO-plug into the DIO-socket.
DIO-socket
Содержание TFIR-31LAN series
Страница 2: ...Update Information Edition Date Update Contents 1st edition 2012 06 13 New release...
Страница 3: ...1...
Страница 89: ...87 7 14 Table of Character code...
Страница 91: ...89...
Страница 101: ...99 Memorandom...
Страница 102: ...100 Memorandom...
Страница 103: ...101 Memorandom...
Страница 104: ......


