Technical Information
36
H 408x BM
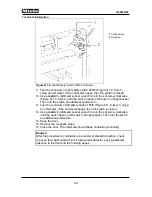
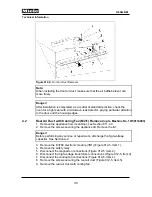
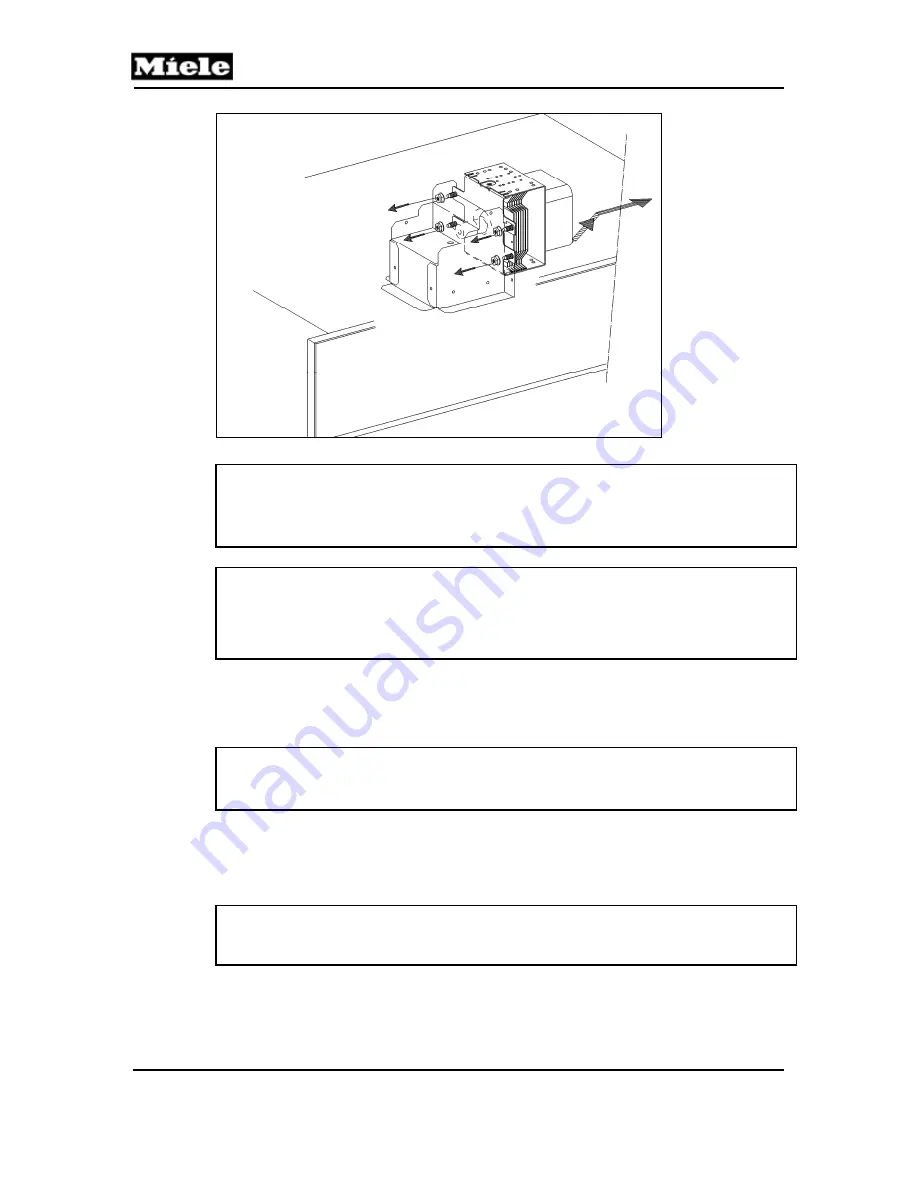
Figure 012-10:
Magnetron Removal
Note:
When re-installing the magnetron, tighten the four locknuts securely to ensure
a good ground connection. Also re-install the ducting that was removed and
secure it in place.
Danger!
After installation is completed, as a matter of standard practice, check the
oven for a tight seal with a microwave leak detector, paying particular attention
to the door and the housing edges.
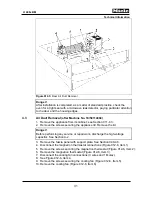
4.10
Removing High-Voltage Capacitor A4
1. Remove the appliance from its cabinet; see Section 011-4.3.
2. Remove the screws securing the appliance lid. Remove the lid.
Danger!
Before performing any service or repair work, discharge the high-voltage
capacitor. See Section A-2.
3. Remove the capacitor retaining screw.
4. Remove the capacitor from the clasp assembly.
5. Disconnect the capacitor connections.
6. Pull the foil cover off the capacitor.
Danger!
Replace the foil cover between the side wall and capacitor when installing the
high-voltage capacitor.
Содержание H 4080 BM
Страница 1: ...TECHNICAL INFORMATION H 408x BM Speed Ovens 2013 Miele USA ...
Страница 15: ...Technical Information 15 H 408x BM 011 Casing Door Lock ...
Страница 25: ...Technical Information 25 H 408x BM 012 Air Duct Magnetron ...
Страница 43: ...Technical Information 43 H 408x BM 020 Door ...
Страница 47: ...Technical Information 47 H 408x BM 031 Oven Cavity Wave Distribution ...
Страница 52: ...Technical Information 52 H 408x BM 032 Convection Fan Heaters ...
Страница 58: ...Technical Information 58 H 408x BM 040 Control Panel Electrical System ...


