Technical Information
17
H 408x BM
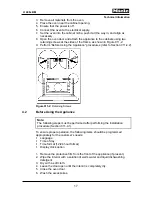
3. Remove all materials from the oven.
4. Place the oven near the cabinet opening.
5. Ensure that the power is off.
6. Connect the oven to the electrical supply.
7. Set the oven into the cabinet niche, push it all the way in, and align as
necessary.
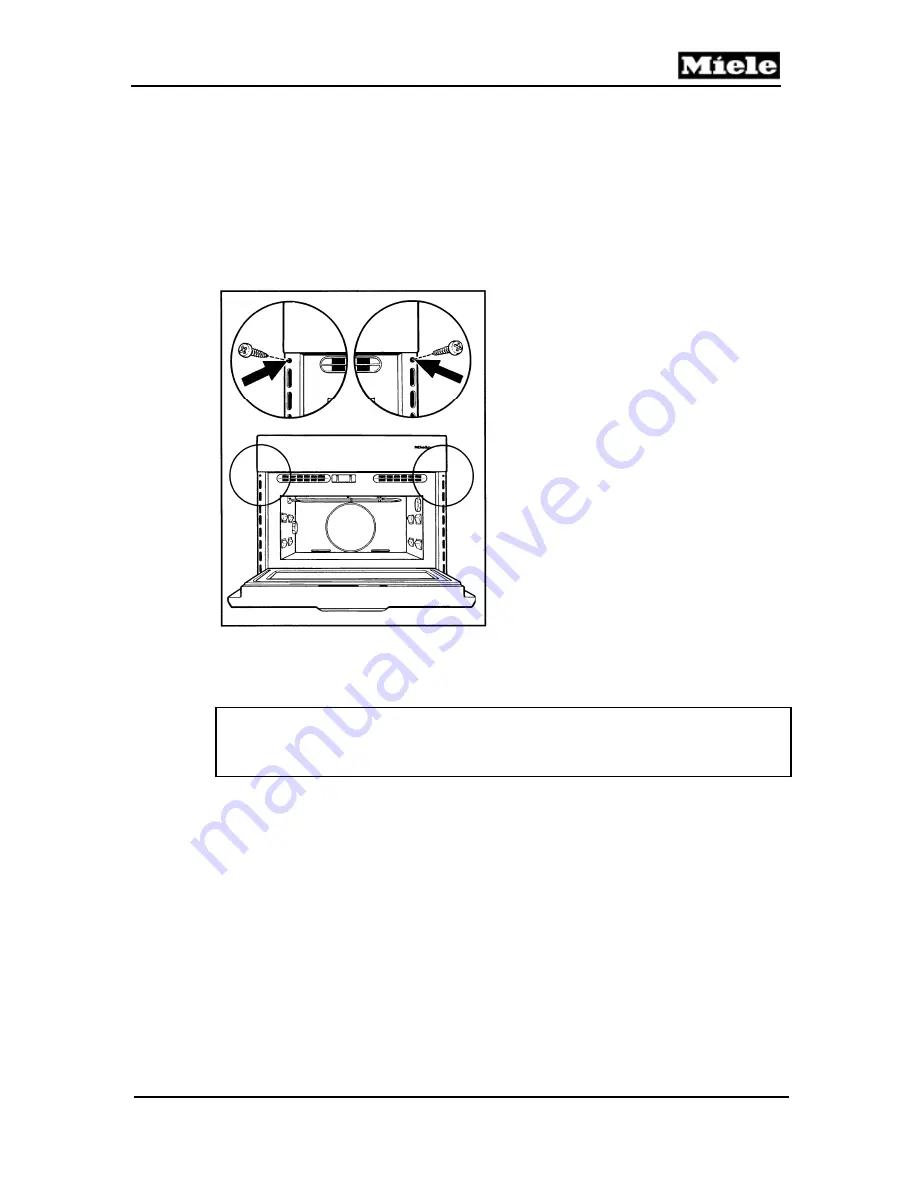
8. Open the oven door and attach the appliance to the cabinets using two
retaining screws at the sides of the frame, as shown in Figure 011-2.
9. Perform “Before Using the Appliance” procedures (refer to Section 011-4.2).
Figure 011-2:
Retaining Screws
4.2
Before Using the Appliance
Note:
The following steps must be performed after performing the installation
procedure (Section 011-4.1).
To ensure proper operation, the following items should be programmed
appropriately for the customer’s needs:
Language
Time of day
Time format (12/24 hour format)
Display clock option
1. Remove the protective film from the front of the appliance (if present).
2. Wipe the interior with a solution of warm water and liquid dishwashing
detergent.
3. Dry with a soft cloth.
4. Leave the door open until the interior is completely dry.
5. Close the oven door.
6. Wash the accessories.
Содержание H 4080 BM
Страница 1: ...TECHNICAL INFORMATION H 408x BM Speed Ovens 2013 Miele USA ...
Страница 15: ...Technical Information 15 H 408x BM 011 Casing Door Lock ...
Страница 25: ...Technical Information 25 H 408x BM 012 Air Duct Magnetron ...
Страница 43: ...Technical Information 43 H 408x BM 020 Door ...
Страница 47: ...Technical Information 47 H 408x BM 031 Oven Cavity Wave Distribution ...
Страница 52: ...Technical Information 52 H 408x BM 032 Convection Fan Heaters ...
Страница 58: ...Technical Information 58 H 408x BM 040 Control Panel Electrical System ...

