17
ENGLISH
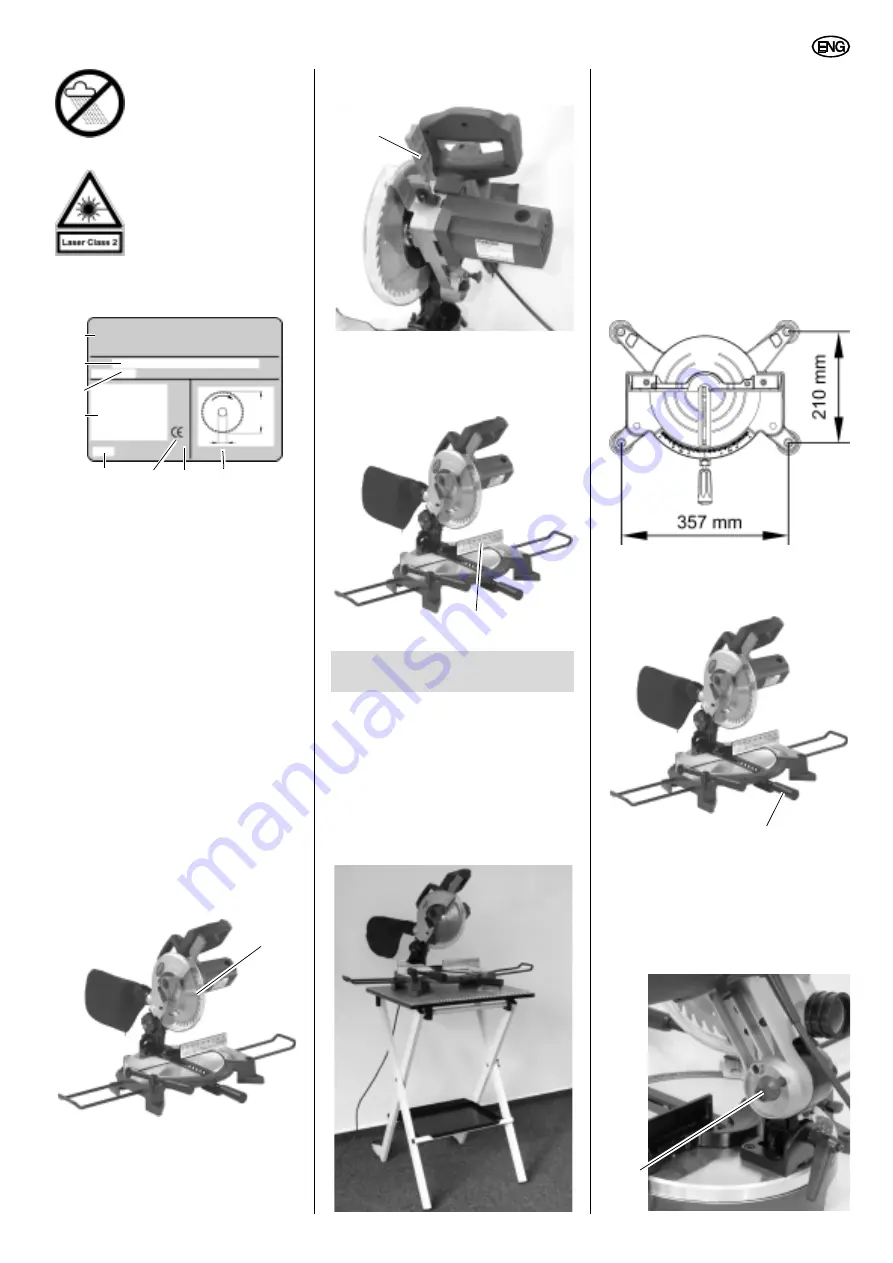
Do not operate tool in a
damp or wet environment.
Laser radiation
Do not look into the beam.
Laser class 2
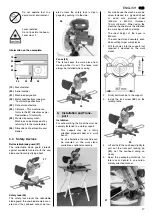
Information on the nameplate:
3.4
Safety Devices
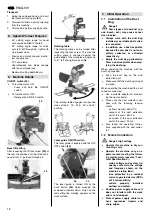
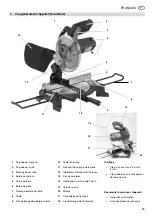
Retractable blade guard (27)
The retractable blade guard protects
against accidental contact with the saw
blade and from chips flying about.
Safety lock (28)
The safety lock blocks the retractable
blade guard: the saw blade remains cov-
ered and the sawhead cannot be low-
ered unless the safety lock is disen-
gaged by pushing it to the side.
Fence (29)
The fence keeps the work piece from
moving while it is cut. The fence must
always be installed when sawing.
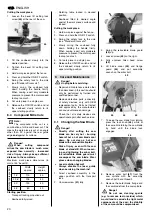
Installation
For safe working the machine must be
securely fastened to a sturdy support.
This support may be a firmly
attached plywood sheet or a work
bench.
As an alternative the machine can
be mounted on the work stand,
available as optional accessory:
For mobile use the machine can be
screw fastened to a plywood sheet
or wood core plywood sheet
(500 mm x 500 mm, thickness
19 mm minimum). When using the
machine the sheet must be attached
to a work bench with G-clamps.
The ideal height of the base is
800 mm.
The saw must stand securely, even
when cutting larger work pieces.
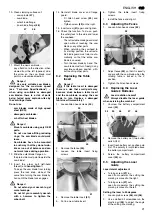
1.
Drill four holes into the support (not
required if mounted on the work
stand).
2.
Firmly bolt machine to the support.
3.
Install the lock screw
(30)
on the
rotating table.
4.
Lift and hold the sawhead slightly to
pull out the transport locking pin
(31)
. Let the sawhead swing up
slowly.
5.
Keep the packaging materials for
later use or discard in an environ-
metally-oriented manner.
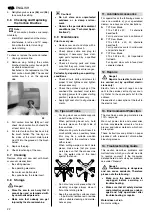
(19)
Manufacturer
(20)
Serial number
(21)
Machine designation
(22)
Motor specifications (see also
"Technical Specifications")
(23)
Date of manufacture
(24)
CE-mark – This machine con-
forms to the EC directives as per
Declaration of Conformity
(25)
Waste disposal symbol –
Machine can be disposed of by
returning it to the manufacturer
(26)
Dimensions of permissible saw
blades
20
21
22
23
24
26
19
25
27
4.
Installation and Trans-
port
28
29
30
31


