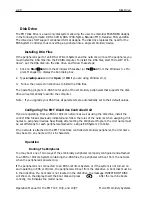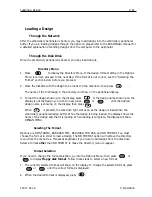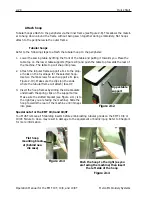
Standard Cap Frames
3-1
11817 Rev. A
3. Accessories
3. Accessories
Standard Cap Frames
Because a cap is not flat, it cannot be hooped in a flat hoop. To solve this problem, a special
device called a cap frame has been created to hoop caps. There are two sizes of cap frames:
7.0cm X 14.2cm (Large) and 6.3cm X 14.2cm (Small).
There are three parts to a cap frame:
•
The cap hoop
•
The cap frame driver
•
The cap frame gauge
Installing the Standard Cap Frame Driver
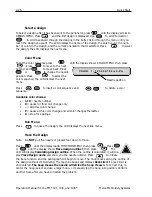
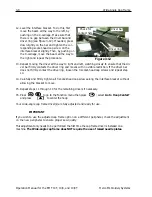
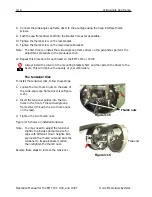
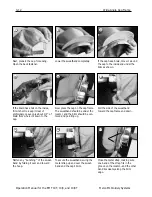
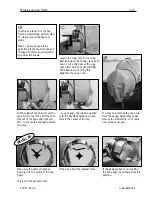
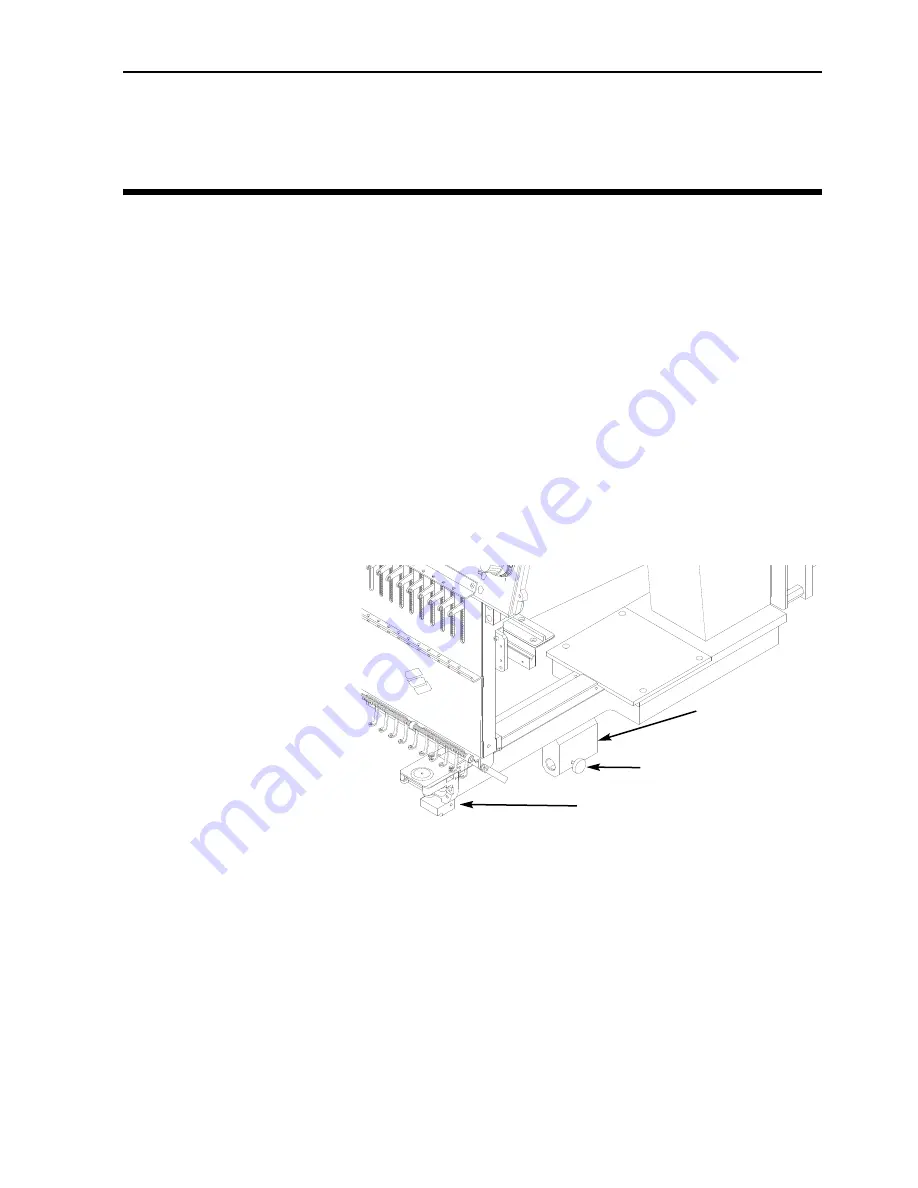
Follow these steps and consult Figures 3-1 and 3-2 to attach the cap frame.
1. Lower the tabletop to gain
access to the cap frame
mounting brackets under the
head.
Special note for the EMT 10/4
and 10/4T
You MUST remove all 5 tabletop
inserts before embroidering caps
on the EMT 10/4 or 10/4T. Fail-
ure to do so may result in dam-
age to the equipment or bodily
injury. Refer to Chapter 1 for
more information. Also, correlate
the number on the driver with
the number on the head to
ensure sew quality.
2. Select the
Large
or
Small cap frame
hoop size from the Options Menu.
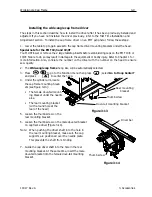
3. Under the cylinder arm, locate these cap frame mounting brackets:
•
The dove-tail bracket under the needle area
•
The bracket with a round hole at the rear of the head.
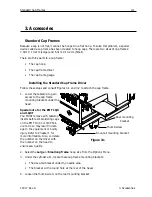
4. Loosen the thumb screw on the rear mounting bracket.
Figure 3-1
Dove-tail mounting bracket
Rear mounting
bracket
Thumb screw
Содержание EMT 10/4
Страница 24: ...1 16 Support brackets Operation Manual for the EMT 10T 10 4 and 10 4T Melco Embroidery Systems ...
Страница 52: ...2 28 Quick Start Operation Manual for the EMT 10T 10 4 and 10 4T Melco Embroidery Systems ...
Страница 108: ...6 10 Error Messages Operation Manual for the EMT 10T 10 4 and 10 4T Melco Embroidery Systems ...
Страница 126: ...INDEX Operation Manual for the EMT 10T 10 4 and 10 4T ...
Страница 127: ...Quick Ref erence Guide for the EMT 10T 10 4 and 10 4T 11817 Revision A ...
Страница 130: ...EMT MENU AND COMMAND QUICK REFERENCE ...


