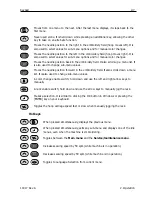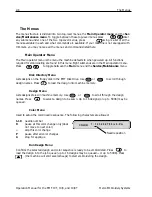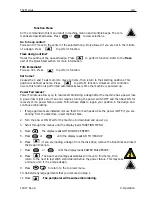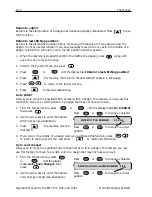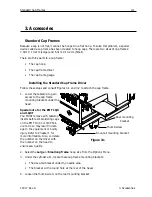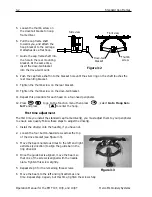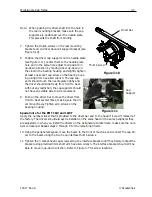
Loading a Design
2-21
11817 Rev. A
2. Operation
Loading a Design
Through the Network
After the embroidery peripheral is booted, you may load designs into the embroidery peripheral
buffer. If you are loading designs through the network, please refer to the EDS III Basic manual for
a detailed explanation of sending designs from the computer to the peripheral.
Through the Disk Drive
Once the embroidery peripheral is booted, you may load designs.
Directory Menu
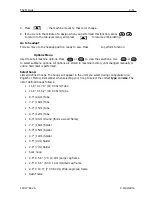
1. Press
to display the Directory Menu. If the design format setting in the Options
Menu is correct, proceed to the next step. If the format is not correct, see the “Selecting the
Format” section below before you proceed.
2. Place the diskette with the design to be loaded in the disk drive, then press
.
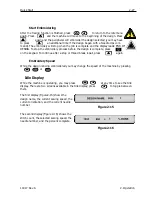
The name of the first design in the directory will show on the peripheral display.
3. To load the design showing on the display, press
. If the design name showing on the
display is not the design you wish to load, press
or
until the desired
design name is showing on the display, then press
.
When
is pressed, the disk drive light comes on as the design is loaded into the
embroidery peripheral design buffer. While the design is being loaded, the display shows the
name of the design and that it is loading. When loading is complete, the display will show
DESIGN MENU.
Selecting The Format
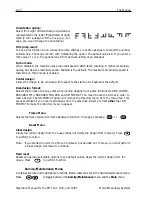
Options are DOS, TAJIMA, BARUDAN FMC, BARUDAN FDR, ZSK, and NO FORMAT. You must
choose the format in order to load a design. The NO FORMAT option will remove the Directory
menu from the menu tree. This saves keystrokes if you never load designs from the disk drive.
Select a format
other
than NO FORMAT to make the Directory menu re-appear.
Format Selection
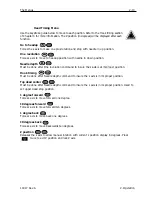
If you need to change the format selection, go into the Options Menu, then press
or
to display
Floppy disk format
. Follow these steps to select a new format:
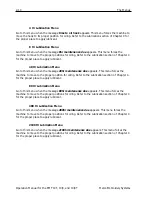
1. The currently selected format will show on the display. To change the selected format, press
or
until the correct format is displayed.
2. When the desired format is displayed, press
.
▲
▲
▼
▲
▲
▲
▲
▼
▲
▼
Содержание EMT 10/4
Страница 24: ...1 16 Support brackets Operation Manual for the EMT 10T 10 4 and 10 4T Melco Embroidery Systems ...
Страница 52: ...2 28 Quick Start Operation Manual for the EMT 10T 10 4 and 10 4T Melco Embroidery Systems ...
Страница 108: ...6 10 Error Messages Operation Manual for the EMT 10T 10 4 and 10 4T Melco Embroidery Systems ...
Страница 126: ...INDEX Operation Manual for the EMT 10T 10 4 and 10 4T ...
Страница 127: ...Quick Ref erence Guide for the EMT 10T 10 4 and 10 4T 11817 Revision A ...
Страница 130: ...EMT MENU AND COMMAND QUICK REFERENCE ...

