


60
Chapter 7: Draw in Flash
Group the shape
You can manipulate the stroke and fill of a shape as separate entities, as you did earlier, or you can
group the stroke with the fill to manipulate the shape as a single graphic, which you’ll do now.
1.
With the Selection tool, drag around the shape to select both the stroke and the fill. Select
Modify > Group.
2.
Click the fill area and move the shape around the left side of the Stage, as desired, to place it.
Create a logo with the Pen tool
The Pen tool offers a way to draw precise straight or curved line segments. You click to create
points on straight line segments, and click and drag to create points on curved line segments. You
can adjust the segments by adjusting points on the line. You’ll use the Pen tool to create the logo.
1.
In the Tools panel, select the Pen tool.
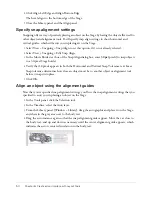
2.
Click the dot next to the number 1, and then click the dot next to the number 2 to create a
straight line segment.
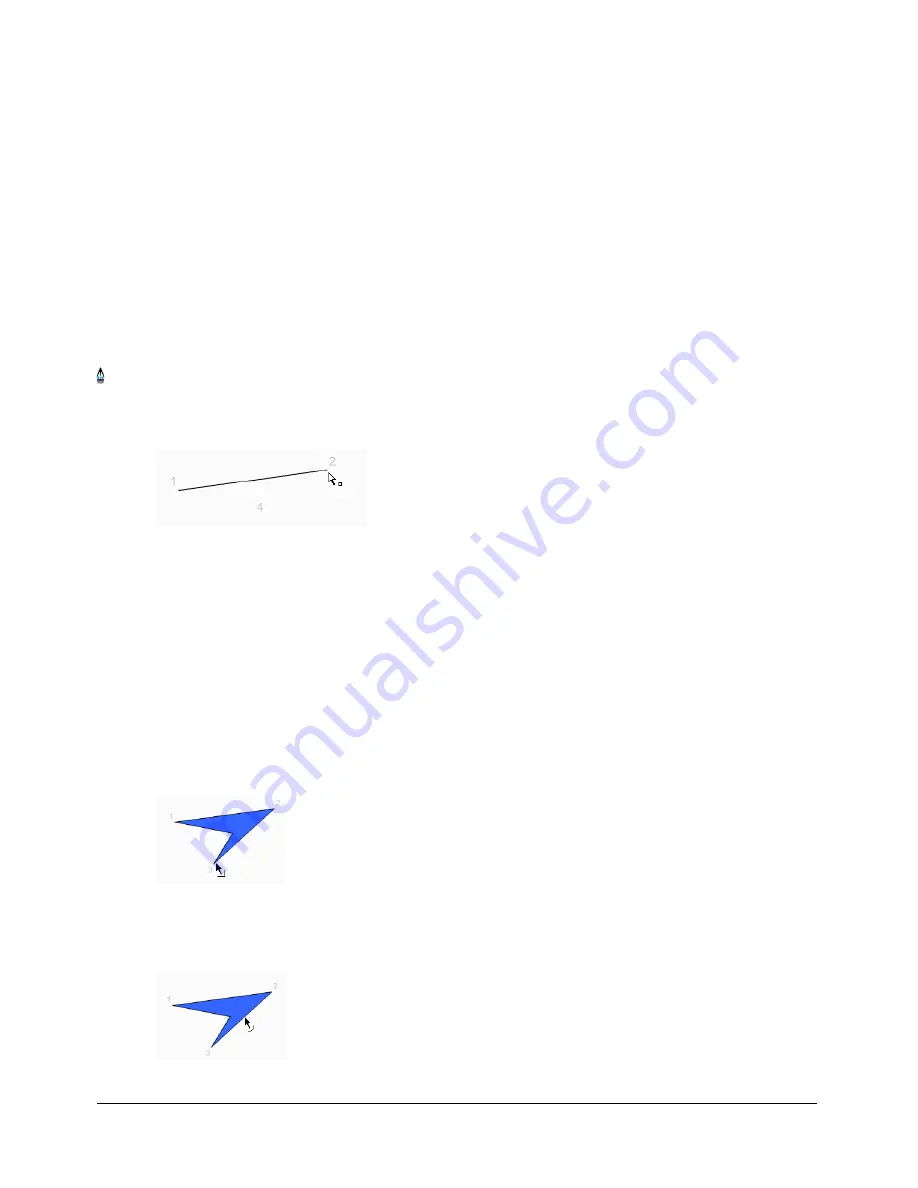
3.
Click the dot next to the number 3 and next to the number 4 in sequence (as though you were
completing a dot-to-dot drawing) to create the straight line segments that comprise the logo.
4.
To close the path, position the Pen tool over the first anchor point (the dot by number 1). A
small circle appears next to the pen tip when it is positioned correctly. Click to close the path.
Once the path is closed, it fills with the selected fill color.
By default, selected curve points appear as hollow circles, and selected corner points appear as
hollow squares.
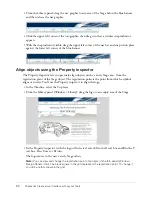
5.
With the Selection tool, move the pointer around the logo that you created.
When you move the pointer over a corner point, which you can click and drag to create various
angles, the pointer appears as follows:
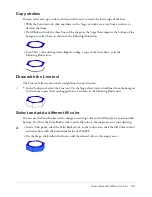
When you move the pointer over a curved line segment (you don’t have curve points in
your logo), which you can click and drag to create various curved lines, the pointer appears
as follows:
Содержание FLASH MX 2004-LEARNING FLASH
Страница 1: ...Learning Flash...
Страница 8: ...8 Contents...
Страница 34: ...34 Chapter 3 Write Scripts with ActionScript...
Страница 54: ...54 Chapter 6 Create a User Interface with Layout Tools...
Страница 62: ...62 Chapter 7 Draw in Flash...
Страница 68: ...68 Chapter 8 Create Symbols and Instances...
Страница 76: ...76 Chapter 9 Add Animation and Navigation to Buttons...
Страница 104: ...104 Chapter 13 Add Interactivity with ActionScript...
Страница 112: ...112 Chapter 14 Create a Form with Conditional Logic and Send Data...
Страница 122: ...122 Chapter 15 Work with Objects and Classes Using ActionScript 2 0...


