Pro Tools M-Powered Getting Started
46
3
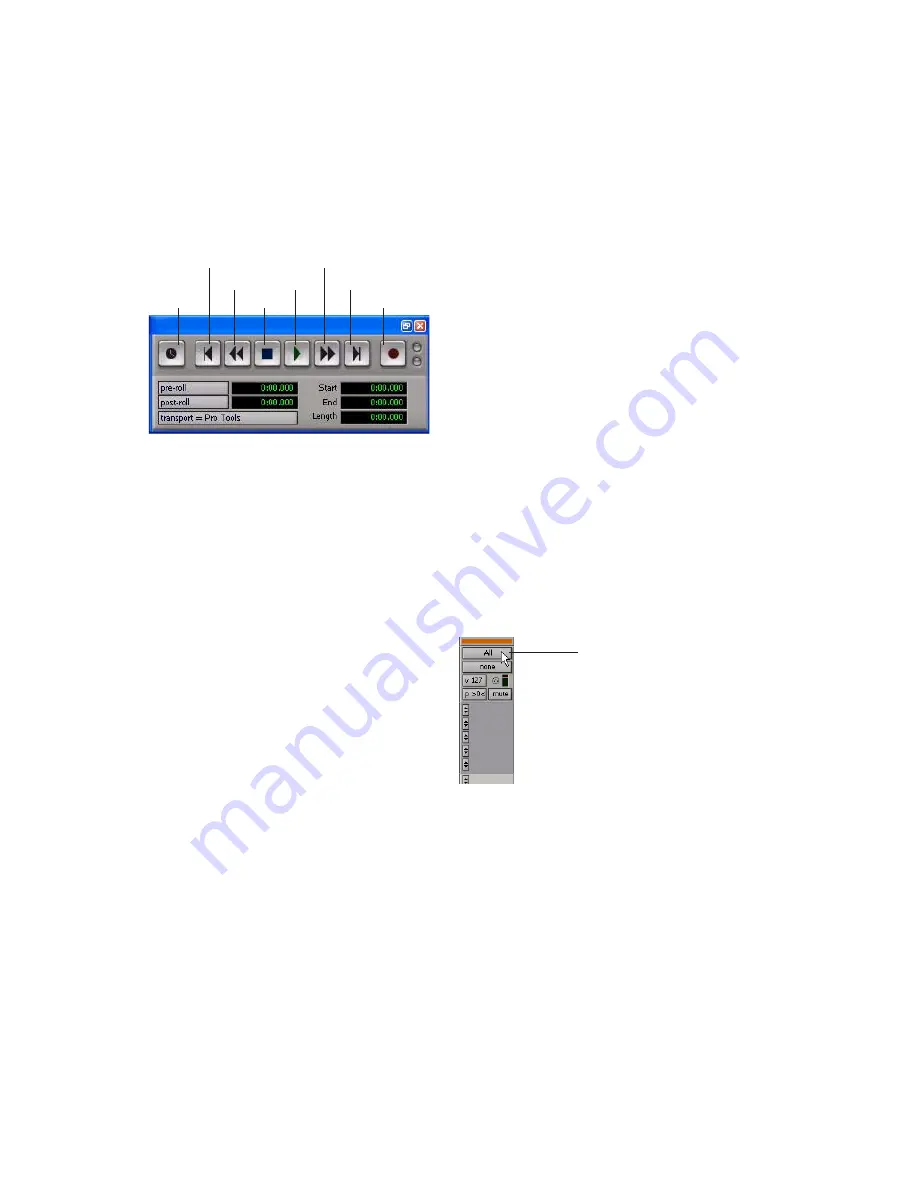
Choose Window > Transport to display the
Transport window.
4
Click Return To Zero to start recording from
the beginning of the session. You can also record
according to a selection or from the cursor loca-
tion in the Edit window.
5
Click Record in the Transport window to en-
able recording.
6
Click Play or press the Spacebar to record on
all record-enabled tracks.
7
Record your performance.
8
Click Stop in the Transport window or press
the Spacebar when you are finished recording.
To play back a recorded track:
1
Click the track’s Record Enable button a sec-
ond time to take it out of Record mode.
2
Click Play in the Transport window or press
the Spacebar to start playback.
3
Click Stop in the Transport window or press
the Spacebar to stop playback.
Recording MIDI
Instrument tracks combine a MIDI track and
Auxiliary Input into a single channel strip that
provides both MIDI and audio capabilities. In-
strument tracks let you record MIDI and moni-
tor audio from software and hardware instru-
ments.
To create an Instrument track and configure it for
recording:
1
Choose Setup > MIDI > Input Devices and
make sure your input device is selected in the
MIDI Input Enable window, and Click OK.
2
Choose Track > New and specify 1 Mono In-
strument Track, then click Create.
3
Select View > Mix Window > Instruments to
display the MIDI controls at the top of the In-
strument track in the Mix window.
4
Click the track’s MIDI Input selector and as-
sign the device and channel to be recorded, or
leave it set to All.
Transport window (Expanded view shown)
Fast Forward
Record Enable
Go to End
Play
Stop
Rewind
Return to Zero
Online
MIDI Input selector in an Instrument track
MIDI Input selector
Содержание Pro Tools M-Powered 7
Страница 1: ...Getting Started Pro Tools M Powered Version 7 0 ...
Страница 62: ...Pro Tools M Powered Getting Started 58 ...
Страница 74: ......


