Chapter 2: Windows Configuration
17
3
Launch the M-Audio Control Panel as follows:
• For FireWire interfaces, launch M-Audio
FW Audio.
• For PCI interfaces, launch M-Audio Delta
Audio.
• For USB Interfaces, launch the M-Audio
control panel with the name of your inter-
face.
4
Click the Hardware tab.
5
Select a Sync Source.
6
Click OK.
Low Latency Monitoring
Direct or low-latency monitoring is not avail-
able from within Pro Tools M-Powered.
However, with M-Audio devices that have Con-
trol Panel mixers with a direct monitoring fea-
ture, it is possible to use this feature as a low-la-
tency monitoring path while recording in
Pro Tools.
To use the M-Audio mixer direct monitoring
feature while recording:
1
In Pro Tools, record-enable the tracks you
want to record and mute their output.
2
Open the M-Audio Control Panel for your M-
Audio interface.
3
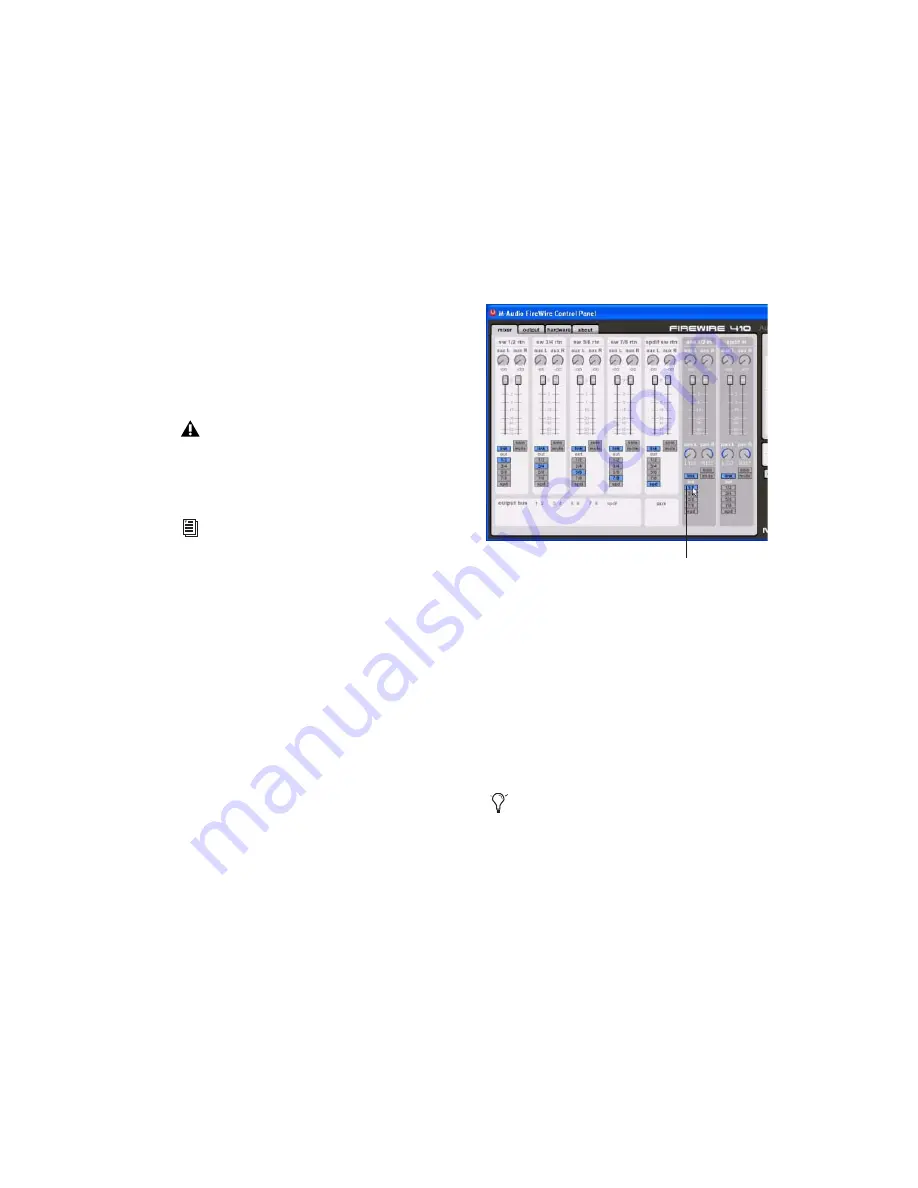
In the Control Panel mixer for your interface,
route the input channels you want to monitor
to the main outputs of the mixer (usually Out-
puts 1–2) by clicking the corresponding output
control.
4
Adjust the output level and balance with the
Control Panel mixer volume and pan controls.
5
In Pro Tools, begin recording.
6
To listen back to the recorded tracks, unmute
the tracks in Pro Tools and begin playback.
7
When you are finished recording, turn off the
mixer output control in the Control Panel
mixer.
Your digital input device must be connected
and turned on. If your input device is not
turned on, leave the Sync Source set to Inter-
nal.
For more information on selecting the Sync
Source for your M-Audio interface, refer to
your M-Audio interface documentation.
Control Panel mixer for M-Audio FireWire 410)
You can leave the M-Audio Control Panel
open while working in Pro Tools M-Powered.
Mixer output 1–2 control
Содержание Pro Tools M-Powered 7
Страница 1: ...Getting Started Pro Tools M Powered Version 7 0 ...
Страница 62: ...Pro Tools M Powered Getting Started 58 ...
Страница 74: ......


