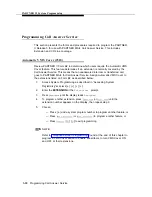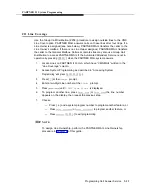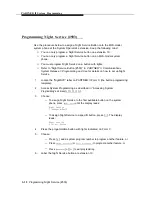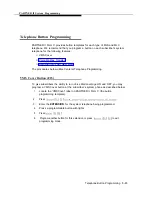
PARTNER II System Programming
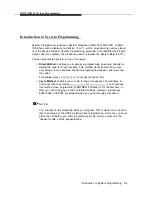
Using Programming Overlays
During System Programming, the normal functions of several buttons on the display
phone at extension 10 or 11 change. For example, the left
[
Intercom
]
becomes
[
System Program
],
which is the button used to enter programming mode. To identify
these buttons while programming, place the appropriate programming overlay
provided with the system on the dialpad of the phone at extension 10 or 11.
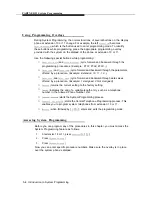
Use the following special buttons while programming:
■
■
■
■
■
■
■
■
[
Next Procedure
]
and
[
Prev Procedure
]
cycle forward and backward through the
programming procedures. (Example: #101, #102, #103 ...)
[
Next Item
]
and
[
Prev Item
]
cycle forward and backward through the parameters
offered by a procedure. (Example: Extension 10, 11, 12...)
[
Next Data
]
and
[
Prev Data
]
cycle forward and backward through data values
offered by a procedure. (Example: 1 Assigned, 2 Not Assigned)
[
Remove
]
returns the current setting to the factory setting.
[
Enter
]
indicates the end of a variable length entry, such as a telephone
number in the Allowed Phone Number List.
[
System Program
]
starts the System Programming process.
[
Central Tel Program
]
starts the Central Telephone Programming process. This
enables you to program system telephones from extension 10 or 11.
[
Feature
]
when followed by [
0
] [
0
], enters and exits the programming mode.
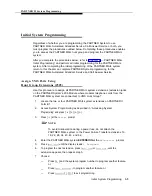
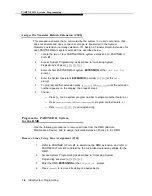
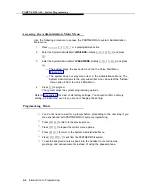
Accessing System Programming
Before you can program any of the procedures in this chapter, you must access the
System Programming feature as follows:
1.
At extension 10 or 11, press
[
Feature
]
[
0
] [
0
].
2.
Press
[
System Program
].
3.
Press
[
System Program
].
Now you can enter specific procedure numbers. Make sure the overlay is in place
over the system phone’s dialpad.
3-4
Introduction to System Programming
Содержание PARTNER MAIL
Страница 179: ...AT T 585 322 101 Graphics AT T 1988...

