70
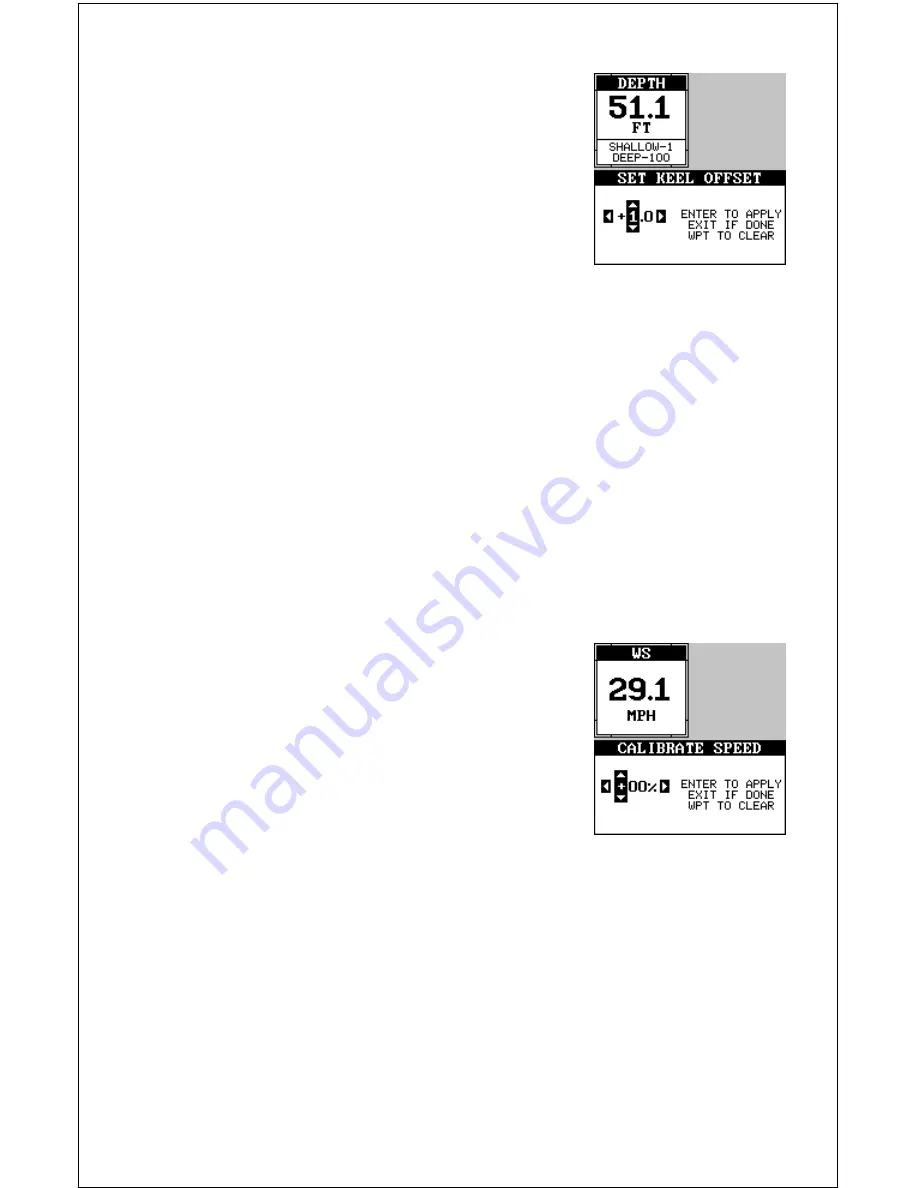
highlight the “SET KEEL OFFSET” label on the
“System Setup” menu, then press the right arrow
key. The screen shown at right appears. The cur-
rent bottom depth shows in the upper left corner
of the screen. The keel offset shows beneath it.
In this example, we need to change the keel off-
set so that the unit will add one foot to the depth,
since the transducer is one foot below the sur-
face. Press the right arrow key, then the up or
down arrow keys until +1.0 appears in the box, as shown at right, then
press the ENT key. This immediately changes the digital depth display at
the top of the screen by one foot. Press the EXIT key to erase this menu.
Note: Another way to use the keel offset feature is if you want to know the
depth of the water below the lowest part of the boat, instead of the sur-
face. To do this, measure the lowest part of the boat below the transducer.
In this example, we’ll use 3 feet. Now, using the keel offset feature, adjust
the offset for a
negative
3 feet.
Please note that adjusting the keel offset only affects the digital depth
display and all features that use the digital depth, such as the depth alarms
and FishTrack. This doesn’t affect the chart at all.
Calibrate Speed
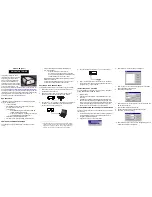
You can calibrate the speed display if an optional
speed sensor is attached. To do this, highlight
the “Calibrate Speed” label on the “System Setup”
menu, then press the right arrow key. A screen
similar to the one at right appears.
If the digital speed display is slower than your
actual speed, add a positive percentage to make
it read faster. If the digital speed display is faster,
use a negative percentage to make it read slower. Use the arrow keys to
change the speed, then press the ENT key. Press the EXIT key to erase
this menu.
Содержание GlobalMap 1600
Страница 1: ...INSTALLATION AND OPERATION INSTRUCTIONS LMS 160 and GlobalMap 1600 TM...
Страница 6: ...Notes...
Страница 90: ...84 Notes...


