35
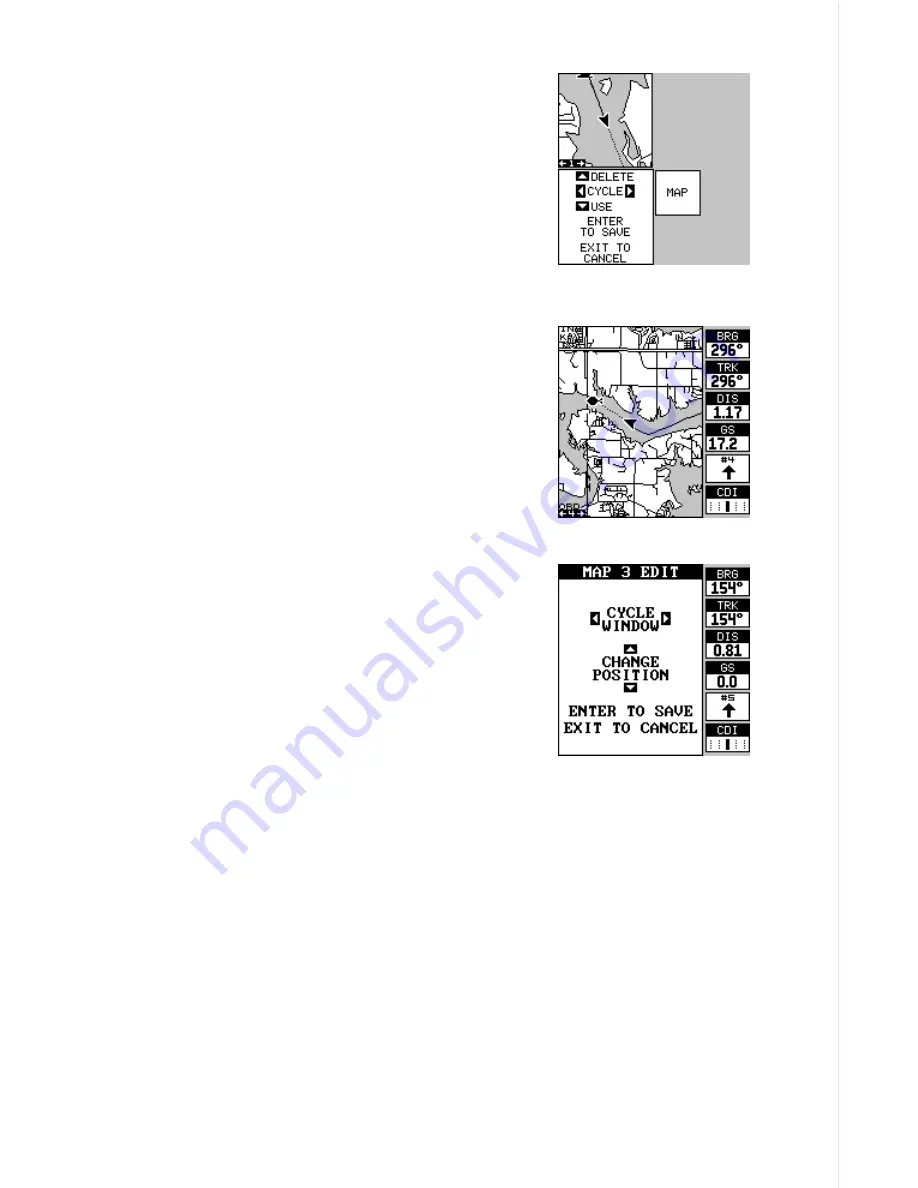
cally saves your reprogrammed group and returns
to the group, as shown at the top of the next page.
If you finish selecting windows before filling the
group with windows, press the ENT key. To leave
the reprogramming menu without saving the
changes, simply press the EXIT key.
Reprogram Boxes
The digital boxes on MAP 2 and both NAV
screens can be reprogrammed, changing the in-
formations shown by the boxes.
To customize a screen, first switch to the screen
that you want to customize. Map-2 (shown at right)
is used in this example. Next, press the MENU
key, then select the “Reprogram Boxes” menu.
The screen shown below appears.
This is the MAP-2 edit screen. The “BRG” box
near the left corner flashes, which means it’s
ready for change. If you don’t want to change this
box, simply press the up or down arrow key to
move to the box that you do want to change. In
this example, we will change the bearing (BRG)
box to ground speed (GS). To do this, simply press
the left or right arrow key while the box is flash-
ing. The box changes each time the arrow key is
pressed. When the desired box appears, then you can change another
box or save your changes by pressing the ENT key. If you want to leave
this screen without saving the changes, simply press the EXIT key. Use
this same method to change the NAV screens.
Reset Groups
To restore all boxes on the navigation and plotter screens to their factory
settings, first press the MENU key, then highlight the “System Setup” la-
bel and press the right arrow key. Now highlight the “Reset Groups” label
on this menu. Press the right arrow key. A message appears, asking if you
really want to do this. Press the right arrow key to continue, or the left
arrow key to exit without resetting the groups.
Содержание GlobalMap 1600
Страница 1: ...INSTALLATION AND OPERATION INSTRUCTIONS LMS 160 and GlobalMap 1600 TM...
Страница 6: ...Notes...
Страница 90: ...84 Notes...


