47
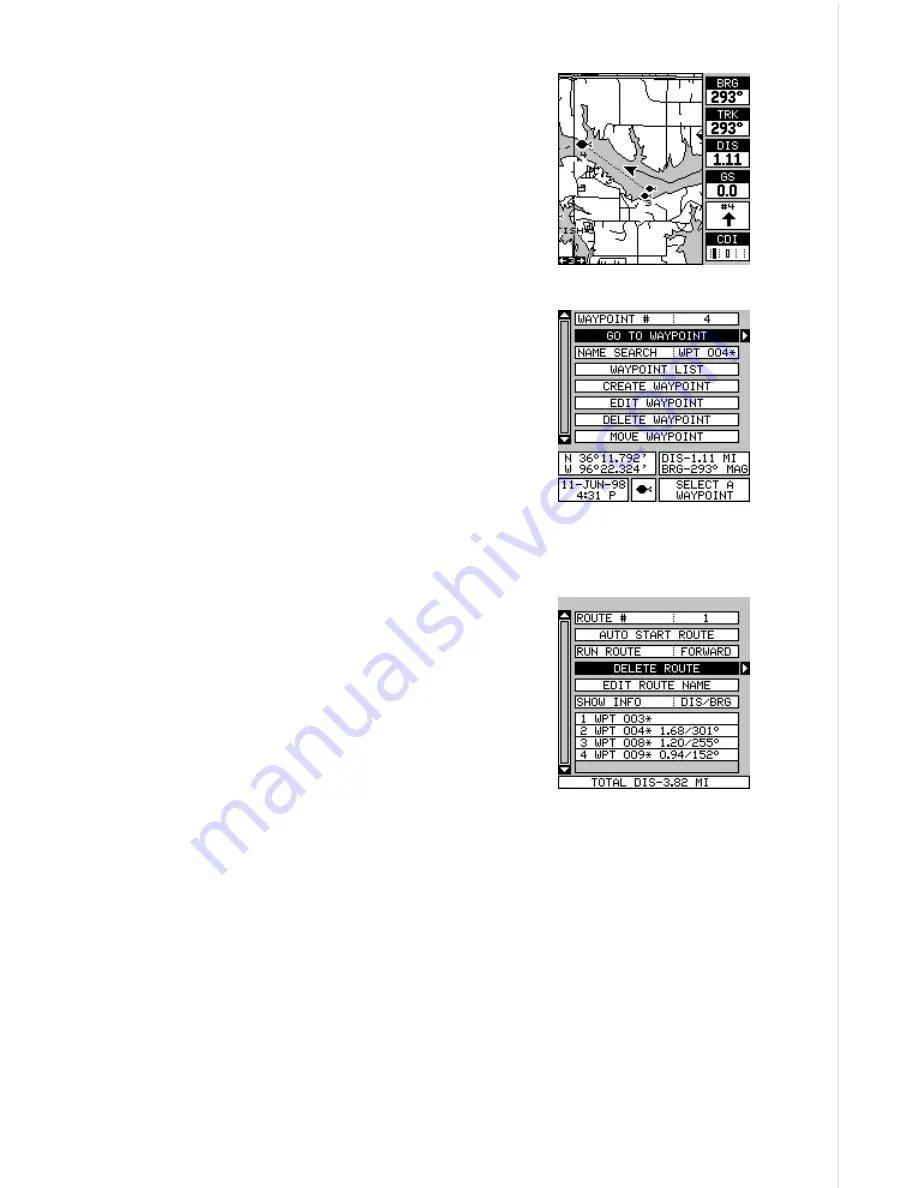
was the closest to the present position. There-
fore, the unit shows navigation information to
waypoint number 4. The first leg of the route, from
#3 to #4 is shown on the screen by a dotted line.
Once you arrive at waypoint number 4, the unit
switches to the next waypoint in the route, and
so on. The rest of the route navigation is used
normally.
Waypoint Information
To see details about the highlighted waypoint,
select the waypoint from the list of waypoints on
the route screen, then press the right arrow key.
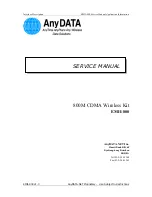
Now select “WAYPOINT INFO”. The screen at
right appears.
The selected waypoint number appears at the
top of this screen. Information about the waypoint
shows at the bottom of the screen. When you’re
finished with this screen, press the EXIT key to erase it.
Delete a Route
To erase a route, highlight the “ROUTE #” label
on the route planning menu, then select the route
you want to erase. Next, highlight the “DELETE
ROUTE” label and press the right arrow key. A
message appears, asking if you really want to
erase the route. If you press the right arrow key,
the route will be erased. If you select “Yes” (by
pressing the right arrow key) the unit then asks if
you want to erase the waypoints used in the route
from memory also. Press the right arrow key again to erase them, or the
left arrow key to leave the waypoints in memory. The unit returns to the
routes menu. Press the EXIT key to erase the menu.
Note:
If you are navigating with this unit, either to a waypoint or in a route and
shut it off, it will preserve the current waypoint number that it is navigating
to. It also saves the current route (if it is in use) and the route’s forward or
reverse order. When you turn the unit on, it will show navigation data to
the waypoint as soon as it locks onto the satellites as if it had never been
turned off.
Содержание GlobalMap 1600
Страница 1: ...INSTALLATION AND OPERATION INSTRUCTIONS LMS 160 and GlobalMap 1600 TM...
Страница 6: ...Notes...
Страница 90: ...84 Notes...


