130
Configuring Camera Settings using a Web Browser
1. Under
Web access port
, enter the desired web access port. It must not be used by
any other device on your network. Note that L-View will automatically update the web
access port when connecting to Web Configure on the local network.
2. Click
Save & Apply
. Restart the camera by disconnecting and reconnecting the power
adapter or pressing the Reboot button (see “Reboot” on page 133).
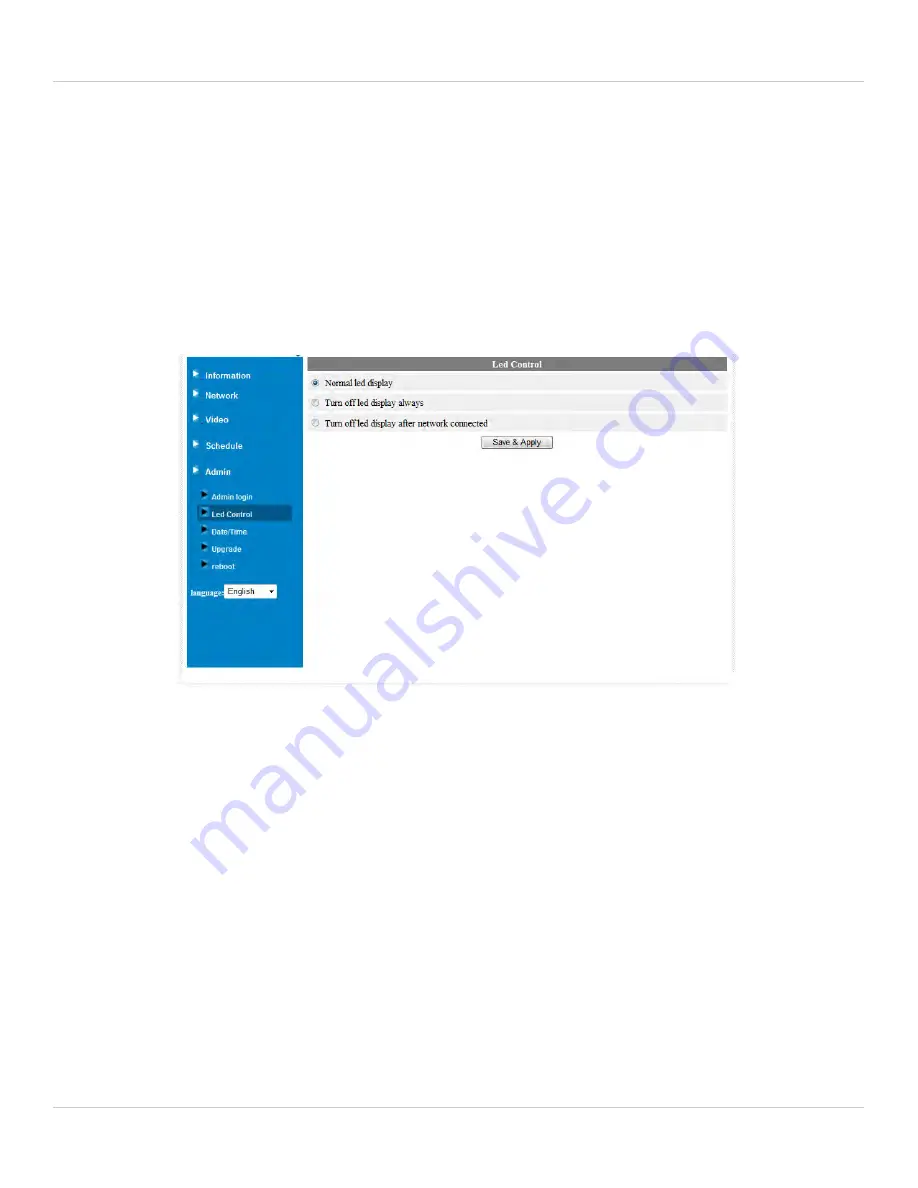
7.5.2 LED CONTROL
Configure the behavior of the camera power and network LED’s. This is useful if you want
the camera to be harder to spot at night.
NOTE:
This does not affect the SD LED. Removing the microSD card will turn off the SD
LED, but it will also disable microSD recording.
To configure the status and network LED’s:
1. Select one of the following:
•
Normal LED display:
Status and network LED’s will function as normal. For details
on LED functions, see “Camera Overview” on page 1.
•
Turn off LED display always:
Status and network LED’s are turned off at all times.
•
Turn off LED display after network connected:
Status and Network LED’s turn on
when the camera is powered on and turn off once a network connection is made.
2. Click
Save & Apply
to apply settings to the camera.
Содержание LNC104
Страница 1: ...www lorextechnology com LNC104 ENGLISH VERSION 1 0 WIRELESS NETWORK CAMERA USER S GUIDE ...
Страница 2: ......
Страница 10: ...iv ...
Страница 155: ...Copyright 2012 Lorex Technology Inc LNC104 www lorextechnology com Version 1 0 ...


