2224 Layer 2 Management 24-Port 10/100 Ethernet Switch
nnect II 2224
• General allows to you change the system name, contact, location, admin-
istration and guest passwords, statistics collection, reboot-on-error, remote
Telnet login, and remote HTTP login.
• LAN Port allows you to configure line speed and flow control, Admin
Control, and view the physical address of the Switch.
• Console Port allows you to change the console baud rate, flow control
method, modem control, and setup string; enable or disable SLIP; and con-
figure the SLIP address and SLIP subnet mask.
General Management Configuration
Select General from the Basic Management screen. The General screen will
appear with the System Name highlighted.
Use the following procedure to configure the general management options:
Changing the System Name
1. From the General screen, highlight System Name and press the Enter key.
The Enter System Name screen appears.
13
ProConnect II
®
Series
12
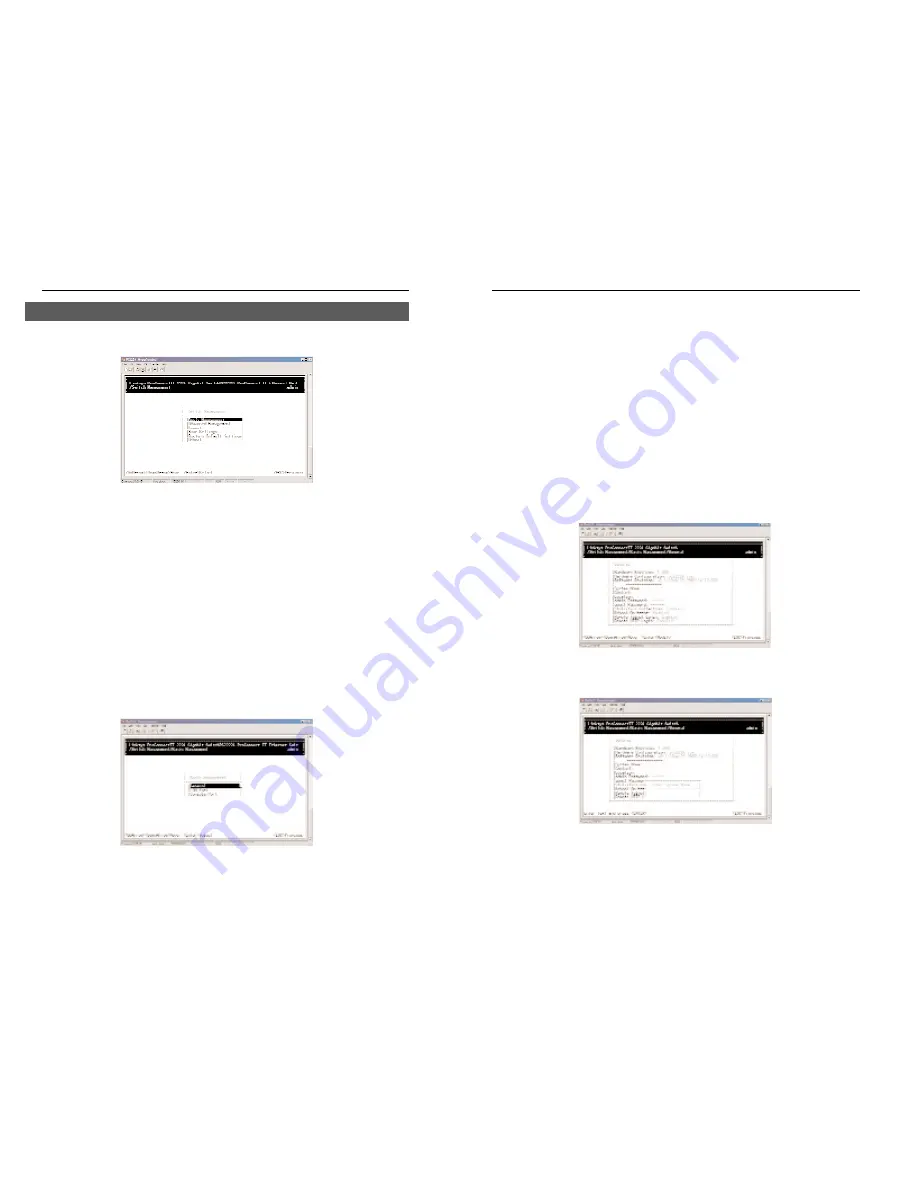
After you log on to the Switch, the Switch Management screen will appear.
The Switch Management screen consists of a series of menus. Each menu
has several options, which are listed vertically. A highlight in each menu lets
you select the option you wish to choose; pressing the Enter key activates the
highlighted option.
To navigate through the Console Interface use the Up Arrow or Down Arrow
keys to move up or down, use the Enter key to select, and the Esc key to
return to the previous selection; menu options and any values entered or pres-
ent will get highlighted. Note that the bottom of the window always has a list-
ing of the appropriate key strokes.
Basic management activities consist of General, LAN port, and console port
tasks. To perform basic management activities:
1. From the Switch Management screen, highlight Basic Management and
press Enter. The Basic Management screen will appear.
2. From the Basic Management screen, highlight the desired option and
press the Enter key:
Basic Management Activities


