2224 Layer 2 Management 24-Port 10/100 Ethernet Switch
nnect II 2224
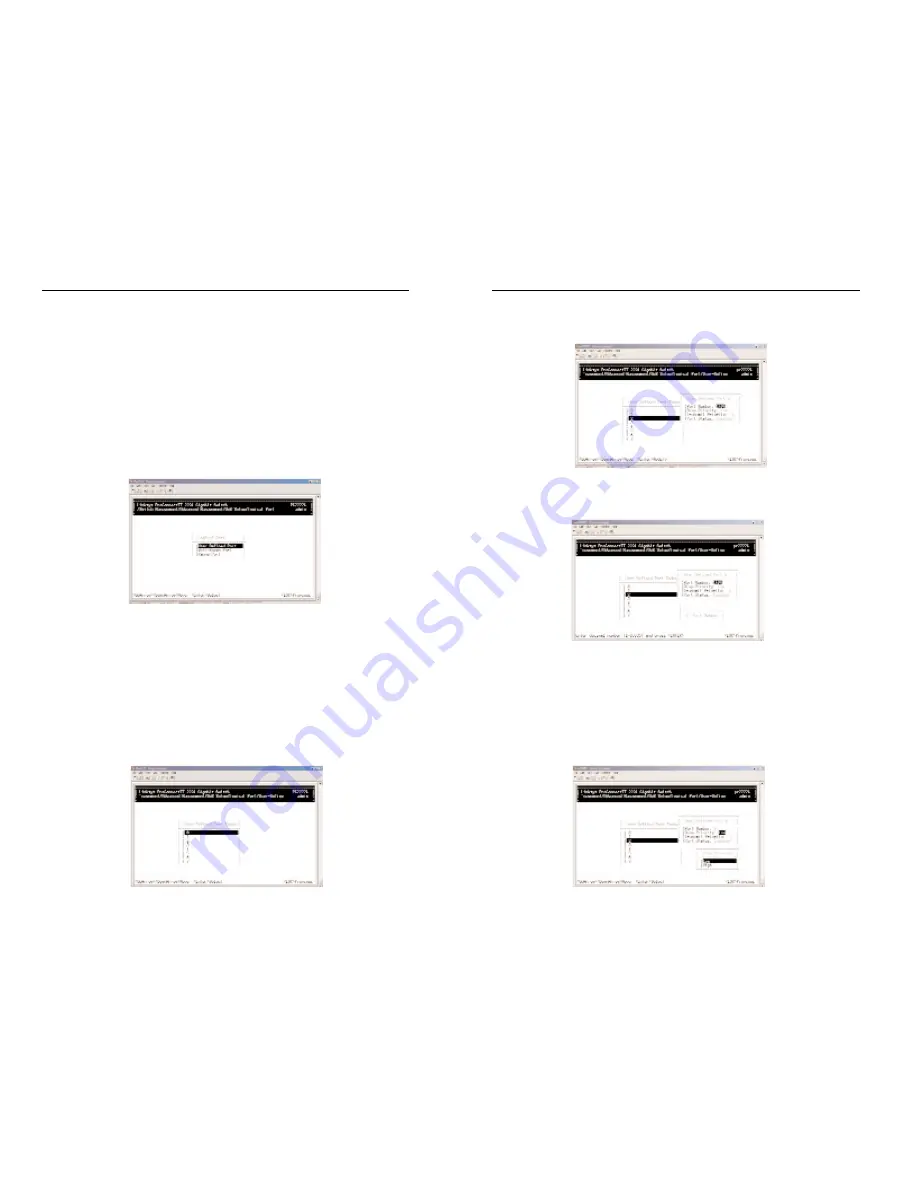
1. Use the Down Arrow key to highlight the appropriate port, and then press
the Enter key. The User-Define menu appears for the port you selected.
2. With the highlight on Port Number, press the Enter key. The port Number
screen appears under the User Defined port 2 screen.
3. Type a port number, in decimal notation, and press the Enter key. The port
number you typed appears next to Port Number.
4. Press the Down Arrow key to highlight Drop Priority, and then press the
Enter key. The Drop Priority menu appears.
87
ProConnect II
®
Series
17. Highlight the appropriate percentage and press the Enter key.
18. Press the Esc key to return to the WRED Drop Priority screen.
19. Press the Esc key to return to the QoS screen.
20. Press Esc until you return to the desired screen.
Specifying TCP/UDP Logical Port Settings
To set logical port settings, highlight Logical Port from the QoS menu, and
then press the Enter key. The Logical Port menu appears.
The Logical Port menu lets you set parameters for a user-defined port, a well-
known port, and a port range.
• To set parameters for a user-defined port, refer to "User-Defined Port".
• To set parameters for a well-known port, refer to "Well-Known Port".
• To set a port range, refer to "Range Port".
User-Defined Port
With the highlight on User Define Port in the Logic Port screen, press the
Enter key. The User-Define Port Index screen appears.
86


