April 27, 2004 Manual Version 1.01
7.11
Section 7.5
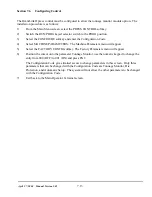
Installation Procedure
1)
Position the press at the top of the stroke, turn power to the machine off, and install tonnage
monitor card in the OmniLink II card rack. Make certain both knurled screws that hold the
module in place are tight (see Section 7.1).
If this installation is replacing a System 1000/1100 tonnage monitor already installed on the
machine, before turning power OFF, write down the present machine rating and cal #'s. In
addition to moving the strain gauge wires to the OmniLink II, the stop signal from the tonnage
monitor must be removed and jumped out at the control.
2)
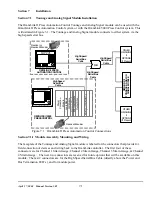
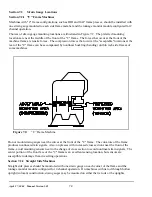
Locate and mount the strain gauges, if not already installed on the machine (see Sections 7.2 and
7.3).
3)
Route conduit from the strain gauges into the control enclosure the contains the OmniLink II card
rack. The conduit for the strain gauges should be dedicated for strain gauge wiring only. Do not
run wiring other than strain gauge wiring in this conduit without consulting the factory.
4)
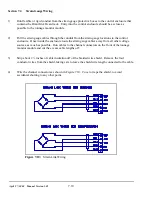
Wire strain gauges to the connectors on the front of the tonnage monitor module (see Section 7.4).
5)
Power up the press control and use the press control configuration menus to turn the tonnage
monitor option ON (see Section 7.6).
6)
Exit to the Main Menu and select the TONNAGE MONITOR softkey. Verify that the channel
status indicates no errors for all channels.
7)
With the RUN/PROG switch in the PROG position, select the CONFIGURE TON MON softkey
and the Configuration Code.
8)
The selections displayed in the configuration menu are arranged from top to bottom in level of
importance. Select Tonnage Monitor Machine Settings (refer back to Section 5.1 and follow from
start to finish) and set each parameter for this specific installation.
If the tonnage monitor Channel Configuration must be changed, make this entry first, power the
control down and back up.
9)
Select Tonnage Monitor Machine Rating. Enter the machine rating and correct decimal point
position (see Section 5.2). Disable the total derate table by setting all tonnage percentages to
125% until installation is complete.
10)
Select Calibration and Channel Description. See Section 6 for the desired type of calibration
procedure.
11)
Select Channel Descriptions and enter the descriptions for the channels (see section 5.4).
12)
Select View/Reset Alarm Counters and reset all counts (see section 5.5).
Содержание OmniLink II
Страница 5: ...April 27 2004 Manual Version 1 01 iv ...
Страница 7: ...April 27 2004 Manual Version 1 01 1 2 ...
Страница 21: ...April 27 2004 Manual Version 1 01 3 8 ...
Страница 43: ...April 27 2004 Manual Version 1 01 4 22 Section 4 5 3 3 N A Section 4 5 3 4 N A Section 4 5 3 5 N A ...
Страница 44: ...April 27 2004 Manual Version 1 01 4 23 Section 4 5 4 N A ...
Страница 45: ...April 27 2004 Manual Version 1 01 4 24 ...
Страница 69: ...April 27 2004 Manual Version 1 01 7 14 ...
Страница 77: ...April 27 2004 Manual Version 1 01 8 8 ...
Страница 79: ...April 27 2004 Manual Version 1 01 9 2 ...
Страница 81: ...April 27 2004 Manual Version 1 01 10 2 ...


