Securing the printer
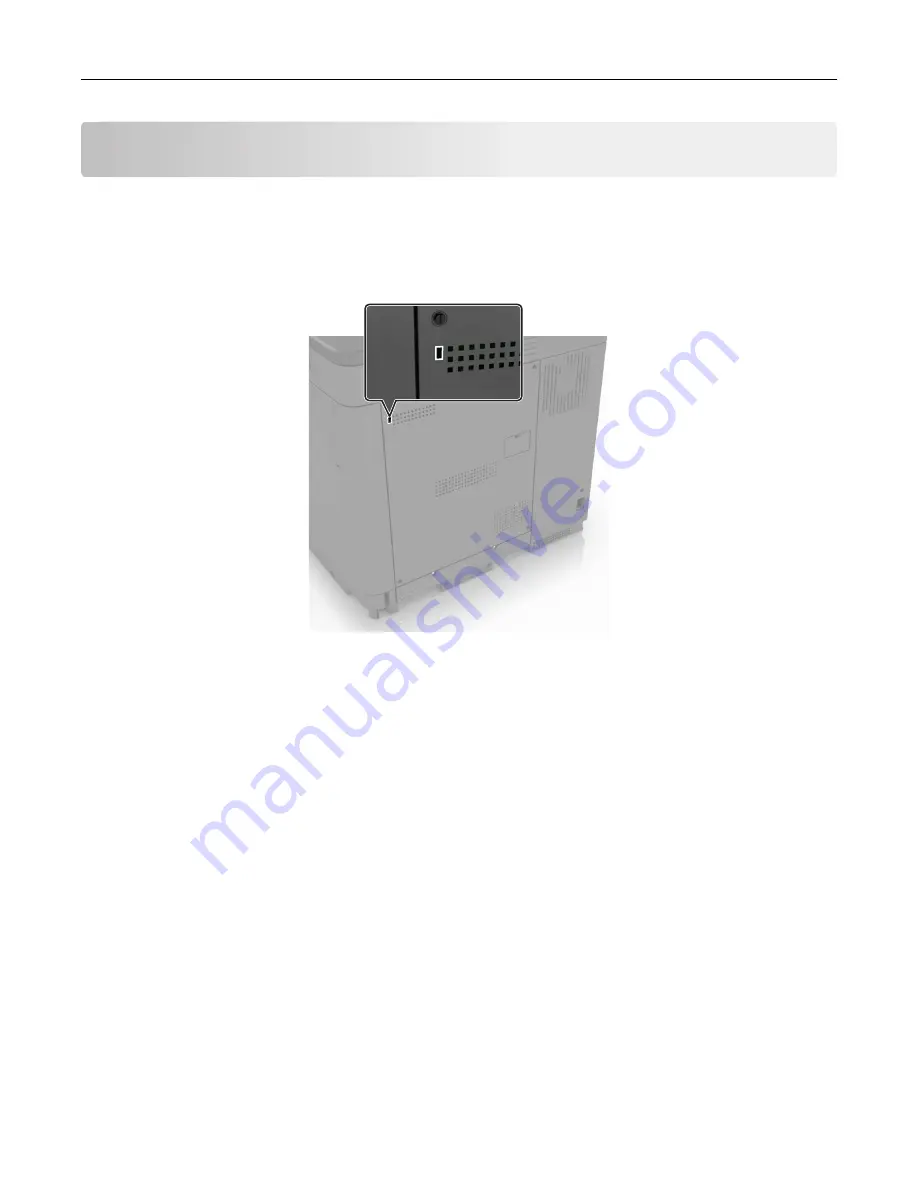
Locating the security slot
The printer is equipped with a security lock feature. Attach a security lock compatible with most laptop
computers in the location shown to secure the printer in place.
Erasing printer memory
To erase volatile memory or buffered data in your printer, turn off the printer.
To erase nonvolatile memory or individual settings, device and network settings, security settings, and
embedded solutions, do the following:
1
From the home screen, touch
Settings
>
Device
>
Maintenance
>
Out of Service Erase
.
2
Select the
Sanitize all information on nonvolatile memory
check box, and then touch
ERASE
.
3
Select
Start initial setup wizard
or
Leave printer offline
, and then touch
Next
.
4
Start the operation.
Erasing printer hard disk memory
1
From the home screen, touch
Settings
>
Device
>
Maintenance
>
Out of Service Erase
.
2
Select the
Sanitize all information on hard disk
check box, and then touch
ERASE
.
3
Select a method to erase data.
4
Start the operation.
Securing the printer
150
Содержание XC8155
Страница 66: ...5 Touch Scan Here If necessary change the scan settings 6 Scan the document Scanning 66 ...
Страница 159: ... Scanner glass pad 3 Close the scanner cover Emptying the hole punch box 1 Open door J Maintaining the printer 159 ...
Страница 160: ...2 Remove and empty the hole punch box 3 Insert the hole punch box 4 Close door J Maintaining the printer 160 ...
Страница 170: ...2 Remove the waste toner bottle 3 Remove the imaging unit 4 Remove the photoconductor unit Maintaining the printer 170 ...
Страница 172: ...Replacing an imaging unit 1 Open door A 2 Remove the waste toner bottle Maintaining the printer 172 ...
Страница 176: ...3 Remove the pick roller 4 Unpack the new pick roller Maintaining the printer 176 ...
Страница 186: ...4 Insert the new transfer roller 5 Remove the white packing material 6 Close door B Maintaining the printer 186 ...
Страница 193: ...2 Open door G 3 Remove the staple cartridge 4 Unpack the new staple cartridge Maintaining the printer 193 ...
Страница 195: ...2 Open door G 3 Pull out the staple cartridge holder Maintaining the printer 195 ...
Страница 218: ...2 Open door G 3 Pull out the staple cartridge holder Clearing jams 218 ...
Страница 222: ... Area J1 Areas J3 and J4 Areas J5 and J6 3 Close door J Clearing jams 222 ...
Страница 227: ...5 Insert the staple cartridge holder 6 Close door J Clearing jams 227 ...
Страница 284: ...Installing the staple finisher 1 Turn off the printer 2 Open door C 3 Remove the paper bail Upgrading and migrating 284 ...
Страница 287: ...4 Open the covers at the side of the caster base 5 Open door C Upgrading and migrating 287 ...


