Lithium
‑
ion rechargeable battery
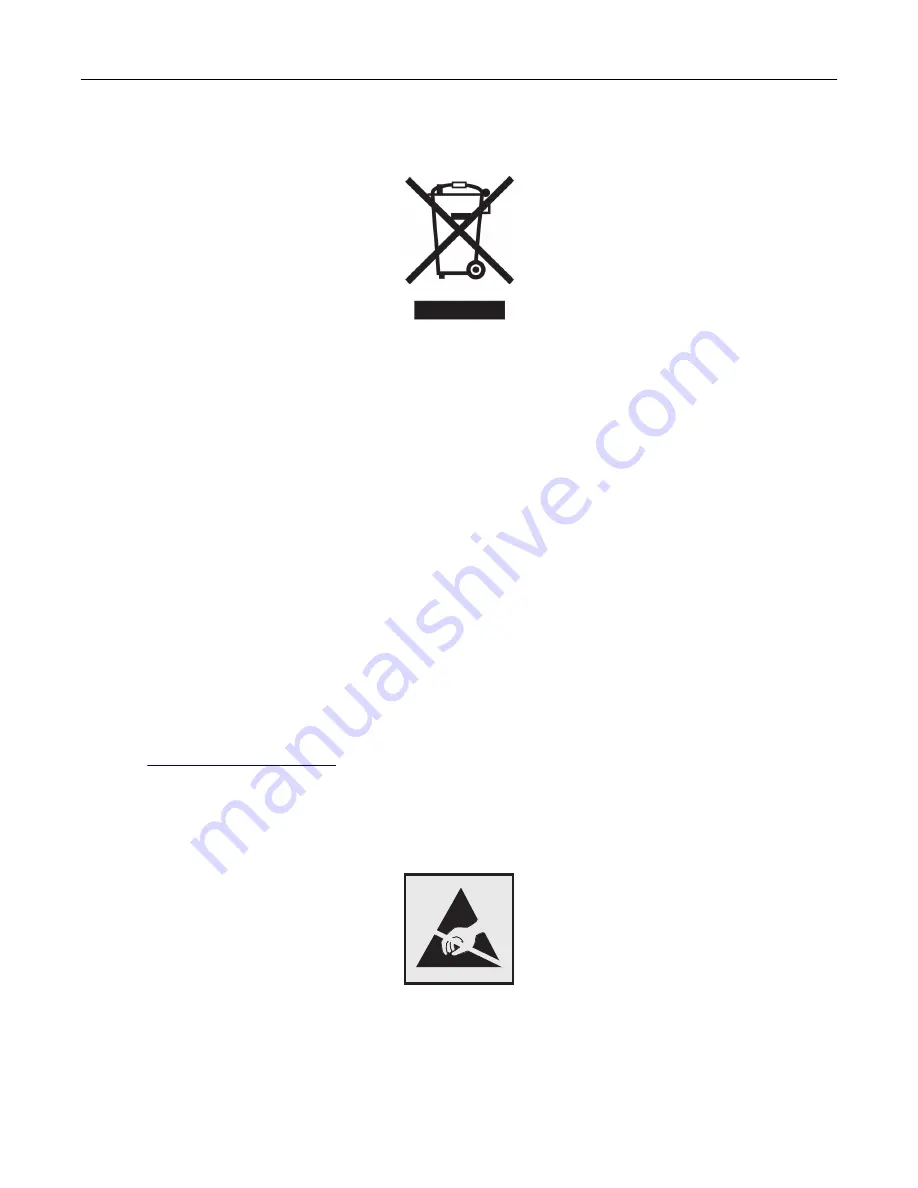
This product may contain a coin-cell, lithium-ion rechargeable battery, which should only be removed by a
trained technician. Crossed-out wheelie bin means the product should not be discarded as unsorted waste but
must be sent to separate collection facilities for recovery and recycling. In the event the battery is removed, do
not dispose of the battery in your household waste. There may be separate collection systems for batteries in
your local community, such as a battery-recycling drop-off location. The separate collection of waste batteries
assures appropriate treatment of waste including reuse and recycling and prevents any potential negative
effects on human health and environment. Please responsibly dispose of the batteries.
Product disposal
Do not dispose of the printer or supplies in the same manner as normal household waste. Consult your local
authorities for disposal and recycling options.
Returning Lexmark cartridges for reuse or recycling
The Lexmark Cartridge Collection Program allows you to return used cartridges for free to Lexmark for reuse
or recycling. One hundred percent of the empty cartridges returned to Lexmark are either reused or
demanufactured for recycling. The boxes used to return the cartridges are also recycled.
To return Lexmark cartridges for reuse or recycling, do the following:
1
2
Select the product that you want to recycle.
Static sensitivity notice
This symbol identifies static-sensitive parts. Do not touch the areas near these symbols without first touching
a metal surface in an area away from the symbol.
To prevent damage from electrostatic discharge when performing maintenance tasks such as clearing paper
jams or replacing supplies, touch any exposed metal frame of the printer before accessing or touching interior
areas of the printer even if the symbol is not present.
Notices
331
Содержание XC4342
Страница 58: ...4 Locate the ISD connector 5 Insert the card to the ISD connector Set up install and configure 58 ...
Страница 64: ...3 Remove the fax cover 4 Remove the fax bracket Set up install and configure 64 ...
Страница 65: ...5 Install the fax card to the bracket Set up install and configure 65 ...
Страница 66: ...6 Install the fax card and attach the connector to the controller board Set up install and configure 66 ...
Страница 70: ...4 Install the ISP into its housing Set up install and configure 70 ...
Страница 71: ...5 Attach the housing to the controller board shield Set up install and configure 71 ...
Страница 72: ...6 Connect the ISP extended cable to the ISP connector in the controller board Set up install and configure 72 ...
Страница 76: ...Set up install and configure 76 ...
Страница 79: ...4 Attach the cover of the power supply until it clicks into place Set up install and configure 79 ...
Страница 81: ...7 Insert the power supply through the printer 8 Install the convenience stapler Set up install and configure 81 ...
Страница 84: ...Set up install and configure 84 ...
Страница 85: ...3 Install the wireless module into its housing Set up install and configure 85 ...
Страница 86: ...4 Attach the wireless module to the controller board shield Set up install and configure 86 ...
Страница 87: ...5 Connect the wireless assembly to the ISP connector in the controller board Set up install and configure 87 ...
Страница 88: ...6 Attach the controller board shield Set up install and configure 88 ...
Страница 204: ...Replacing parts and supplies Replacing a toner cartridge 1 Open door B Maintain the printer 204 ...
Страница 205: ...2 Remove the used toner cartridge 3 Unpack the new toner cartridge Maintain the printer 205 ...
Страница 206: ...4 Insert the new toner cartridge 5 Close door B Maintain the printer 206 ...
Страница 207: ...Replacing the black imaging unit 1 Open door B Maintain the printer 207 ...
Страница 209: ...3 Remove the toner cartridges Maintain the printer 209 ...
Страница 210: ...4 Disconnect the imaging kit cable Maintain the printer 210 ...
Страница 214: ...9 Insert the imaging kit Maintain the printer 214 ...
Страница 216: ...Replacing the color imaging kit 1 Open door B Maintain the printer 216 ...
Страница 218: ...3 Remove the toner cartridges Maintain the printer 218 ...
Страница 219: ...4 Disconnect the imaging kit cable Maintain the printer 219 ...
Страница 220: ...5 Remove the used imaging kit Maintain the printer 220 ...
Страница 222: ...8 Insert the black imaging unit into the new imaging kit Maintain the printer 222 ...
Страница 223: ...9 Insert the new imaging kit Maintain the printer 223 ...
Страница 225: ...Replacing the waste toner bottle 1 Open door B Maintain the printer 225 ...
Страница 234: ...2 Remove the used separator bracket 3 Unpack the new separator bracket Maintain the printer 234 ...
Страница 238: ...2 Remove the used ADF pick roller Maintain the printer 238 ...
Страница 240: ...5 Insert the new ADF separator roller until it clicks into place Maintain the printer 240 ...
Страница 250: ...2 Remove the ADF pick roller Maintain the printer 250 ...
Страница 252: ...5 Insert the ADF separator roller until it clicks into place Maintain the printer 252 ...
Страница 253: ...6 Insert the ADF pick roller until it clicks into place 7 Close door C Maintain the printer 253 ...
Страница 294: ...Jam locations 1 ADF 2 Standard bin 3 Door A 4 Multipurpose feeder 5 Trays Troubleshoot a problem 294 ...
Страница 298: ...2 Remove the jammed paper Note Make sure that all paper fragments are removed 3 Open door A1 Troubleshoot a problem 298 ...


