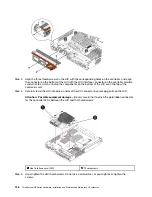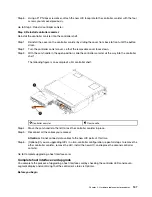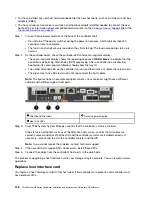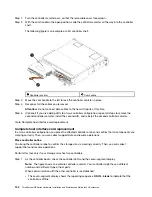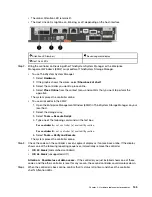
You must apply a software feature pack before you can connect the new HIC ports to the data
hosts. See
Converting the Protocol of Host Ports
. Then, use the instructions in that document
to connect the host ports to the data hosts and to resume operations.
Step 6. Connect the cables from the controller's host ports to the correct switch or data hosts.
Before you resume normal operations, ensure that you have completed the following steps:
• For iSCSI HIC adding or replacement:
1. Ensure that the iSCSI SFPs or dual-protocol SFPs are installed.
2. Attach cables to the SFPs, and confirm they are connected to the correct iSCSI switch or host.
3. Power on the hosts.
4. Configure the ISCSI hosts.
5. Edit the host partition to update the iSCSI host port IDs.
6. After the new iSCSI hosts reboot, use the applicable procedures on the hosts to register the volumes
and to make them available to your operating system.
• For FC HIC adding or replacement.
1. Ensure that the FC SFPs or dual-protocol SFPs are installed.
2. Attach cables to the SFPs, and confirm they are connected to the correct FC switch or host.
3. Power on the hosts.
4. Configure the FC hosts.
5. Edit the host partition to update the FC host port IDs.
6. After the new FC hosts reboot, use the applicable procedures on the hosts to register the volumes
and to make them available to your operating system. Depending on your operating system, two
utilities are included with the storage management software (hot_add and SMdevices). These utilities
help register the volumes with the hosts and also show the applicable device names for the volumes.
7. You might need to use specific tools and options that are provided with your operating system to
make the volumes available (that is, assign drive letters, create mount points, and so on). Refer to
your host operating system documentation for details.
Upgrade host interface card
You upgrade a host interface card (HIC) to increase the number of host ports or to change host protocols.
When you upgrade the HICs, you must power off the storage array, remove the existing HIC from each
controller, install a new HIC, and reapply power.
Prepare to upgrade host interface cards
You prepare to upgrade host interface cards (HICs) by backing up the storage array's configuration
database, collecting support data, and stopping host I/O operations. Then, you can power down the
controller shelf.
Before you begin
• You have scheduled a downtime maintenance window for this procedure. The power must be off when
you install HICs, so you cannot access data on the storage array until you have successfully completed
this procedure. (In a two-controller configuration, this is because both controllers must have the same HIC
configuration when they are powered on.)
• You have installed ThinkSystem Storage Manager on a management station, so you can use the storage
array's command line interface (CLI).
Step 1. From the Home of ThinkSystem System Manager, ensure that the storage array has Optimal status.
130
ThinkSystem DE Series Hardware Installation and Maintenance Guide for 2U Enclosures
Содержание DE120S
Страница 96: ...90 ThinkSystem DE Series Hardware Installation and Maintenance Guide for 2U Enclosures ...
Страница 282: ...276 ThinkSystem DE Series Hardware Installation and Maintenance Guide for 2U Enclosures ...
Страница 284: ...278 ThinkSystem DE Series Hardware Installation and Maintenance Guide for 2U Enclosures ...
Страница 291: ......
Страница 292: ......


