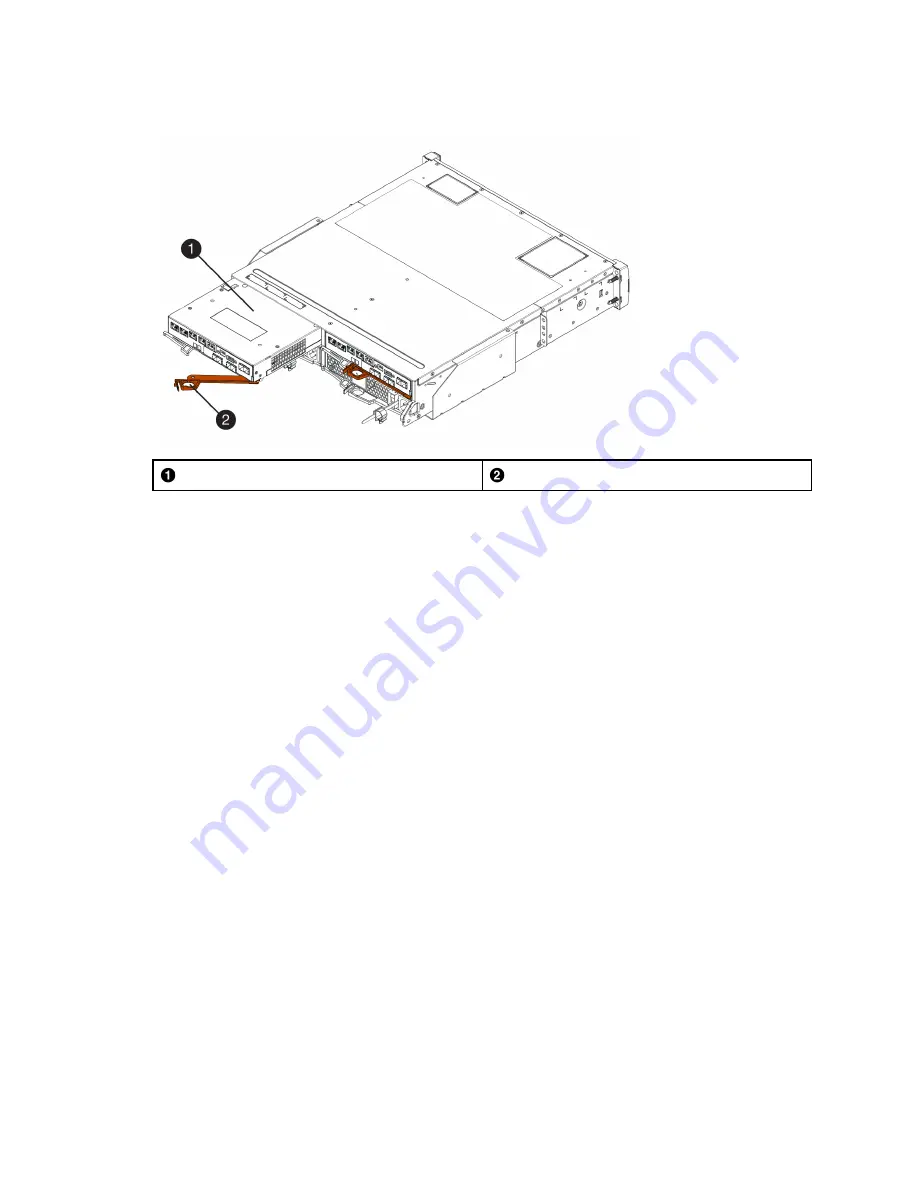
The following figure is an example of a 2U controller shelf:
Controller canister
Cam handle
Step 7. Using two hands and the cam handle, slide the controller canister out of the shelf.
Attention:
Always use two hands to support the weight of a controller canister.
If you are removing the controller canister from a 2U controller shelf, a flap swings into place to
block the empty bay, helping to maintain air flow and cooling.
Step 8. Turn the controller canister over, so that the removable cover faces up.
Step 9. Place the controller canister on a flat, static-free surface.
Step 2: Remove battery
Remove the battery so you can install the new controller.
Step 1. Remove the controller canister's cover by pressing down on the button and sliding the cover off.
Step 2. Confirm that the green LED inside the controller (between the battery and the DIMMs) is off.
104
ThinkSystem DE Series Hardware Installation and Maintenance Guide for 2U Enclosures
Содержание DE120S
Страница 96: ...90 ThinkSystem DE Series Hardware Installation and Maintenance Guide for 2U Enclosures ...
Страница 282: ...276 ThinkSystem DE Series Hardware Installation and Maintenance Guide for 2U Enclosures ...
Страница 284: ...278 ThinkSystem DE Series Hardware Installation and Maintenance Guide for 2U Enclosures ...
Страница 291: ......
Страница 292: ......


