S-72
V3300-E2B, V3300-T-E2B, WSM
DIESEL ENGINE
(5) Cylinder
Cylinder Wear
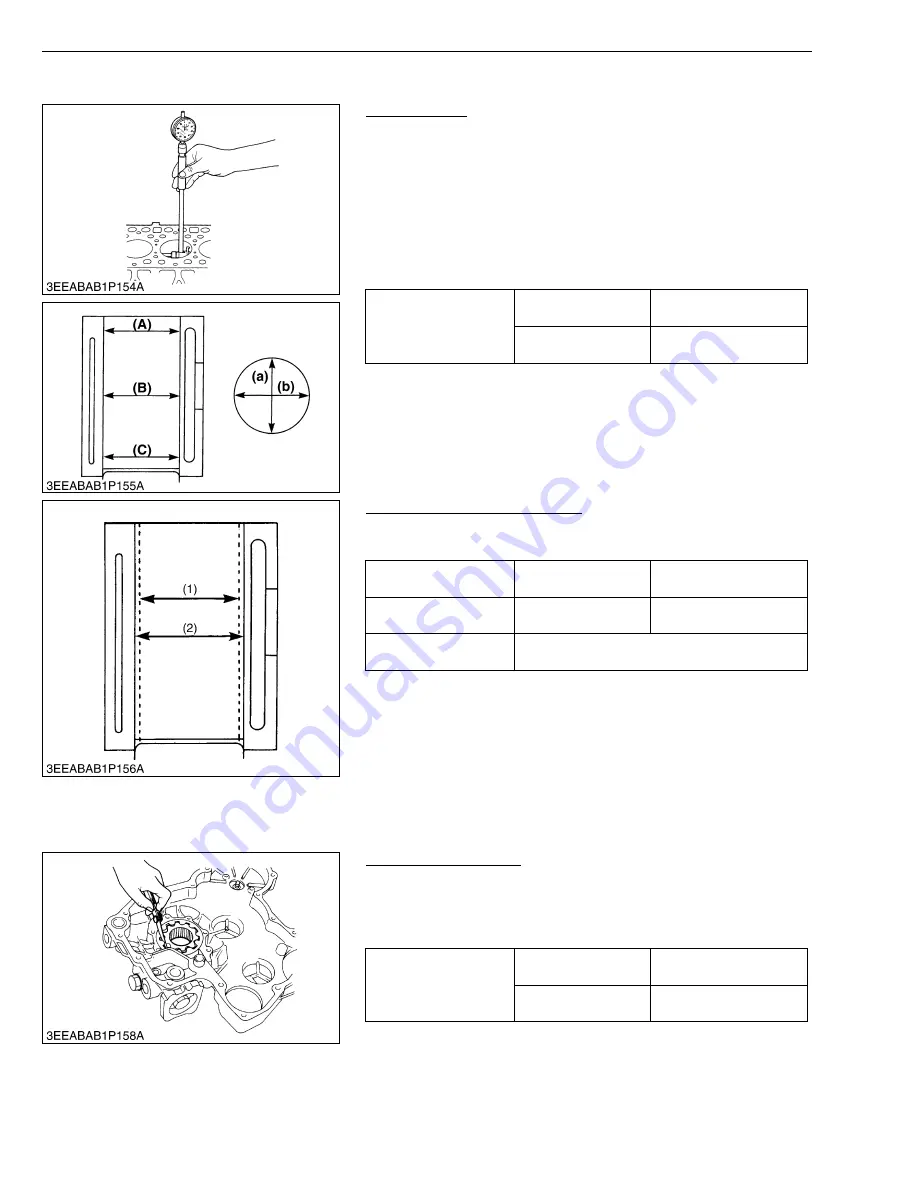
1. Measure the I.D. of the cylinder at the six positions (see figure)
with a cylinder gauge to find the maximum and minimum I.D.’s.
2. Get the difference (Maximum wear) between the maximum and
the minimum I.D.’s.
3. If the wear exceeds the allowable limit, bore and hone to the
oversize dimension. (Refer to “Correcting Cylinder”.)
4. Visually check the cylinder wall for scratches. If deep scratches
are found, the cylinder should be bored. (Refer to “Correcting
Cylinder”.)
W1070089
Correcting Cylinder (Oversize)
1. When the cylinder is worn beyond the allowable limit, bore and
hone it to the specified dimension.
2. Replace the piston and piston rings with oversize 0.5 mm (0.0197
in.) ones.
NOTE
■
• When the oversize cylinder is worn beyond the allowable
limit, replace the cylinder block with a new one.
W10344480
(6) Oil Pump
Rotor Lobe Clearance
1. Measure the clearance between lobes of the inner rotor and the
outer rotor with a feeler gauge.
2. If the clearance exceeds the allowable limit, replace the oil pump
rotor assembly.
W1071254
Cylinder Bore I.D.
Factory spec.
98.000 to 98.022 mm
3.8582 to 3.8591 in.
Allowable limit
98.15 mm
3.8642 in.
(A) Top
(B) Middle
(C) Bottom (Skirt)
(a) Right-angled to piston pin
(b) Piston pin direction
Cylinder I.D. (2)
Factory spec.
98.500 to 98.522 mm
3.8780 to 3.8788 in.
Maximum wear
Allowable limit
98.65 mm
3.8839 in.
Finishing
Hone to 1.2 to 3.0
μ
m Rz
(0.000087 to 0.00012 in. Rz)
∇∇∇.
(1) Cylinder I.D. (Before Correction)
(2) Oversize Cylinder I.D.
Clearance between
inner rotor and outer
rotor
Factory spec.
0.04 to 0.16 mm
0.0016 to 0.0063 in.
Allowable limit
0.3 mm
0.0118 in.
KiSC issued 06, 2006 A


